


This One Day Cabinet Build is definitely at the top of my list of favorite projects to date. There is nothing I love more than being able to use leftover scraps and supplies we have laying around. These plans can also be cut from full sheets of new plywood if you don’t have the scraps. If you have scrap pieces laying around that can fit the sizes, cut them accordingly first and then see what you need. If you just want to buy the supplies for this project. The instructions/supply list below make it easy for you to buy everything you need before you get started.

This is a very beginner friendly first time cabinet build. If you have never built a cabinet, don’t stress. I will walk you through it with written instructions in these plans. I want you to feel confident with these plans that you can tackle this project from start to finish. This project is definitely doable to do solo. I always say thought, the more the merrier. Grab a friend or partner and have fun building something together. That’s what I tell my husband, everything is more fun when we do it together. I think that must be how I wrap him into doing projects with me time and time again.


There are a few tools that you will absolutely need to make this project happen. A Drill, Pocket Hole Jig, and Circular Saw/Table Saw. Outside of these tools it is up to you what else you may choose you need to use to help you complete the cabinet. Ok, let’s get at this cabinet build. Fair warning…be prepared to amaze yourself after you finish this project! It’s amazing what we are capable of if we tell ourselves we can and just start. Done is better than perfect!!!


Supplies:
Rip Saw Kreg Jig (this is to be used with circular saw)
4” Cabinet Legs (height of legs is your preference, we did 4”)
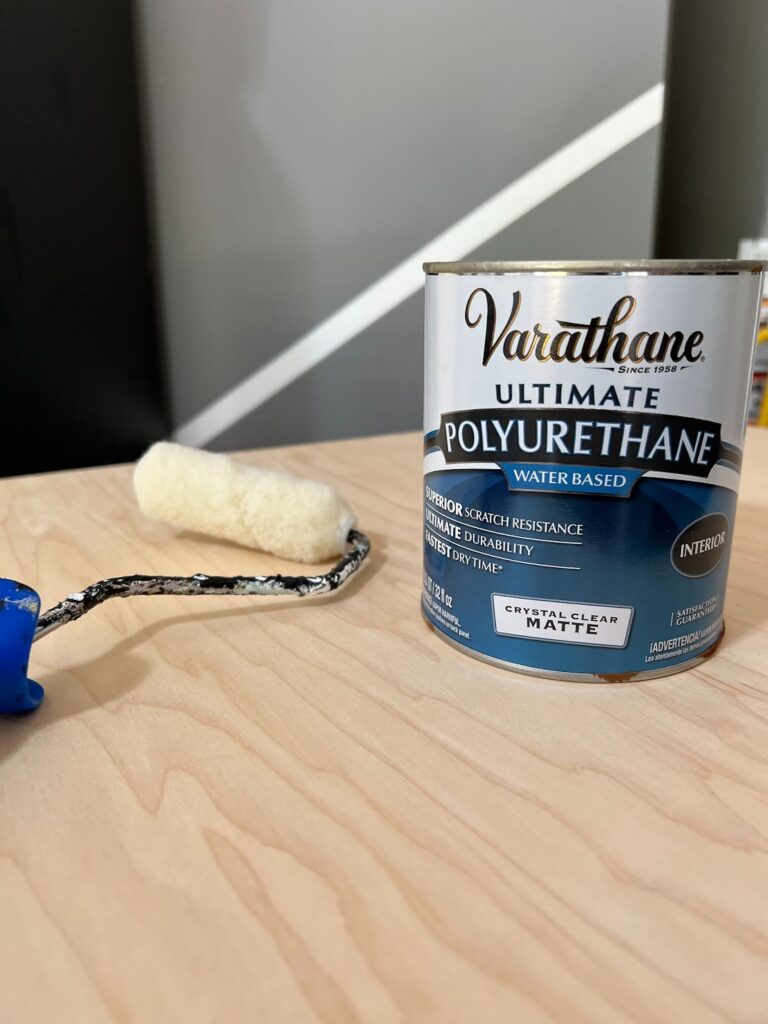
Stain (optional. if you want to leave it natural like I did, you won’t need stain)
Sealer of your choice
Plywood (2 sheets)
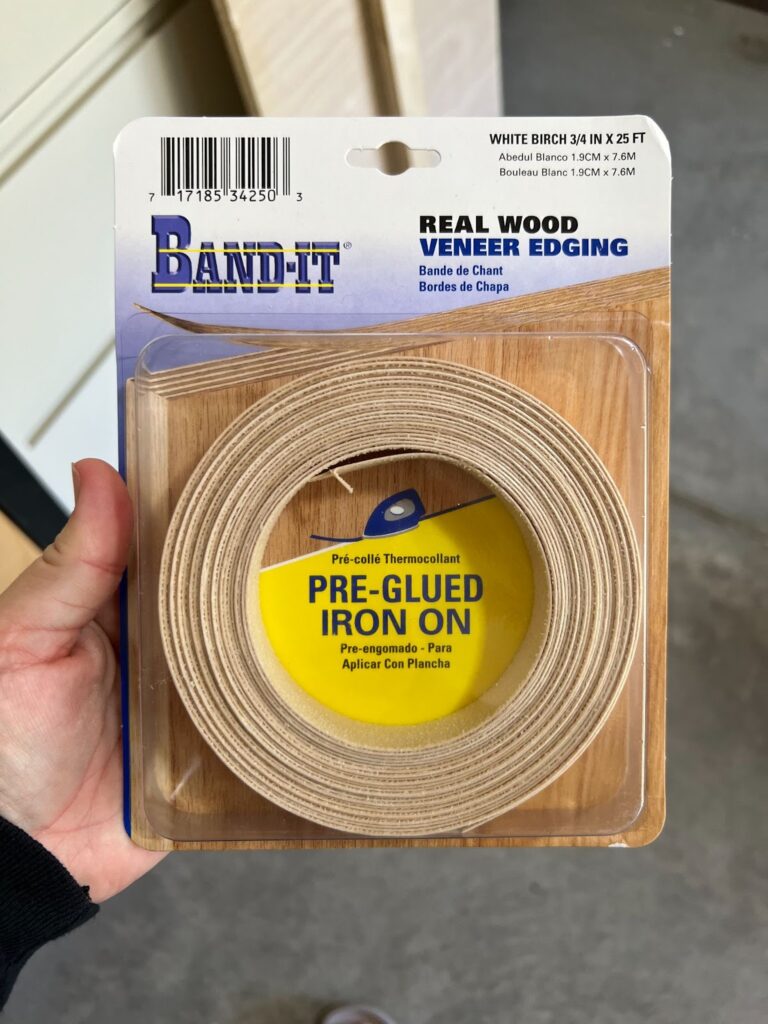
Iron (this is to apply edgebanding)
Edge Banding Trimmer (Optional, can be trimmed down with sander)
Here is the full supply shopping list for this build
Directions
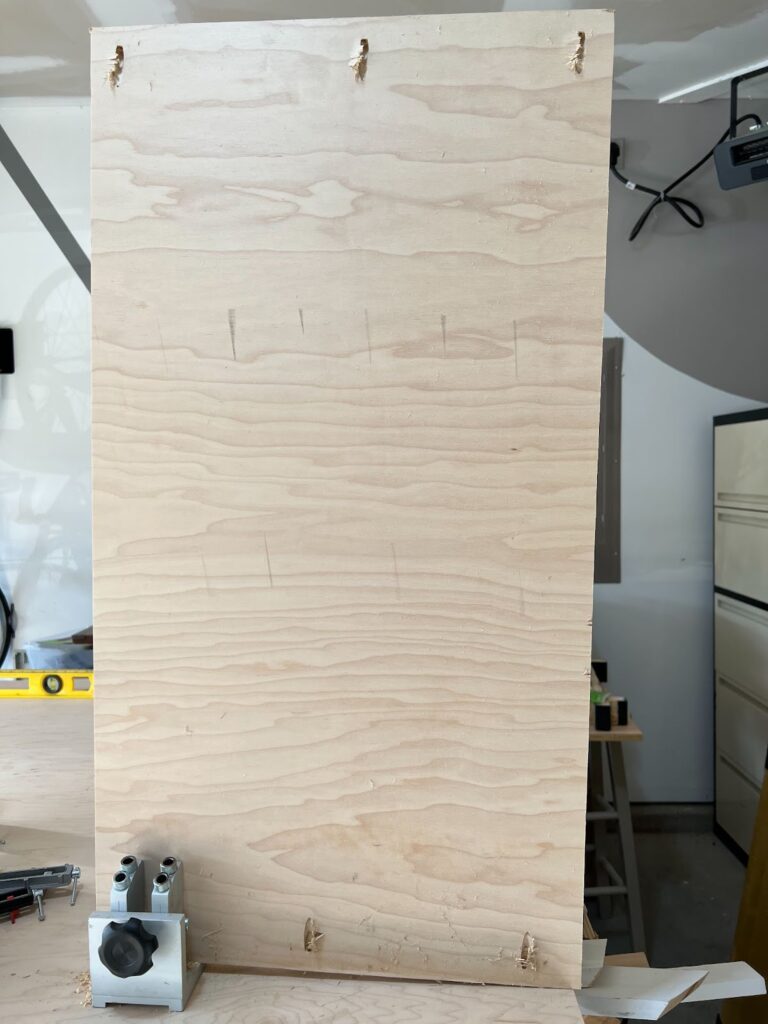
- Cut plywood to size.
- Side panels (2) 19”x36”
- Top and bottom panels (2) 19”x24
- Middle shelf panel (1) 17.5”x22.5”
- Back Panel (1) 22.5”x34.5”
- Door (1) 22.5”x34.5”
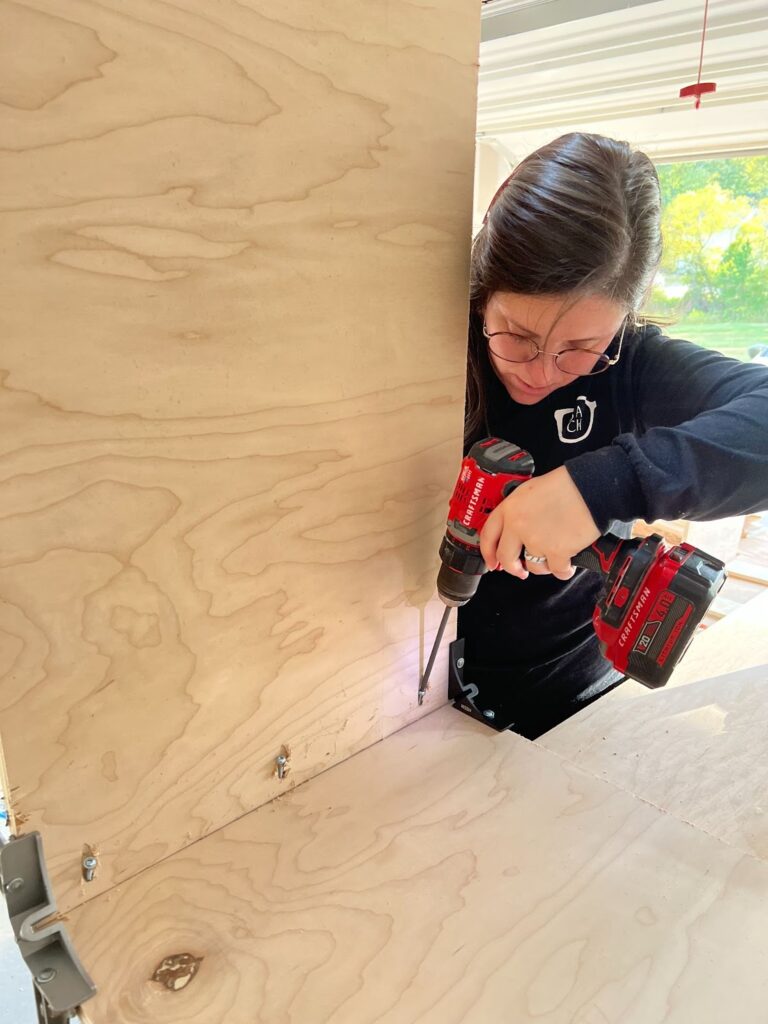
- Drill pocket holes
- Side panels: three holes top and bottom
- Back panel: three on each side and two top and bottom
- Shelf: three each side and two in the back
- Screw side panels to the bottom panel.
- Make sure pocket holes are on the inside of the cabinet
- Use wood glue at all seams
- Slight overhang of side panels to match edge banding
- Screw top panel to side panels
- Same as step 3
- Screw in middle at 15” from bottom
- Pocket holes should be facing down towards the bottom
- Wood glue all seams as you assemble
- Pocket hole screw back panel to top, bottom, and side panels
- Drill Pocket holes along all the back sides. 3 along the top edge and two in the middle of the sides ( refer to drawings for visual)
- Wood glue all seams
- Screw feet to the bottom
- Edge band all exposed plywood edges. This can be done with an Iron. It’s best to follow the instructions given on the edgebanding package.
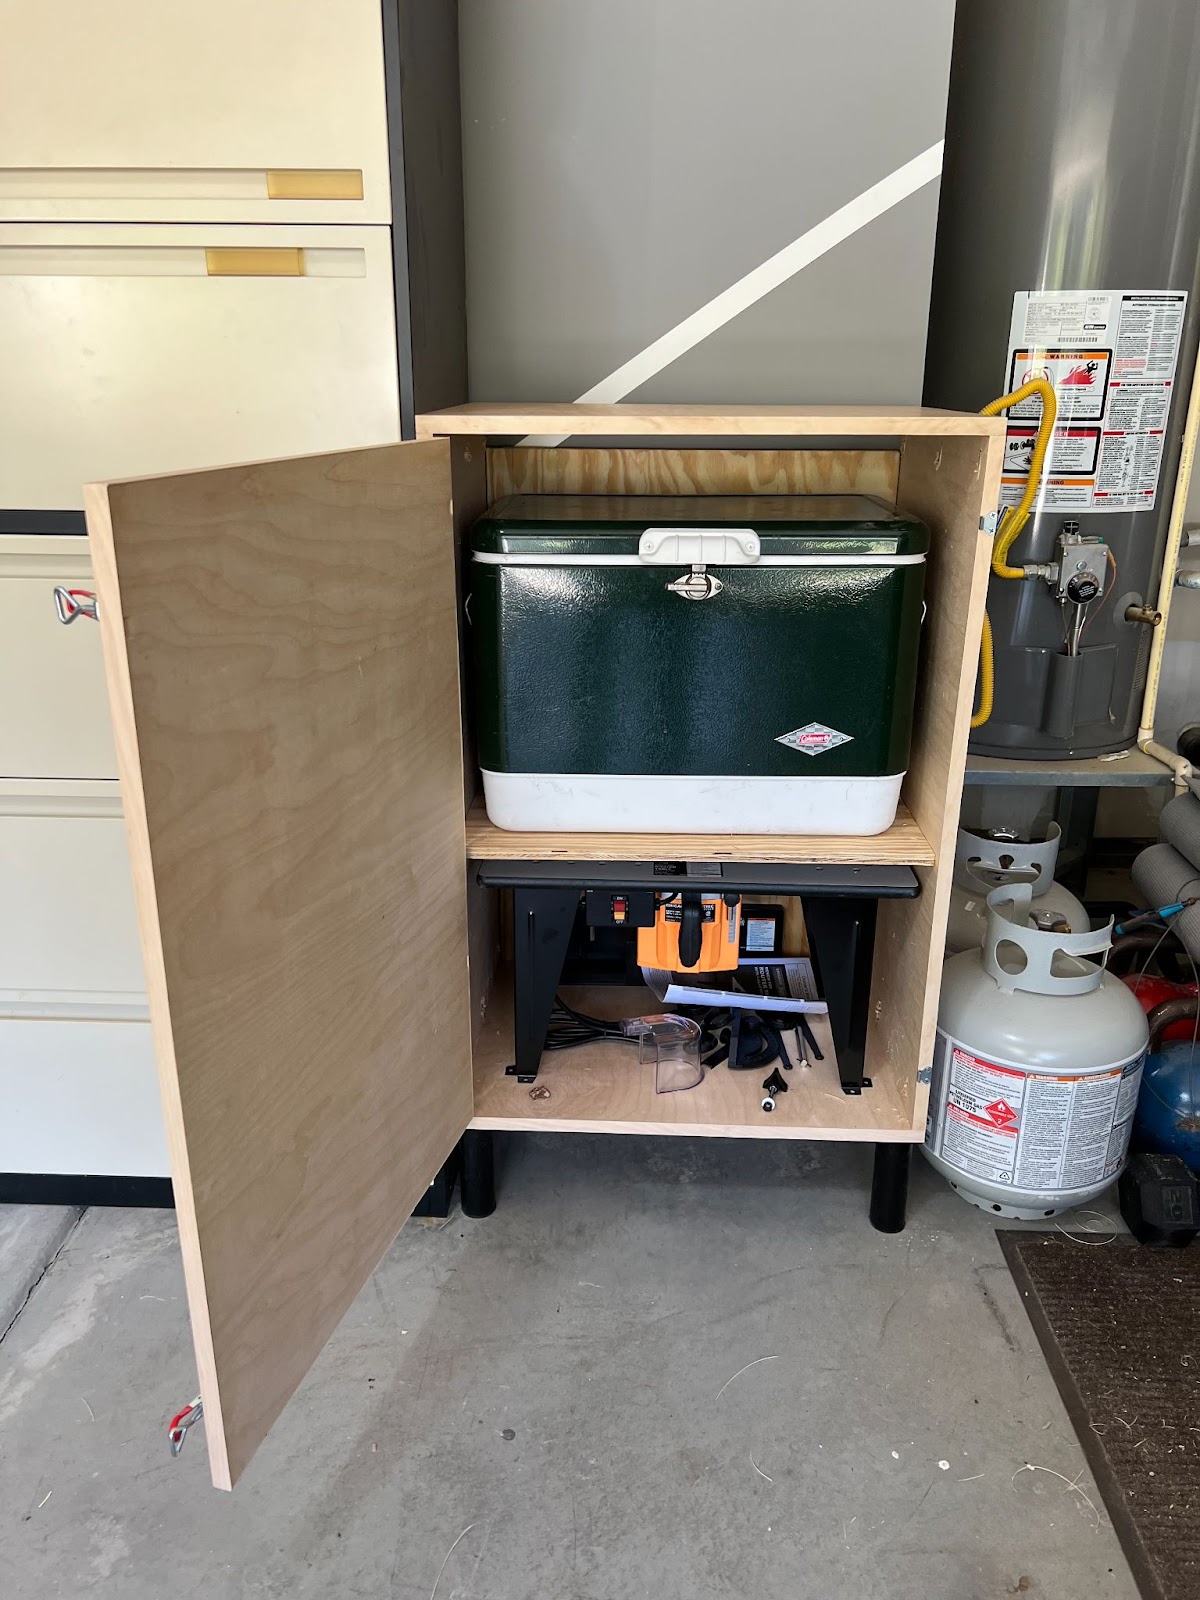
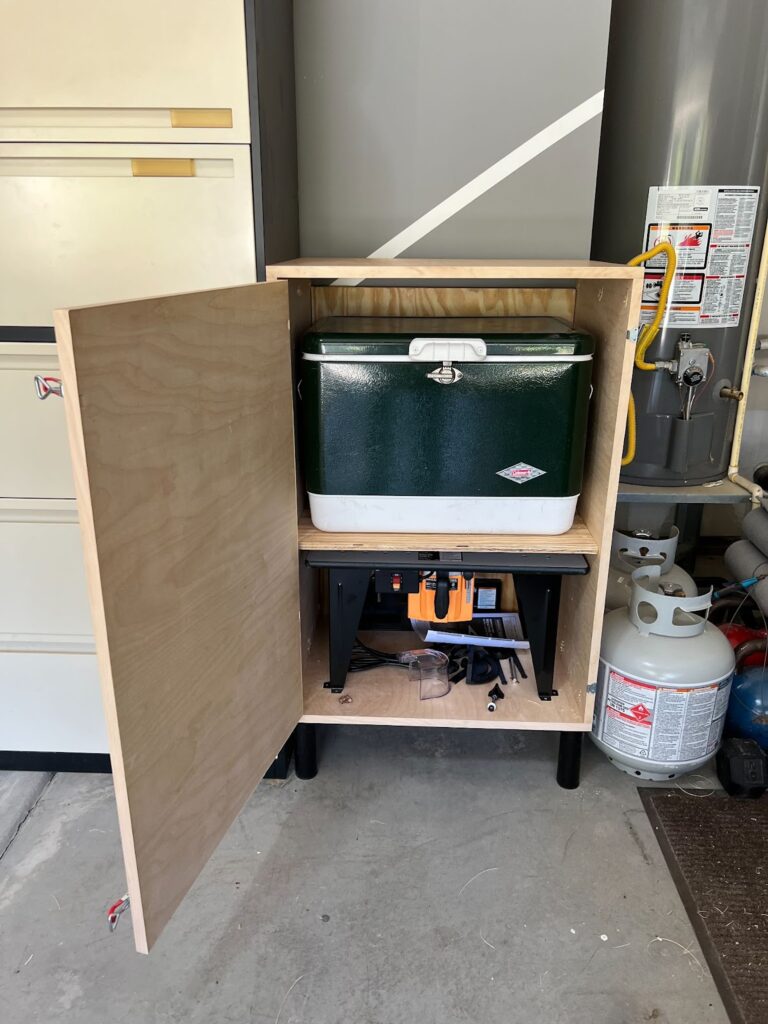
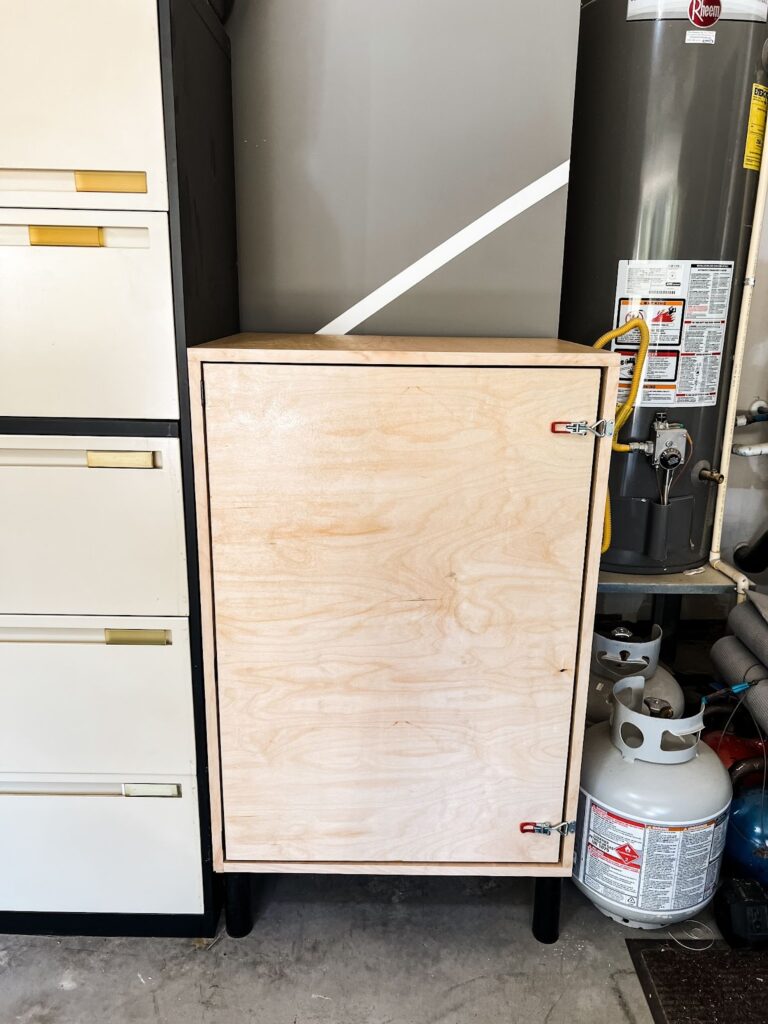
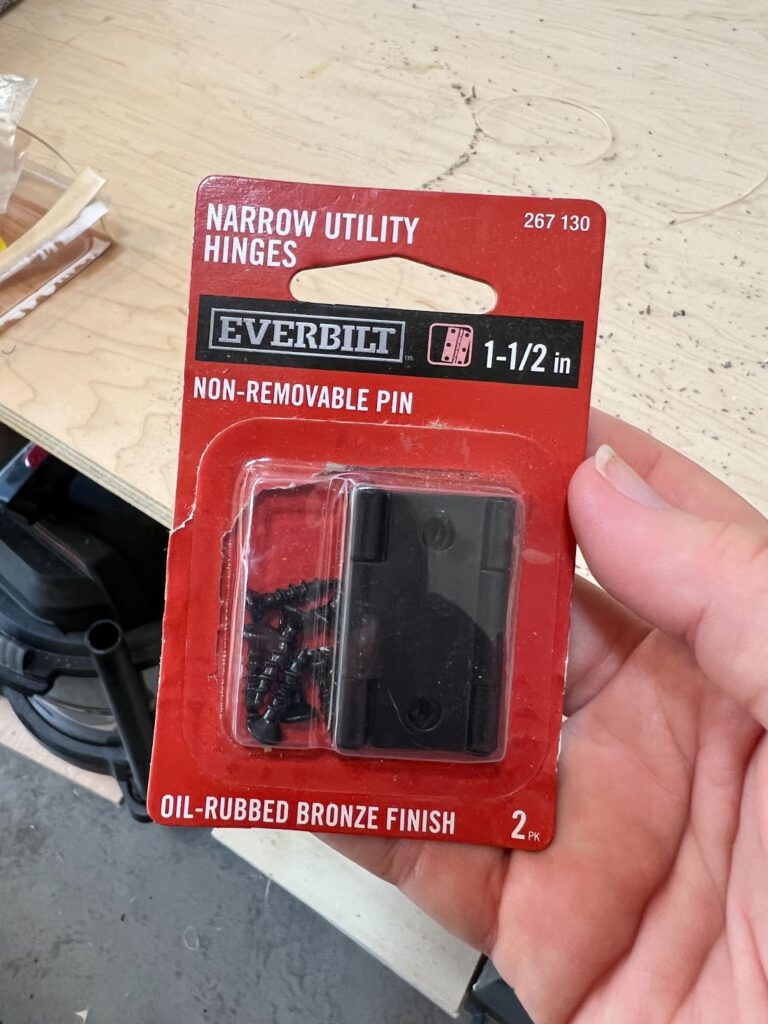
- Attach door with hinges
- Inset style
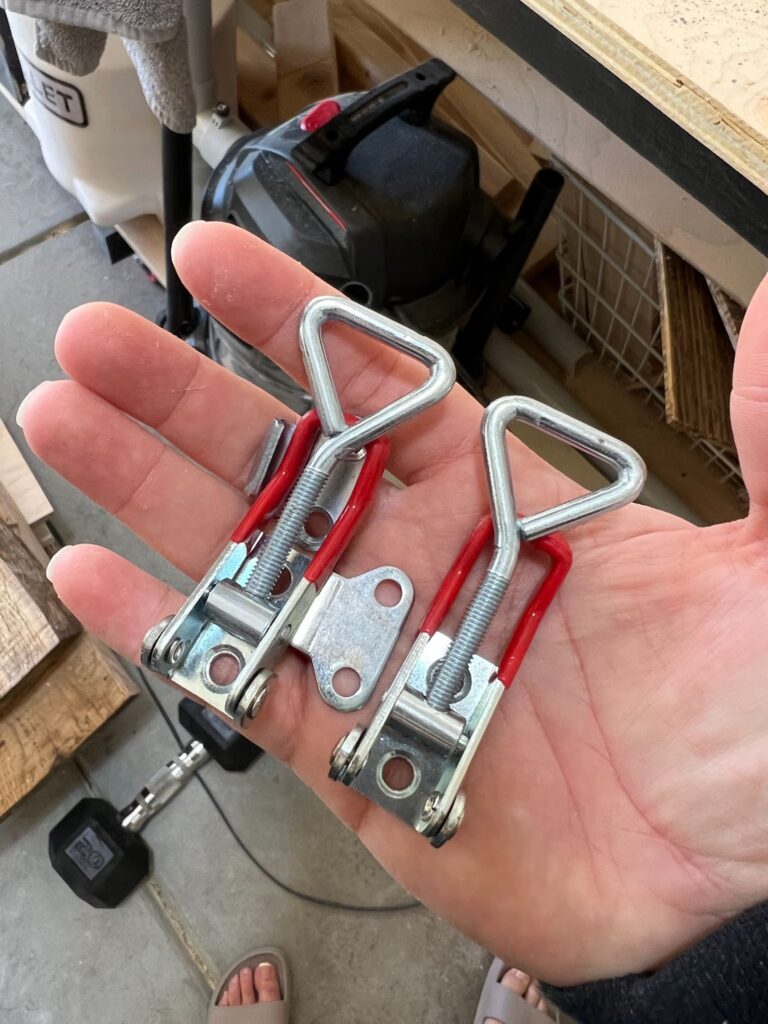
- Attach door latch/es. We used two but you could use one if that works better for you.
- Fill the cabinet with the items you want to store in it and enjoy!
I can’t wait to see how your storage cabinet turns out! Leave a comment below if you make this cabinet or will be building the One Day Cabinet Build! You can always find videos on the build itself on my social channels saved!
If or when you get one of these, I’d love for you to tag us on Instagram so I can see what you create!
COZY HOME, COZY RECIPES:
Every cozy home deserves amazing recipes, and it’s even better when those recipes are both delicious and healthy. Our goal is to provide tasty meals that are easy to make, regardless of your skill level.
Fast, easy meals leave more time for fun activities, making your home a hub of joy and good food.
CONNECT WITH US:
As always, we love hearing about your experiences with our “One Day Cabinet Build for Garage Storage”. Reach out to us through our social channels. Any questions you have, we’re here to answer.
Stay updated by joining our newsletter, offering a monthly dose of new recipes and a first look at upcoming projects.
MORE COZY KITCHEN RECIPES:
If you’re hungry for more, explore our collection of Cozy Kitchen Recipes. Another healthy favorite is the “Sausage Potato Veggie Bake.” Find these recipes and more here.
DIY RESOURCES:
For additional resources, check out our DIY Tutorials, offering a wealth of information to enhance your home improvement skills.

