


Ever looked at an awkward corner in your home and thought. What in the world am I going to do with this space? Maybe it’s that underutilized area that’s been collecting dust or a spot that seems impossible to design around. What about a DIY Custom Corner Desk like this one?
I faced that exact dilemma when we moved into our new-build home. As a full-time wedding photographer and content creator, having a dedicated workspace was crucial for me. But the challenge? We didn’t have the luxury of a spare room to convert into a home office space. Our guest rooms were off-limits because we host family often, so I needed to find another solution.
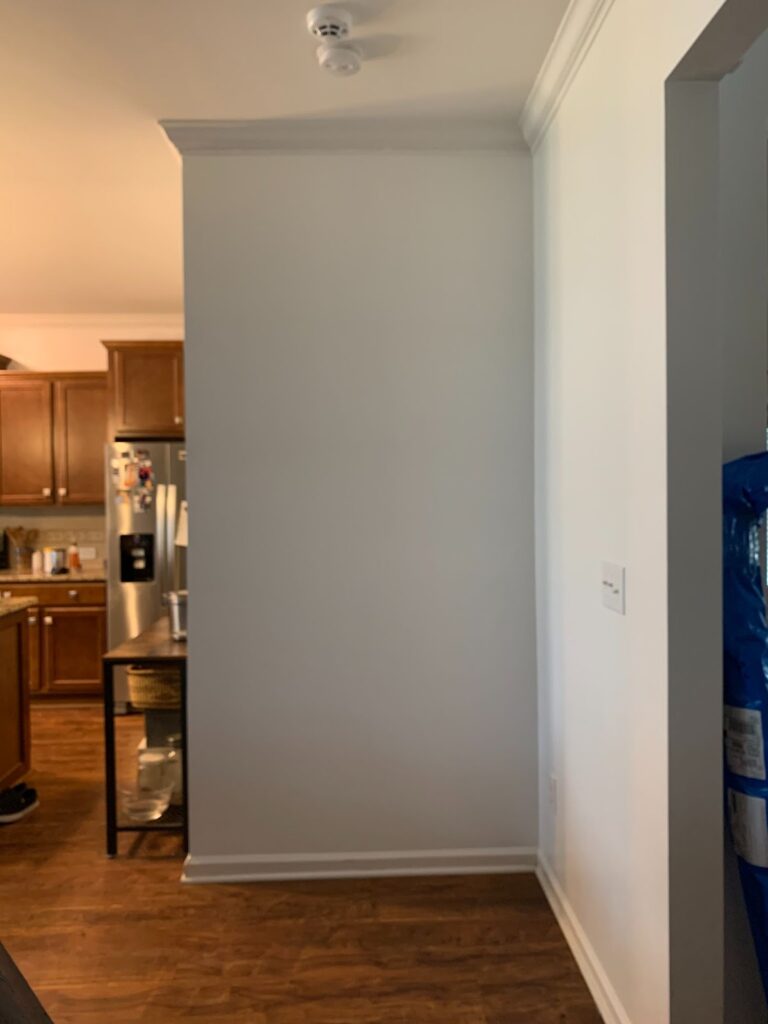
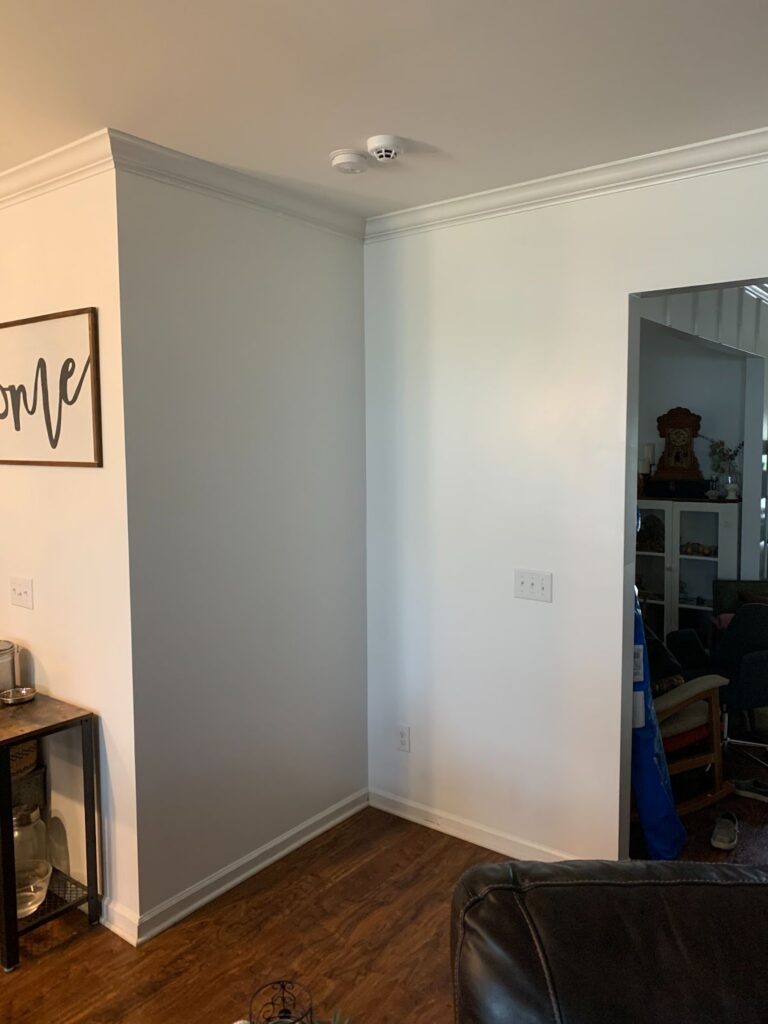
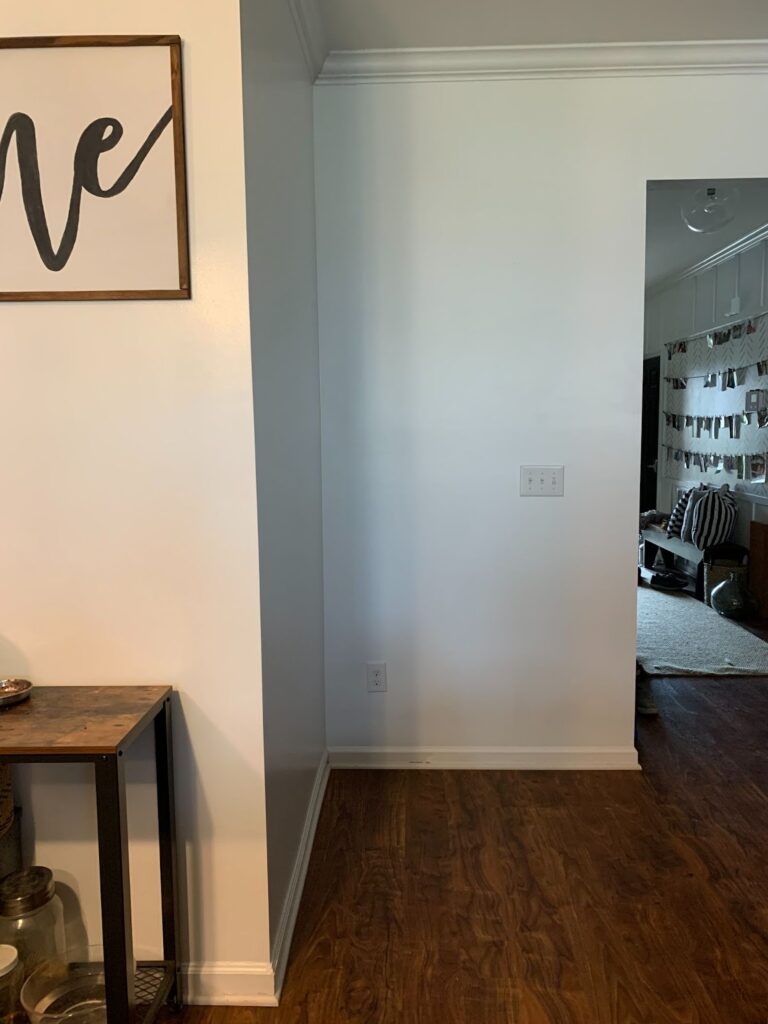
There was this strange corner, right in the middle of our home, that felt like wasted potential. It wasn’t being used for anything, and it seemed like such a missed opportunity for functional design. I’m a big believer in making every inch of my home more functional, so leaving that space as-is wasn’t an option.
After searching high and low for pre-made desks that could fit, I realized nothing in stores or online was going to work. That’s when I decided the only way to make this space useful was to build a custom corner desk.
In this post, I’ll guide you through the entire process of designing and building my custom office corner desk from scratch. Whether you’re dealing with an awkward space or just want to create something unique for your home office, this project will show you exactly how to turn an unused area into a functional, beautiful workspace.
Assessing the Space and Designing the Desk
When we first moved in, the corner in question had no real purpose. Wasted space drives me crazy, and I knew I needed to make this area functional. I scoured the internet for desks that would fit, but nothing matched the dimensions or aesthetic I had in mind. That’s when I realized—this needed to be a custom corner desk plans build.
Once I committed to the idea of designing my own desk, the brainstorming began. I sketched out several designs, keeping in mind that the desk should wrap around the inside corner without disrupting the traffic flow through our house. The space was near a central walkway, so it had to be functional without getting in the way.
Next came the realization that custom cabinetry was also necessary. None of the pre-made cabinets were the right size that would leave enough space to walk by this high traffic area in our home. This led me down a rabbit hole of researching how to build cabinets from scratch, which ultimately led to purchasing a table saw (and yes, I was definitely intimidated by it at first!).
I spent days learning the ins and outs of using the table saw, taking every safety precaution. With all my planning in place, I was ready to start cutting cabinet pieces.
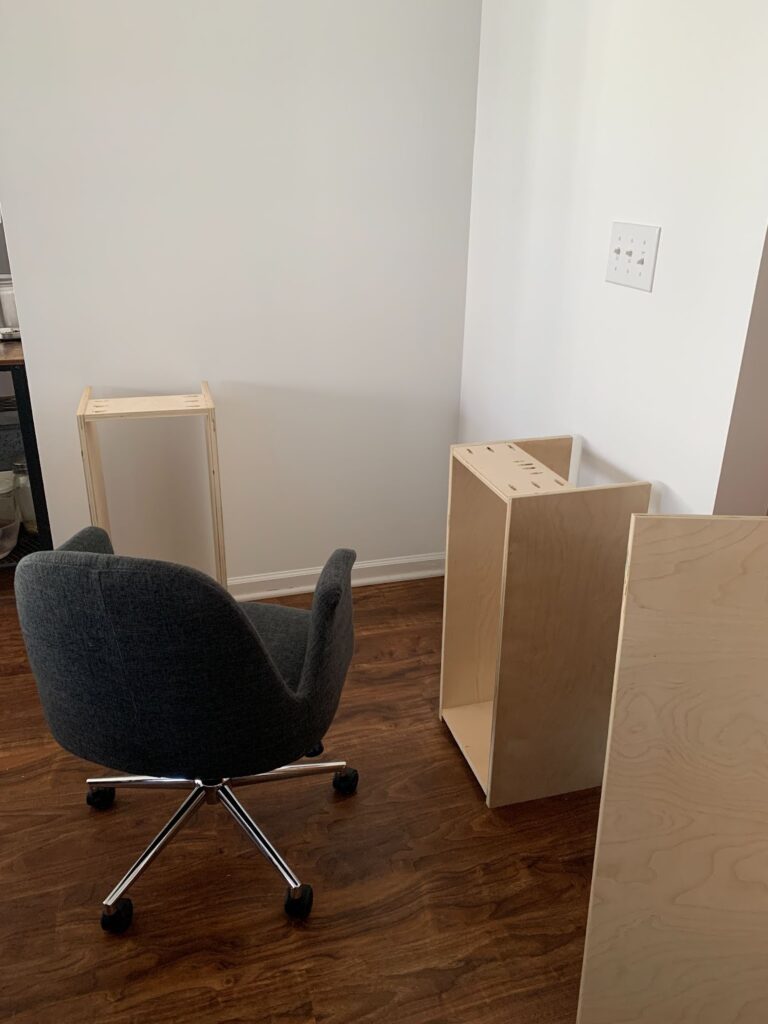
Building and Installing the Cabinet Boxes
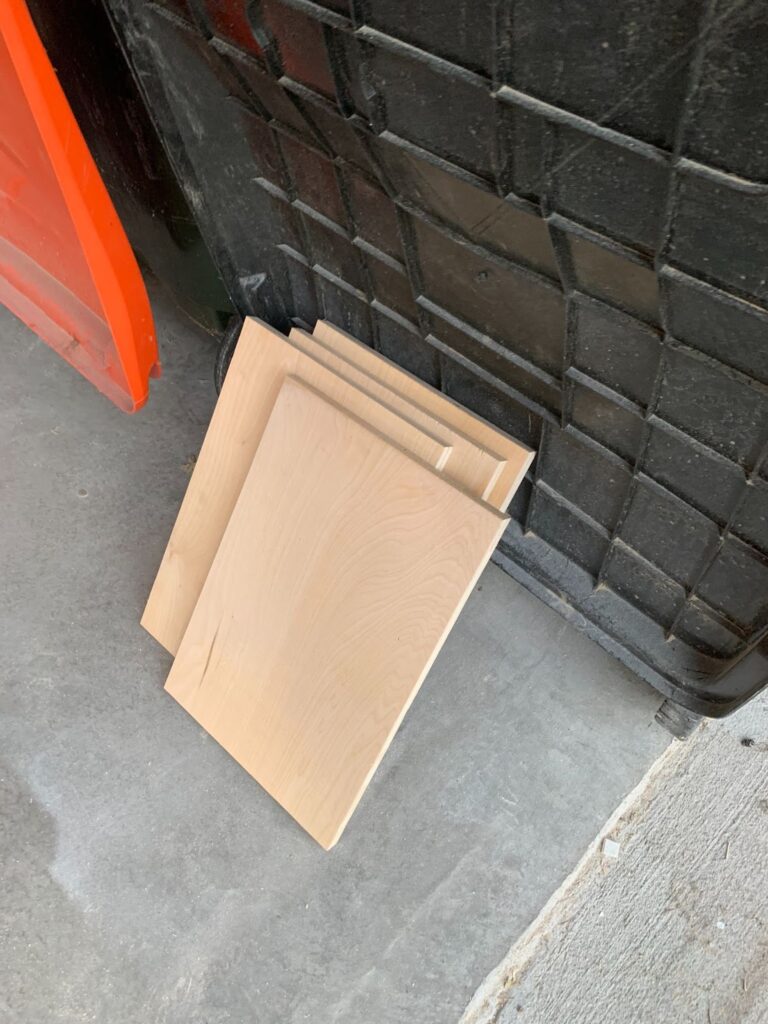

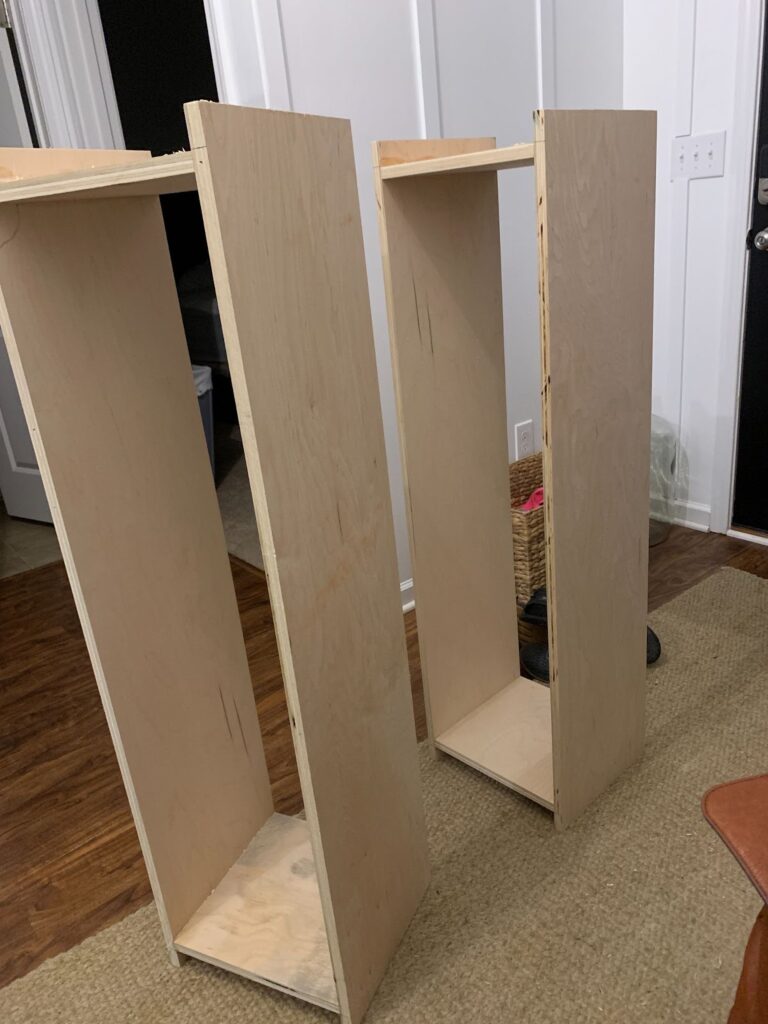
Now that I had my final design, it was time to tackle the cabinet boxes. I measured each piece of plywood meticulously, as mistakes would be costly—plywood isn’t cheap these days! After successfully completing my cut list of all the panels, it was time to assemble the cabinet boxes.
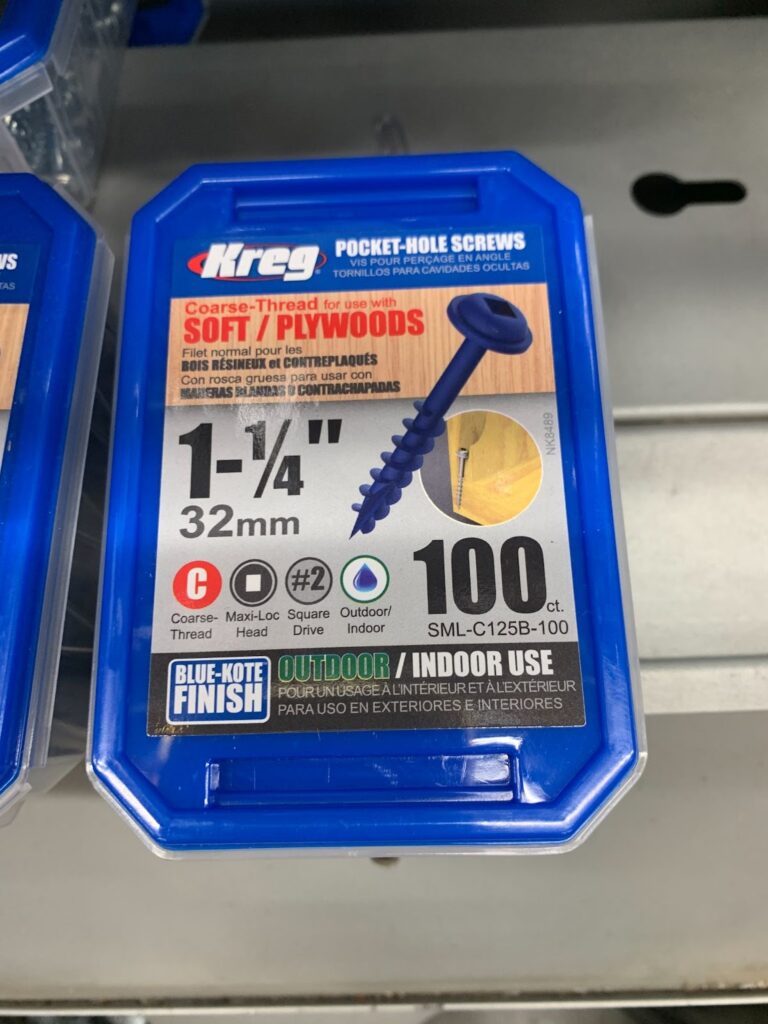
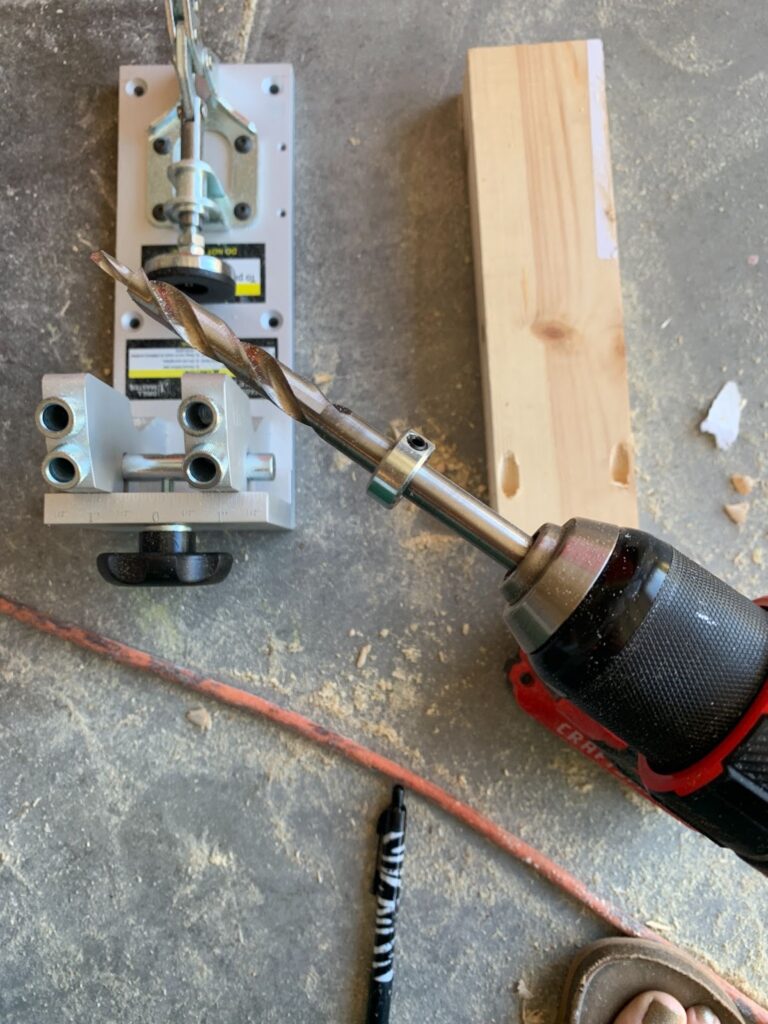
Building these cabinets was much simpler than I anticipated. I use a pocket hole kreg jig to make pocket holes in the panels, used right-angle clamps for perfect corners, and assembled everything piece by piece with pocket hole screws and wood glue in all joints. I let the glue dry fully before moving on to the next step.
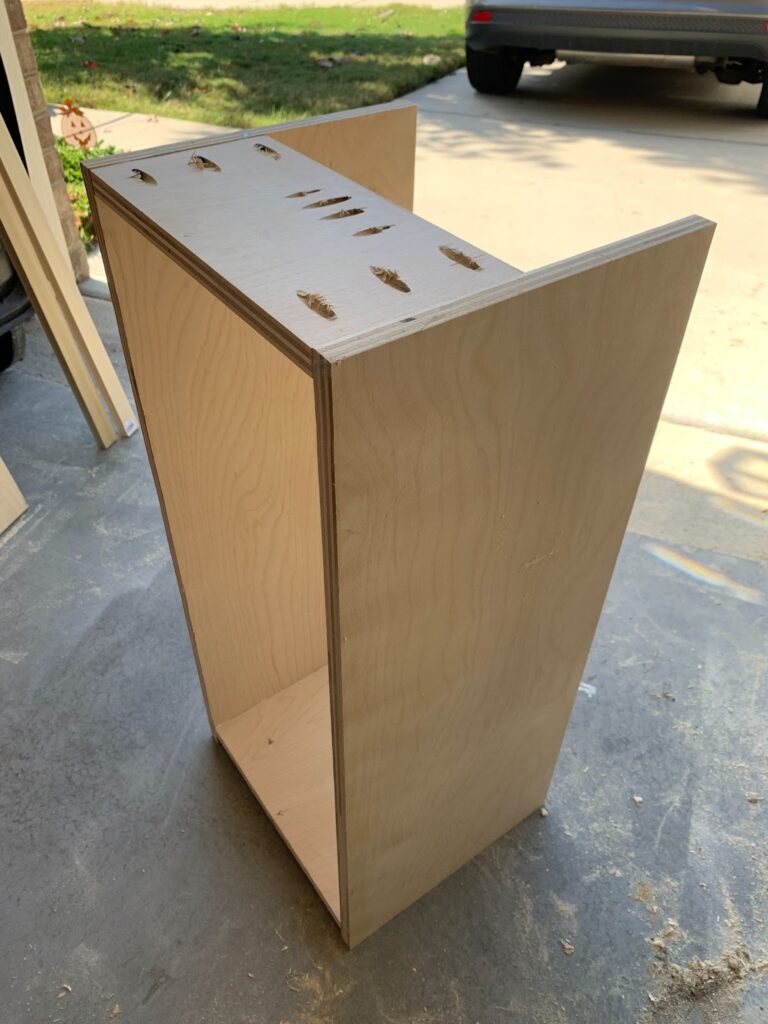
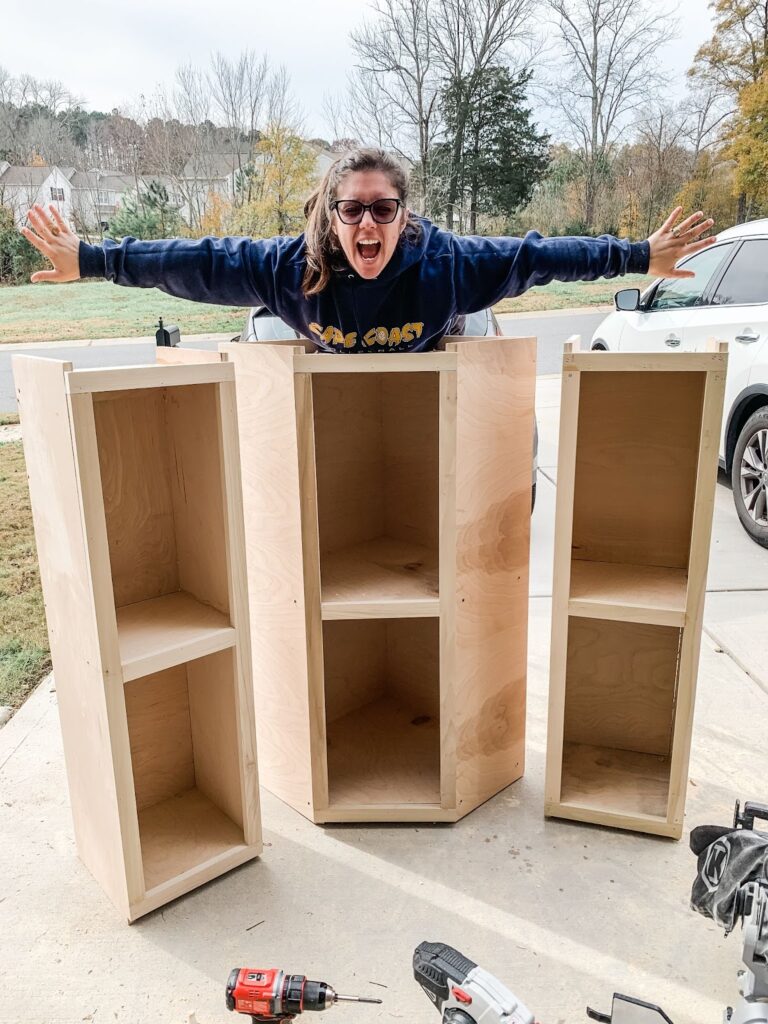
Building these cabinets marked a major milestone for me. What once felt daunting now seemed totally achievable. Cabinets aren’t hard to build—they just require patience and precision.
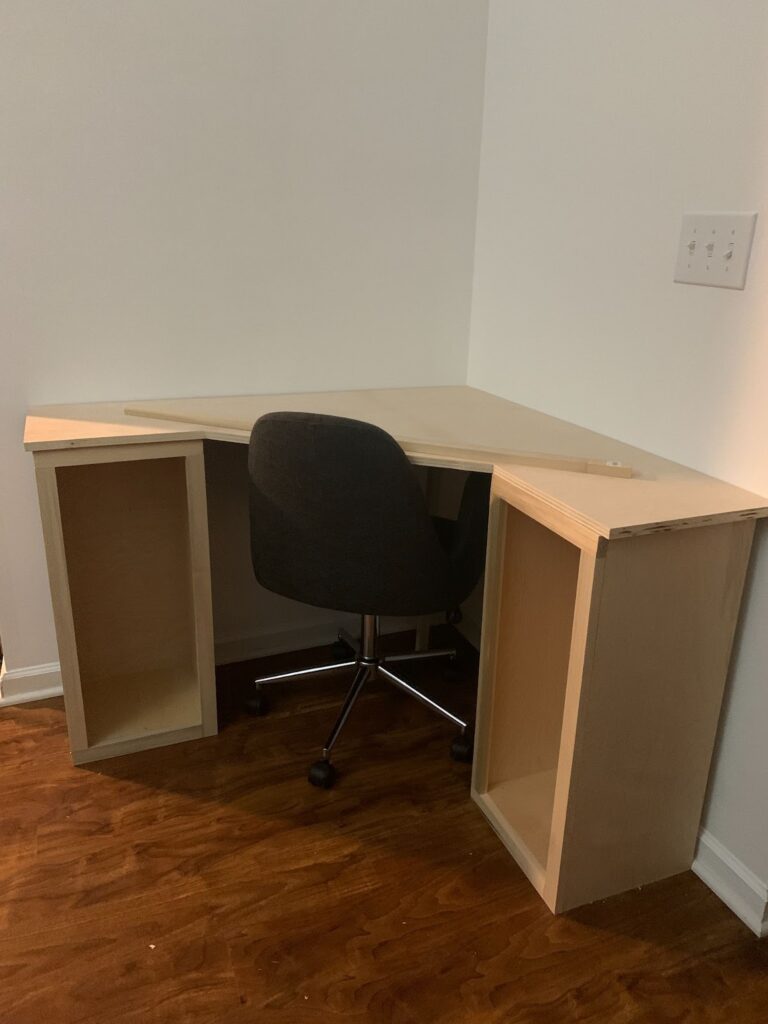
Once the cabinets were dry, I did a dry fit in the corner to make sure everything aligned perfectly—and it did! Next up: face frames.
Installing the Face Frames
Face frames are key to giving cabinets a clean, finished look, but for me, this part was more challenging than assembling the cabinet boxes. I used poplar wood for the frames, which is great for painting. If you’re staining your cabinets, I’d recommend using something like maple or oak for better results.
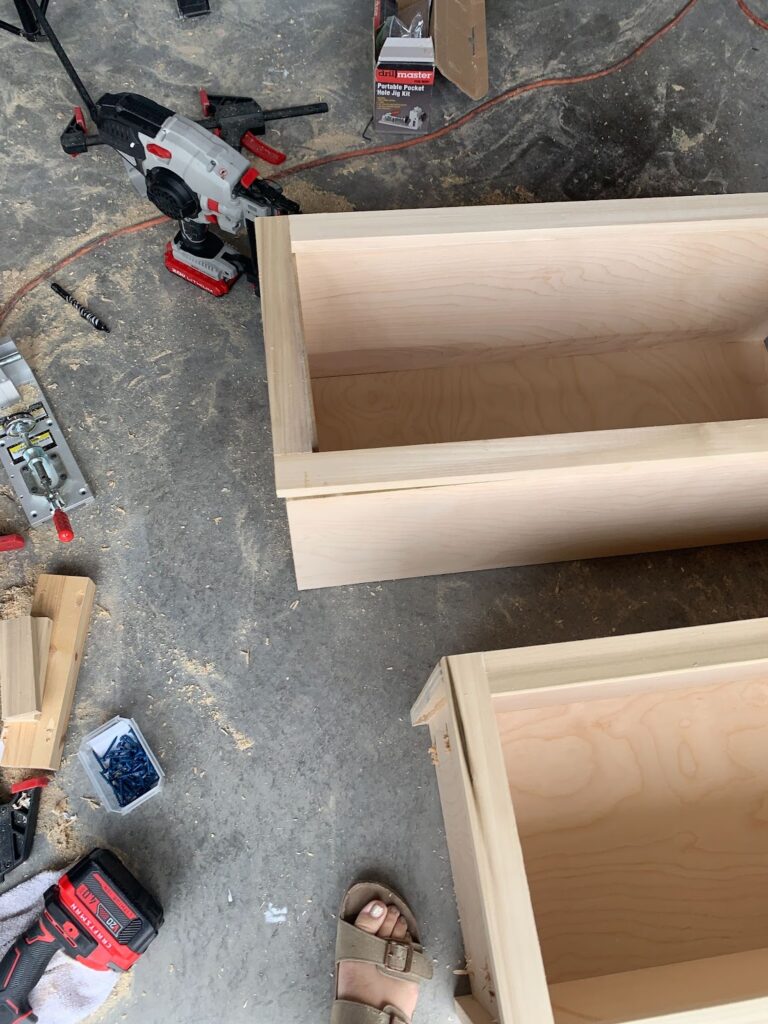
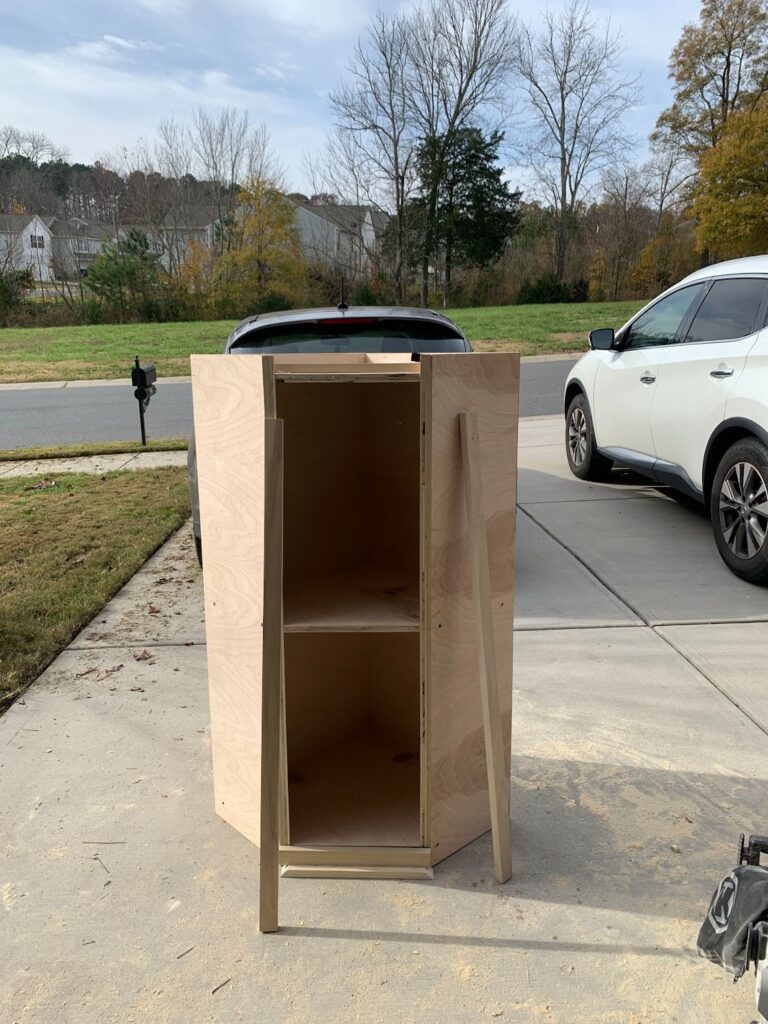
I measured and cut the framing pieces, drilled pocket holes, and assembled each frame before attaching them. After the frames glue fully dried, I attached the frames to the cabinets with more glue and nail gun. Once everything was dry and secure, I filled in any nail holes or wood seams with wood filler, then sanded until smooth. Now the cabinets were ready for painting.
Priming and Painting the Cabinets
For this project, I decided to paint the cabinets before installation. This made the process easier, especially since I had a wall stencil design to work around. I didn’t want to risk messing up the stencil while painting around the cabinets later.
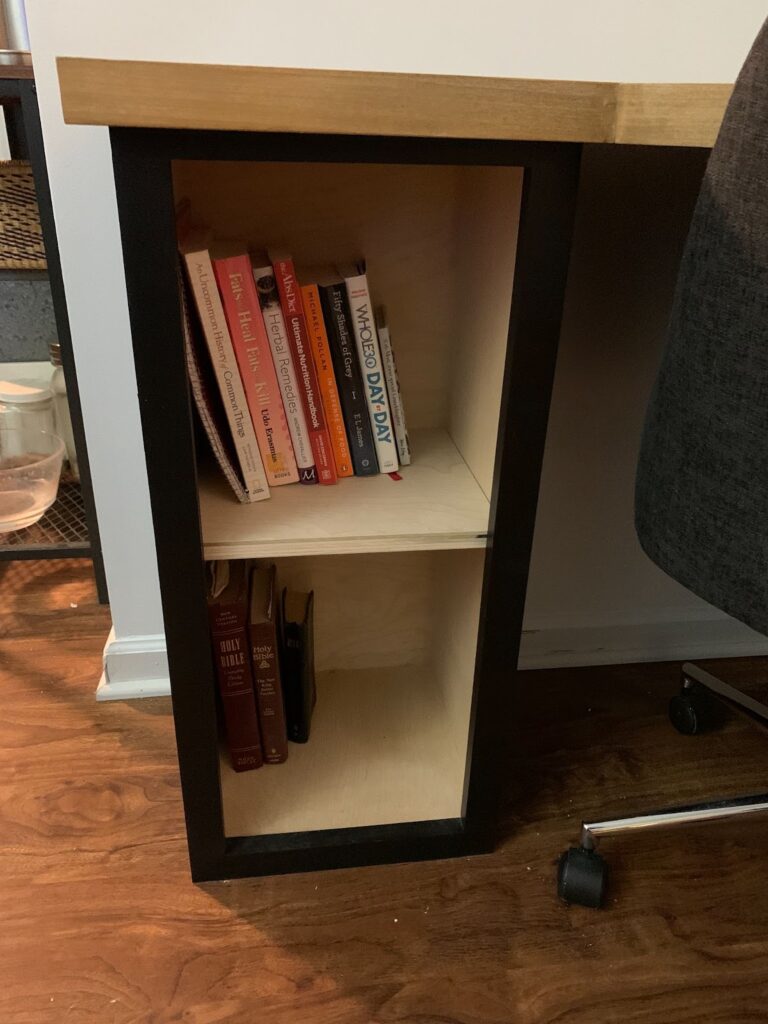
I chose Sherwin Williams’ Tricorn Black for a bold, modern look. After three coats of paint—sanding between each one for smoothness—the cabinets were fully painted and left to cure for a few days.
Installing the Cabinets
After the paint had time to cure and the stencil was done, it was time to install the cabinets. We started with the two lower cabinets, followed by the upper middle and two smaller side cabinets. This was our first time installing cabinets.
Installing the cabinets was no small task, so we enlisted the help of my brother-in-law, a professional cabinet builder to help teach us. His expertise made the process go smoothly, and we securely anchored each cabinet into the wall studs.
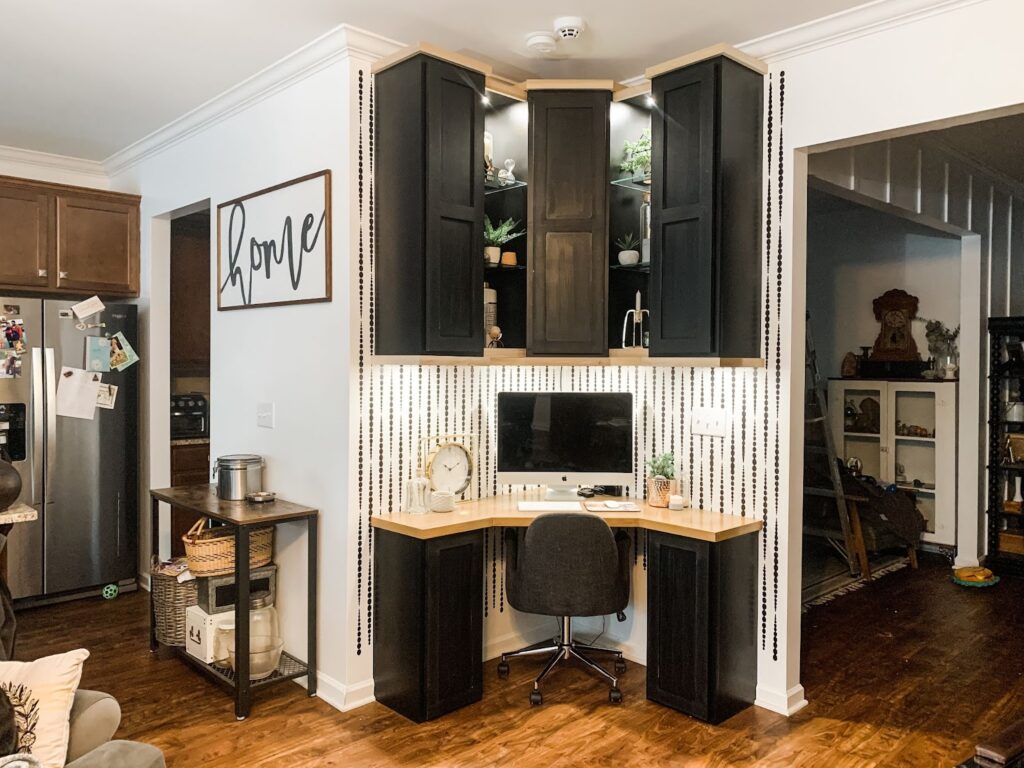
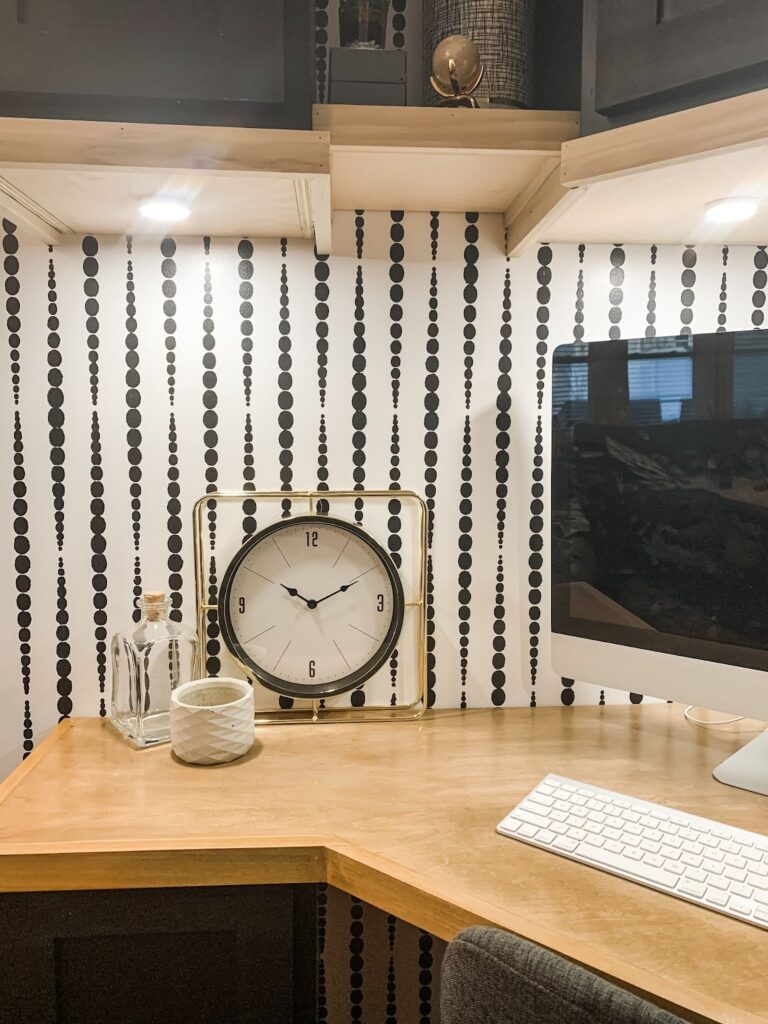
Adding the Finishing Touches to the Corner Desk Build
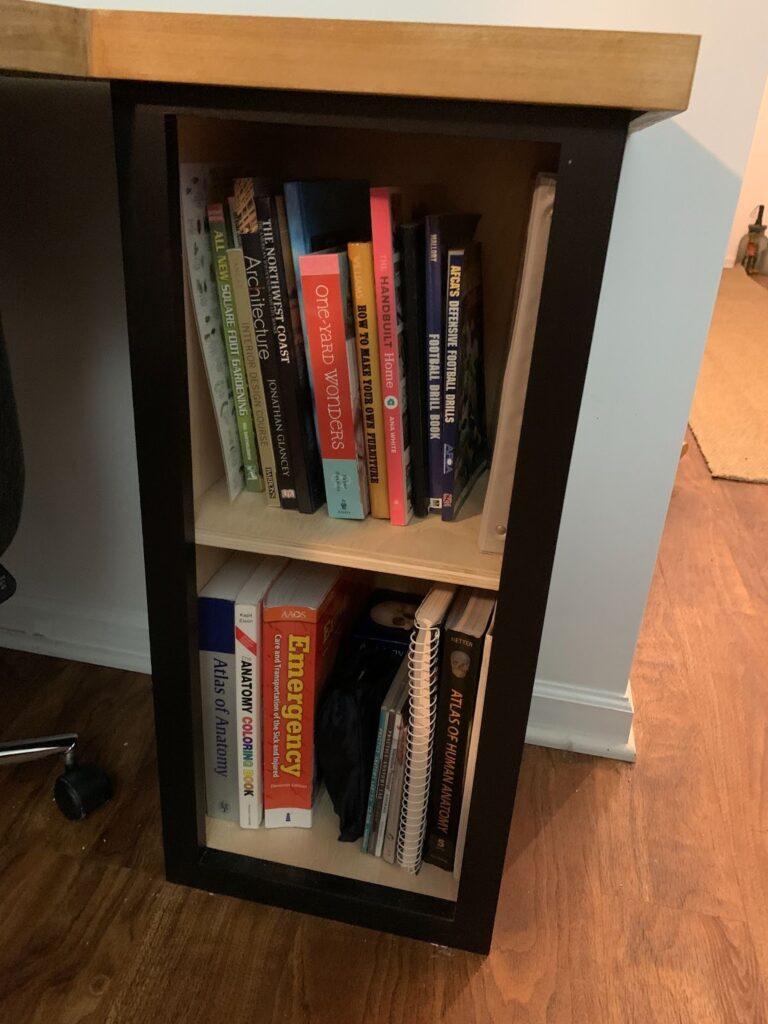
The desk was coming together beautifully. The Final Step: we added a plywood desk top, sourced glass shelves from a local glass shop, installed under-cabinet lighting, cabinet doors and base trim pieces. The two-toned look of the desk with the black cabinets and natural wood desktop created a striking contrast. It wasn’t just functional—it was a statement piece in the heart of our home.
We installed an easy plug-in version of under cabinet lighting so we didn’t have to cut into the walls to add wiring. You just attach lights to the underneath of each cabinet per the instructions and then we ran the wires through the cabinets to hide them.
The wires all met back in the corner and we drilled a cable hole through the bottom of the middle cabinet and desk top. Then ran the main wire down the corner close to the wall and through the desktop to plug in. We added to the top of the desk cable hole a cover to make it look nice. This is a great diy desk under cabinet lighting alternative to elevate your small corner desk if you don’t want to do hard wired lights.
Stenciling the Wall
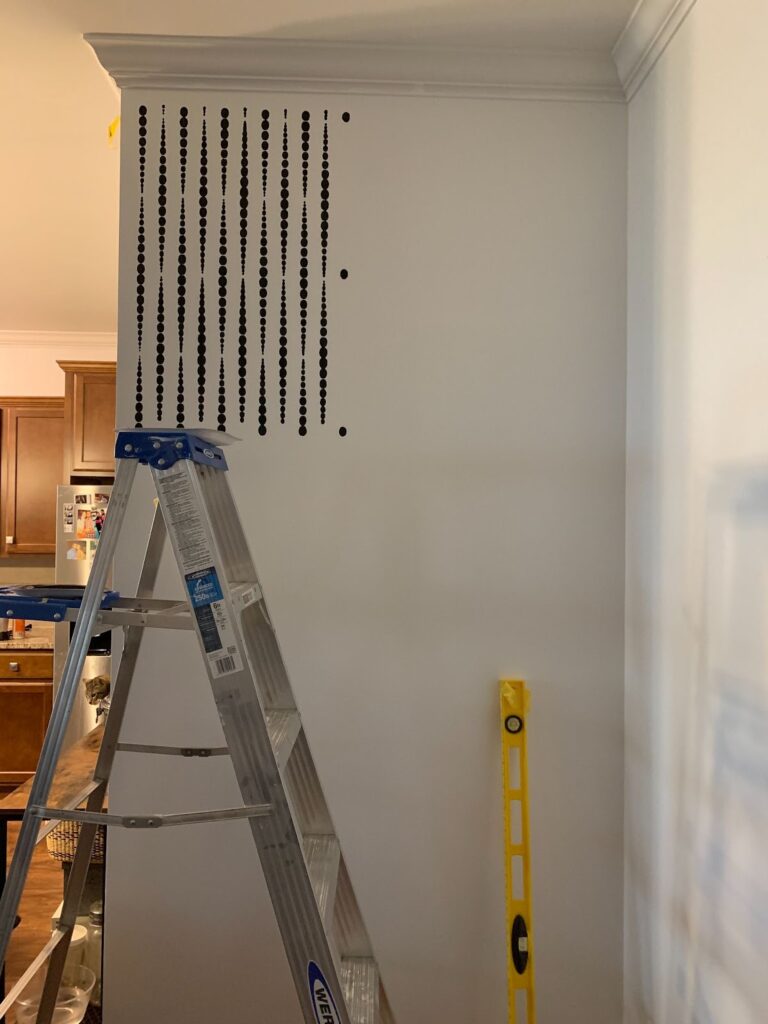
Before we installed the cabinets, I stenciled the wall behind the desk. Even though much of the stencil would be hidden by the cabinets, doing it beforehand made the whole process easier.
It was the easiest way to not have to worry about taping off all the cabinets and trying to paint around them without messing them up. If you’re considering a wall stencil for a project like this, a great option is to stencil before installation if possible.

Before you Start Building your DIY Custom Corner Desk…
Turning that once awkward corner into a functional and stylish office desk was one of the most rewarding projects I’ve tackled. What was once wasted space now serves as the perfect desk creative hub for my photography and content creation work.
Not only does the desk fit seamlessly into our home’s layout, but it also functions exactly how I envisioned it, with plenty of storage, style, and space to work efficiently. I love how it makes a statement right in the middle of our home, drawing attention not just for its functionality, but for its beauty as well.
Building your own corner desk may seem like an overwhelming project, but trust me it was a fairly simple build that didn’t take a lot of time. With careful planning, it’s completely doable—even if you’re new to woodworking or cabinet making like I was. Every step, from designing to building to installing, taught me something new and boosted my confidence in what I can accomplish with DIY.
If I can build a custom corner computer desk, you can too!
If you’re thinking about tackling a similar project or have any questions. Feel free to drop them in the comments below! I’d love to hear your thoughts or suggestions on how you might customize this project to suit your own home.
Plus, I’ve linked all the supplies and tools I used. When you are ready to start your own custom build, you’ve got everything you need below to get started.
Here is the best DIY Custom Corner Desk shopping list link . This has all the supplies and tools you need to complete this project yourself!
Also, don’t forget to check out my Instagram for behind-the-scenes videos of this project and other DIY builds I’ve completed. Whether you’re a beginner or an experienced DIYer. There’s always something new to learn, and I can’t wait to share more projects with you!
If or when you decide to add your own corner office desk DIY Custom Corner Desk to your space. I’d love for you to tag us on Instagram so I can see your finished DIY projects come to life!
COZY HOME, COZY RECIPES:
Every cozy home deserves amazing recipes, and it’s even better when those recipes are both delicious and healthy. Our goal is to provide tasty meals that are easy to make, regardless of your skill level.
Fast, easy meals leave more time for fun activities, making your home a hub of joy and good food.
CONNECT WITH US:
As always, we love hearing about your experiences with our “DIY Custom Office Corner Desk Step-by-Step Build”. Reach out to us through our social channels. Any questions you have, we’re here to answer.
Stay updated by joining our newsletter, offering a monthly dose of new recipes and a first look at upcoming projects.
MORE COZY KITCHEN RECIPES:
If you’re hungry for more, explore our collection of Cozy Kitchen Recipes. Another healthy favorite is the “Sausage Potato Veggie Bake.” Find these recipes and more here.
DIY RESOURCES:
For additional resources, check out our DIY Tutorials, offering a wealth of information to enhance your home improvement skills.


Thanks.
You’re welcome! Glad you enjoyed the read!!!