


This is by far one of the best ways to save money on nightstands and also end up with something unique for your space. Transform an Old Desk into Nightstands!
Why didn’t I do this years ago?
If you need help finding a desk first go read our blog that teaches you how to find these desks on Marketplace “How to Search Marketplace Like a Pro”.
We have photos of 12 common desks we see on the marketplace all the time in there to help get the wheels turning. These will visually help you in picking the perfect desk.
These Desks can range anywhere from free to a couple hundred dollars.
I always go for the free or cheap (aka what fits the budget) option as long as the style and size will work for what I need them for.
Ok, let’s get started and show you How to turn an Old Desk into Nightstands!

Step #1, Find your desk
This can seem like the most overwhelming part of this project. I promise I have made this part the easiest for you.
If you haven’t found your desk yet and need help. Go read our blog post on “How to Search Marketplace Like a Pro” and then come back here!
It has pictures of common ones we see all the time on the marketplace, that will work. We also have tips on how to be successful in your search for your desk.
If you already have your desk and are ready to start…go onto step 2!
Step #2 Pick a desk ASAP!
Stop procrastinating and go get that desk you love and bring it home!
The second hardest part can be committing to the right desk choice.
Rule of thumb…if you love it go pick it up. Great Marketplace finds don’t last long and you have to be quick. So commit and pick your desk up asap!
Step #3 The QUESTIONS step???
Plan out what you want your nightstands to end up looking like? It is a really good idea to answer all of these questions before you start!
This will include the paint or stain color of your choice?
Your hardware handle/knob choice?
Depending what kind of top is currently on the desk? You may need to replace or redo what is currently there. Make these choices before you start.
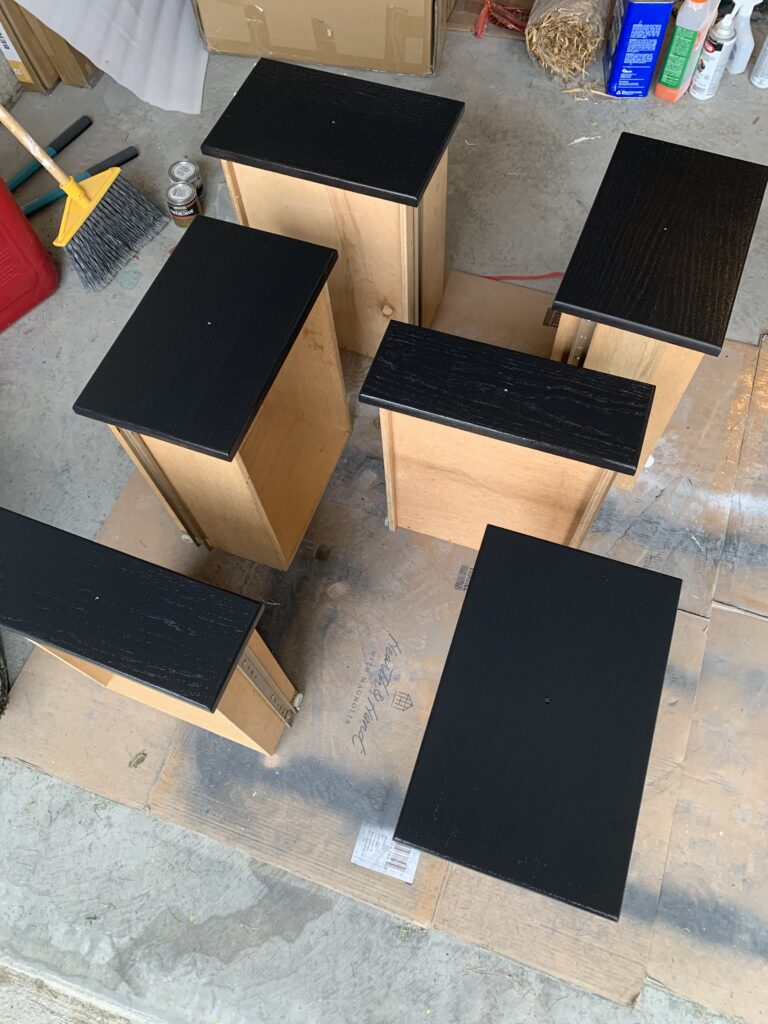
Step #4 Demo Day!
Disassembling the desk may feel stressful and unusual, but trust the process and get this part done ASAP.
You can do 1 of 2 things at this time.
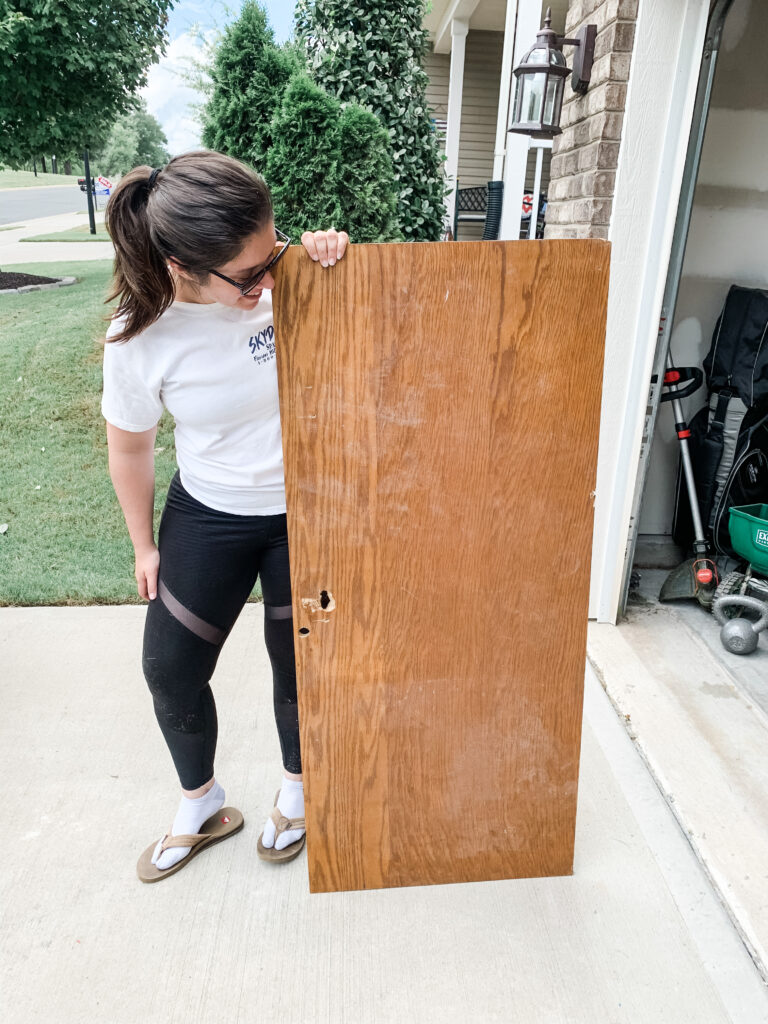
- Either cut the top of the desk and leave the tops attached and redo as is.
- Or, you can remove the entire top of the desk and replace it with new wood pieces to better fit the final look you are going for.
For our desk I decided to ditch the top completely!
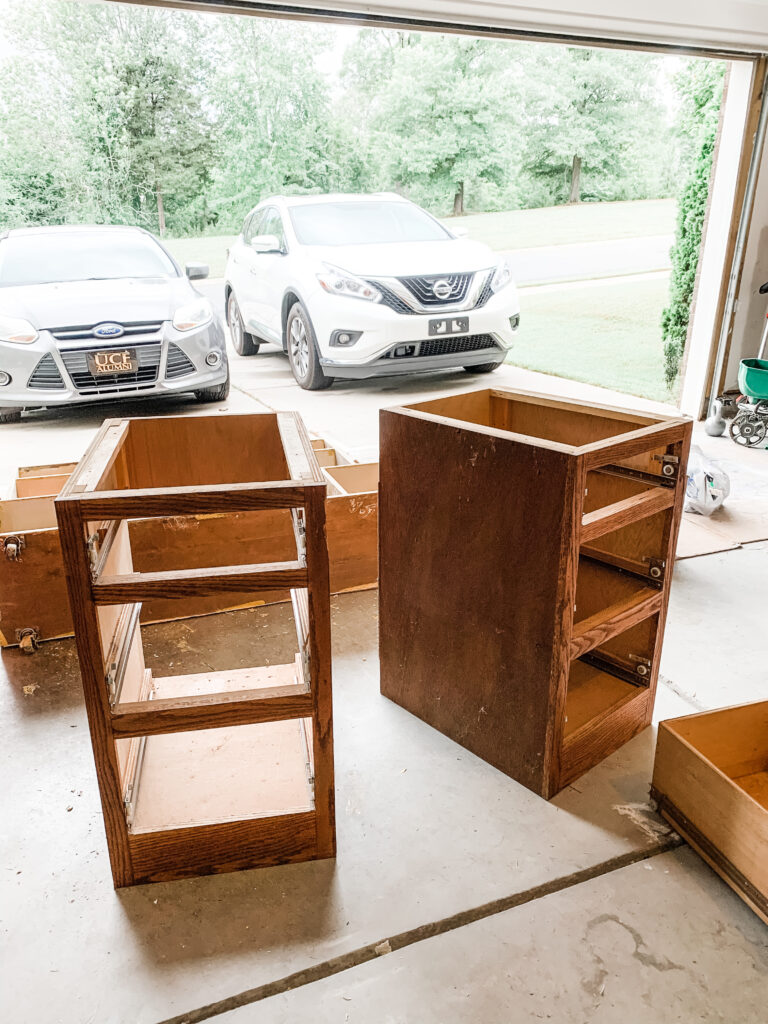
If you go this route, flip the desk upside down first. You will be able to see the screws or whatever bracket is holding the top on easier. Remove those screws or brackets and you should have yourself two separate nightstands now.
Keep in mind some desktops on the rare occasion can be glued and nailed into place. You will need a hammer to help break the top loose. Avoid prying the desktop to loosen it. You risk damaging the base pieces which will be the nightstands. This will just create more work for you down the road.

Step #5 Fix it
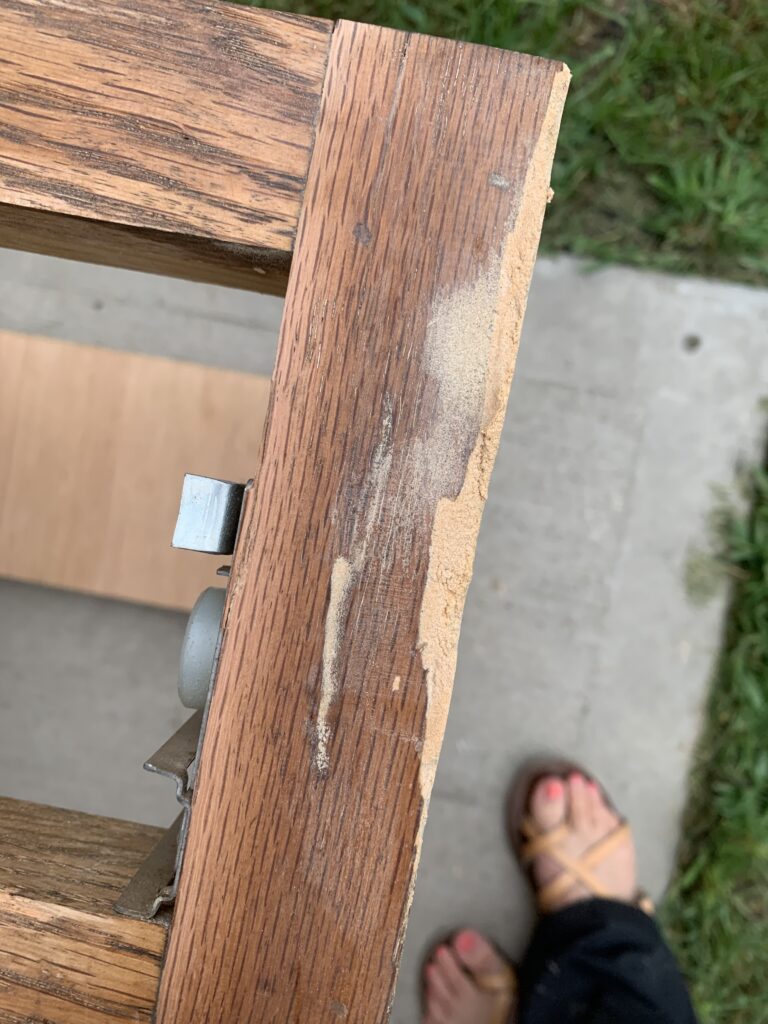
Assess any damage on the nightstand pieces and fix them if needed.
This is where you will decide if you want to strip or sand down any existing paint or sealer to get it to bare wood. Or, prime and sand to prepare for painting.
This is why I said have your visual game plan of what you want them to end up looking like in the beginning. Getting to this point is the fun part and you want to make sure you do the right step next.
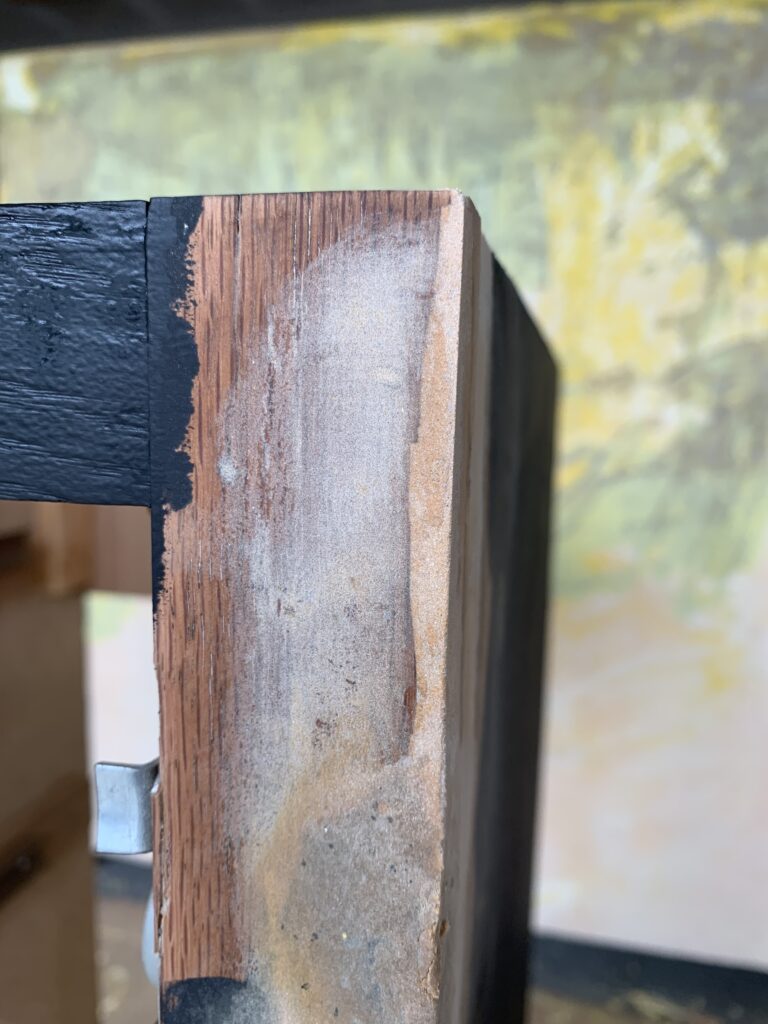
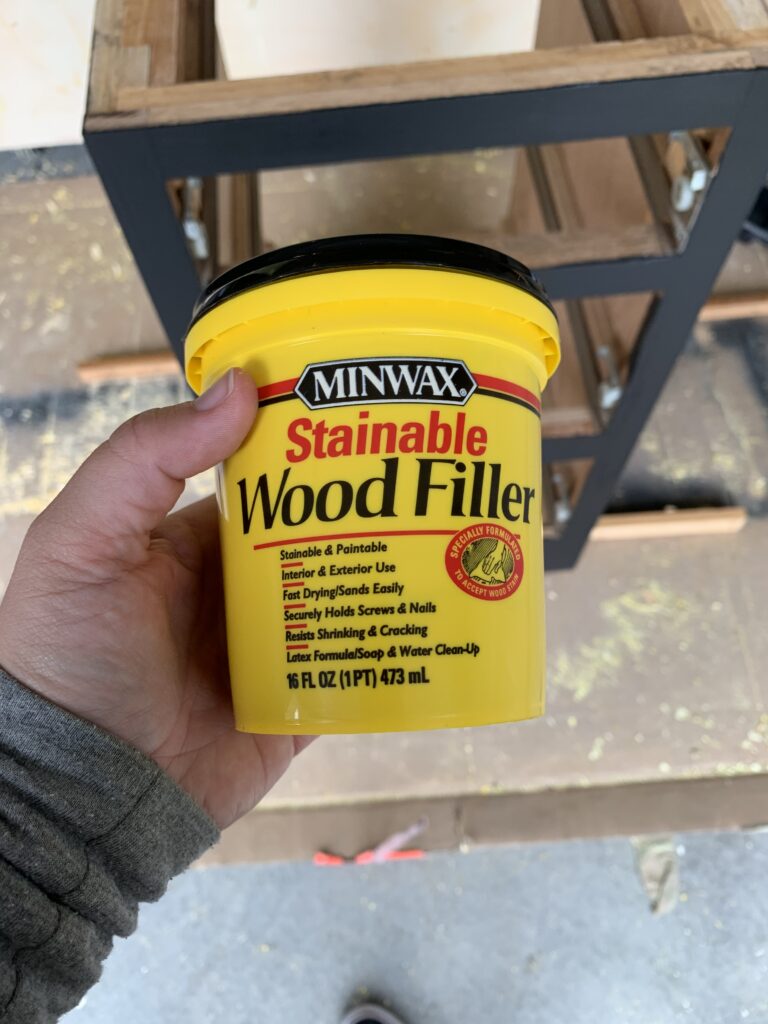
I chose to paint these. This meant a lot less sanding and overall work to get to my next step. I fixed any damage I saw and prepped the nightstands for paint. I used a putty knife and some wood filler to fix imperfections.
Step #6 Make them pretty again!
Whether you choose to stain or paint your nightstands, that is the next step.
You will want to use stain/sealer combo or primer/paint combo depending on what you chose for your overall finished look.
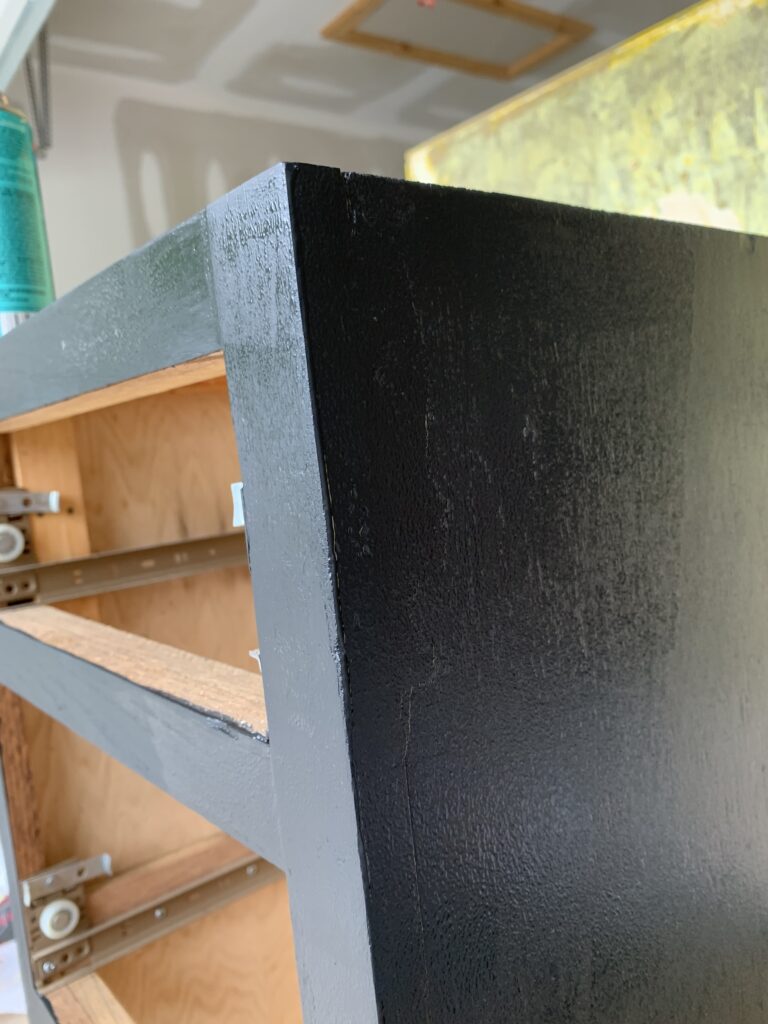
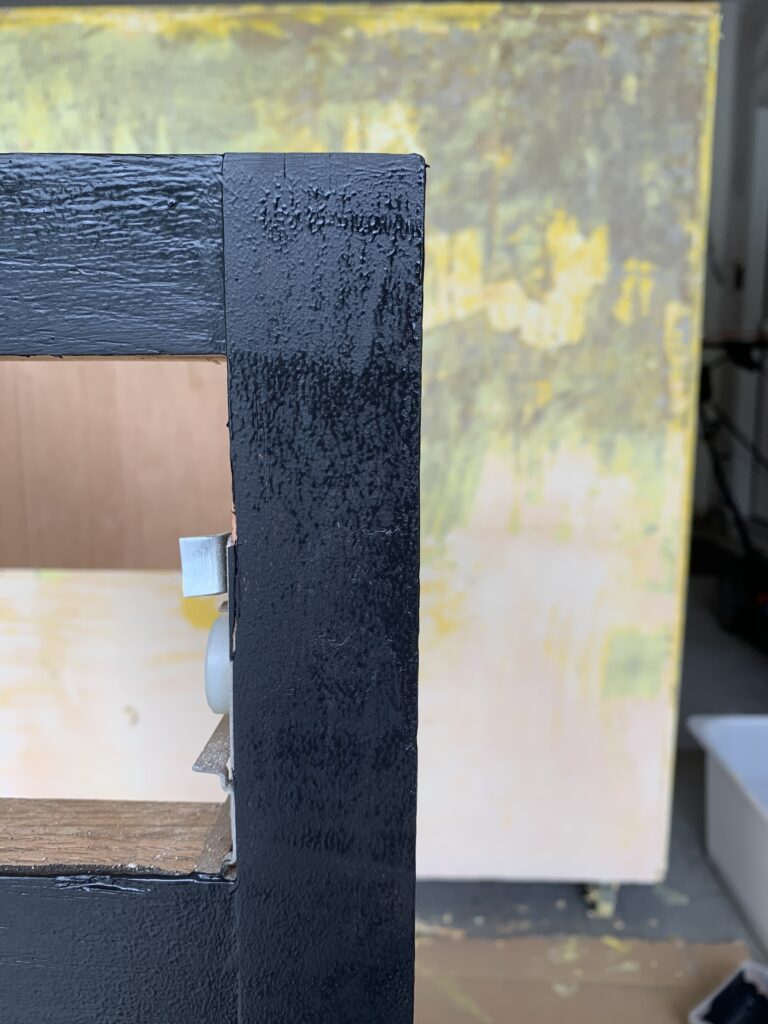
I painted my nightstands so we used a primer underneath the paint first. Sanded in between priming and painting. Then we painted them with my go to Black Paint Color Sherwin Williams Tricorn Black. I love this color, it is my go to all throughout our home!
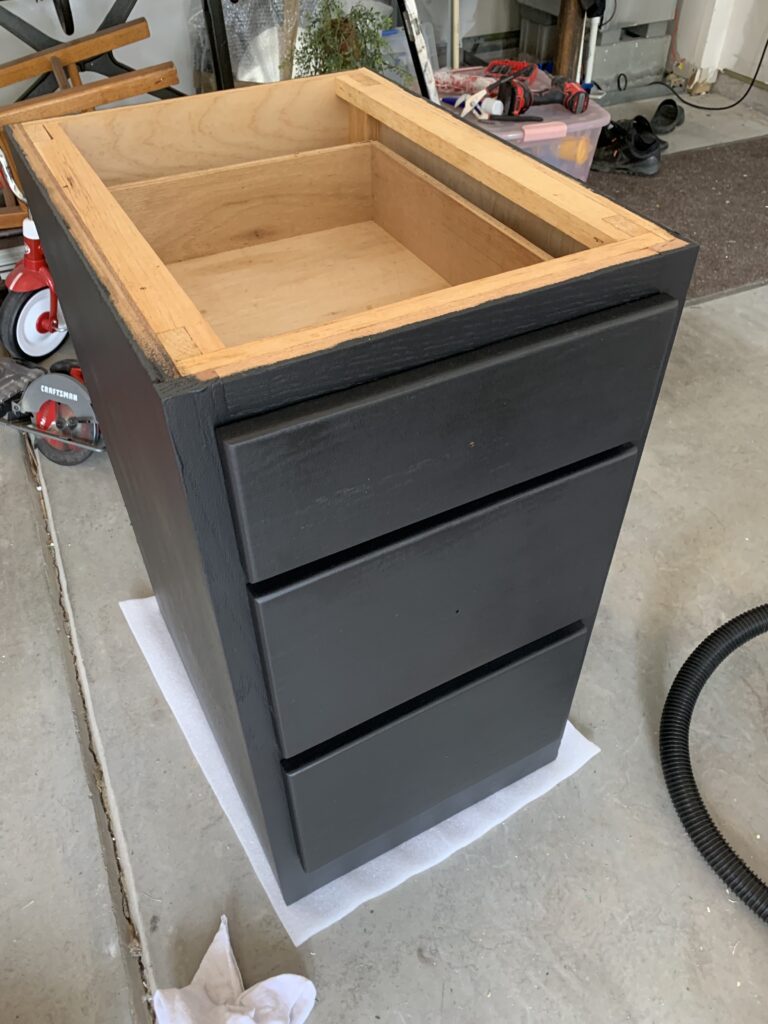


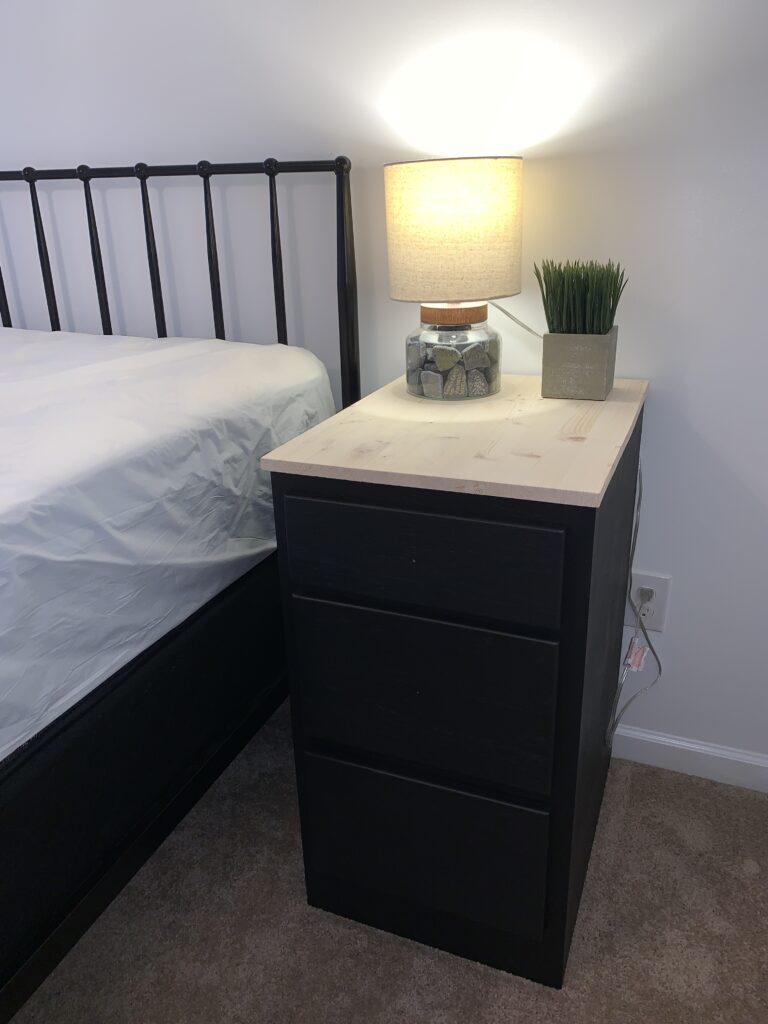
Step #7 It’s all about the top…
This step will depend on whether you choose to keep the top you originally had. Or, you replaced the top with new wood.
This is where you install the new tops/refinish the existing tops with stain or paint.
I chose to replace the top of the desk. I was going for a two tone wood and black look. The old top wouldn’t have given me the look I was going for in the end.

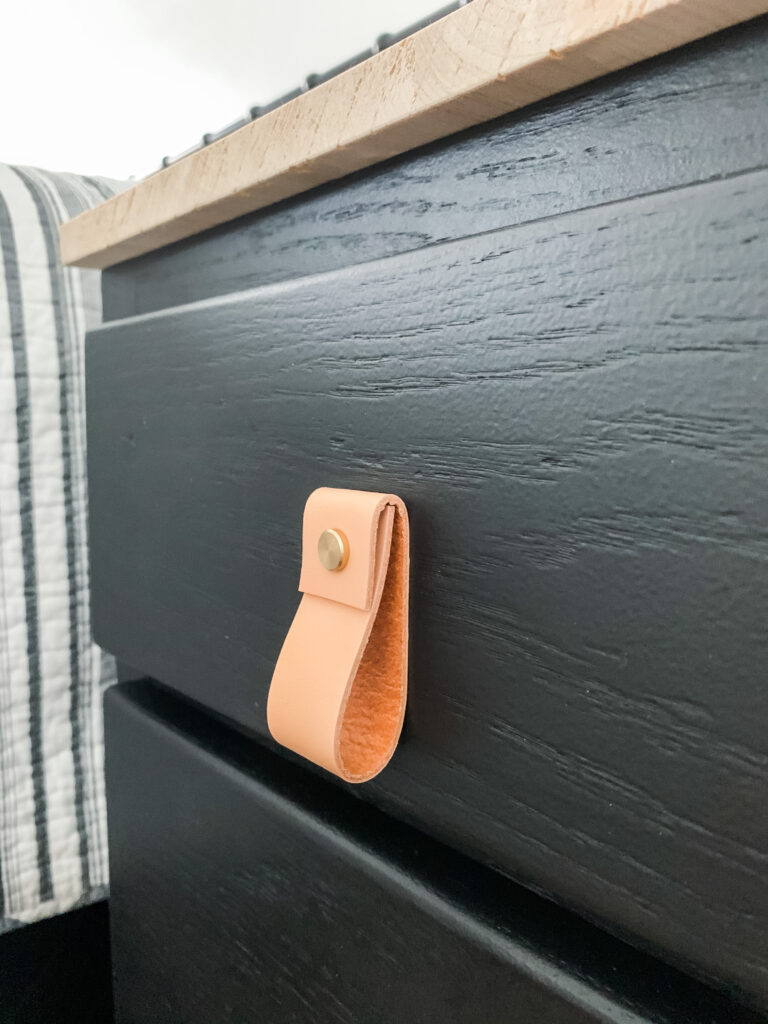
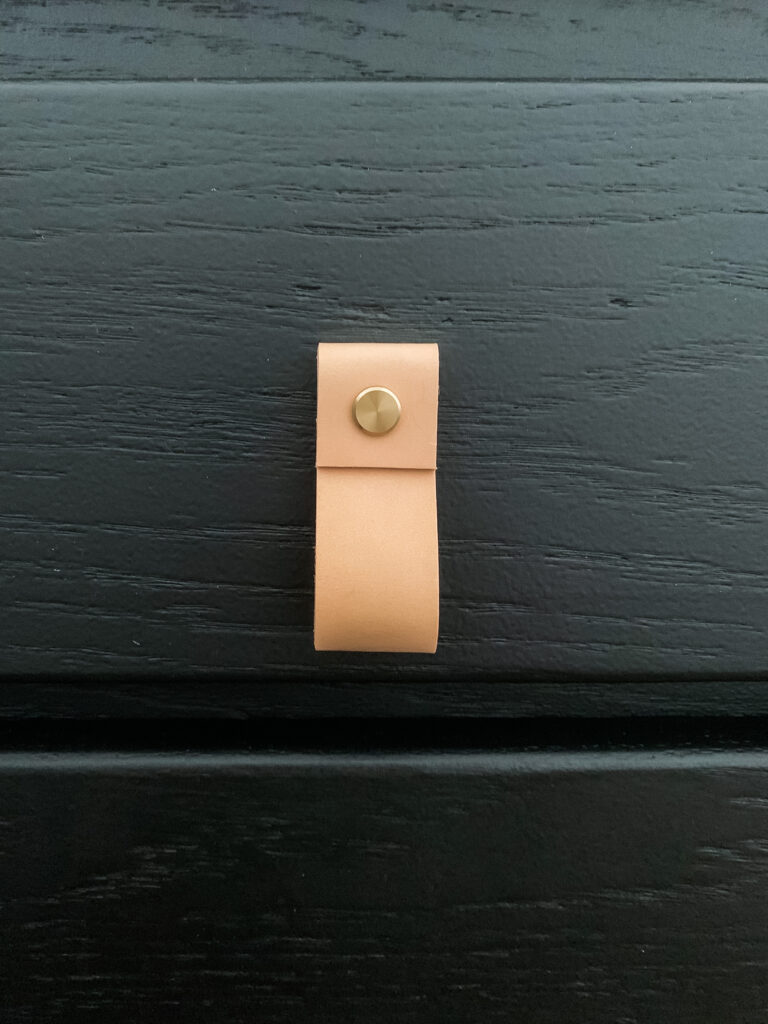
Step # 8 Hardware Time
Let’s do one last thing and add some hardware back onto our nightstands.
Two options here…
- Keep the original hardware and repaint or clean up.
- Or, get entirely new hardware you are obsessed with.
I chose new hardware I was obsessed with. The leather and brass handles gave them more of a modern sleek look. I love these handles and how they finish our nightstands so perfect!
Take aways…
I can’t wait to see what you create! My favorite part about “Transform an old desk into a nightstands” upcycle. Is knowing you will end up with something so perfectly unique for your space!
Whether that be the size, shape, style or color of your nightstands. The possibilities are endless for customization.
Be bold with your design choices; you won’t regret it!
Connect with Us:
As always, we love hearing about your experiences with our “Transform an Old Desk into Nightstands” and how it helped you?! Reach out to us through our social channels. Any questions you have, we’re here to answer.
Newsletter Sign-Up:
Stay updated by joining our COZY MOMENTS Newsletter, offering a monthly dose of recipes, a first look at upcoming projects/reveals and other fun things we have for our newsletter members only!
Cozy Home, Cozy Recipes:
Every cozy home deserves amazing recipes, and it’s even better when those recipes are both delicious and sometimes also healthy. Our goal is to provide tasty meals that are easy to make, regardless of your skill level.
Fast, easy meals leave more time for fun activities, making your home a hub of joy and good food.
Explore our collection of Cozy Kitchen Recipes. A healthy favorite is the “Sausage Potato Veggie Bake.” Find this one and more recipes here.
DIY Resources:
For additional resources like “Transform an Old Desk into Nightstands”, check out our DIY section, offering a wealth of information to enhance your DIY skills and home projects experience.

