


When it comes to transforming a room, painting the ceiling can be a game-changer. Choosing the right option for you from these two techniques on how to paint a ceiling will be crucial in achieving a flawless finish.
In this guide, we’ll explore two effective methods: rolling the ceiling with an 18″ roller and using a paint sprayer.
Each technique has its advantages and disadvantages, and we’ll walk you through those.
The step-by-step process for both will help you make an informed decision based on your preferences and the results you desire.
Enough chatting, let’s dive in and see what is going to be your best option.
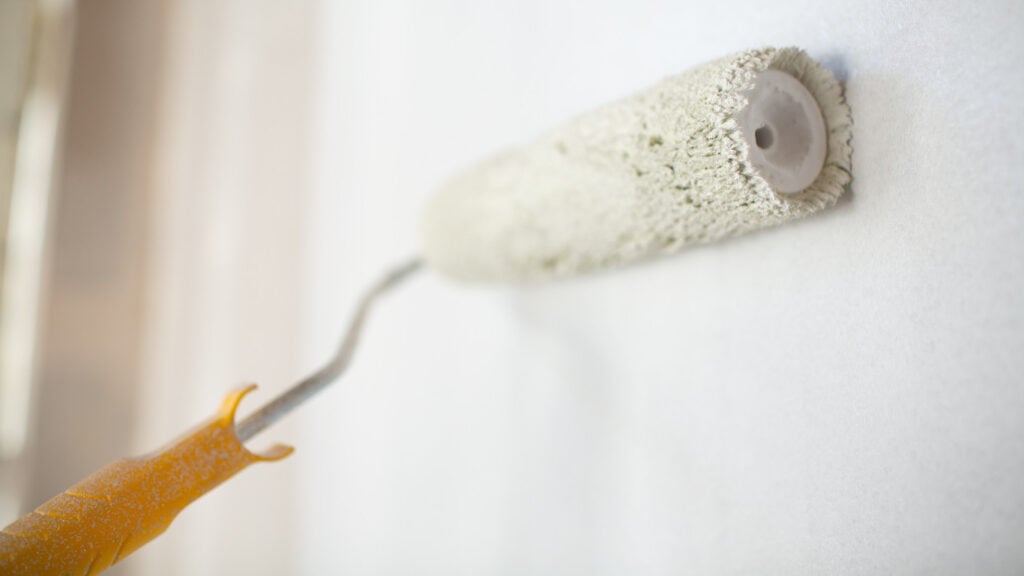
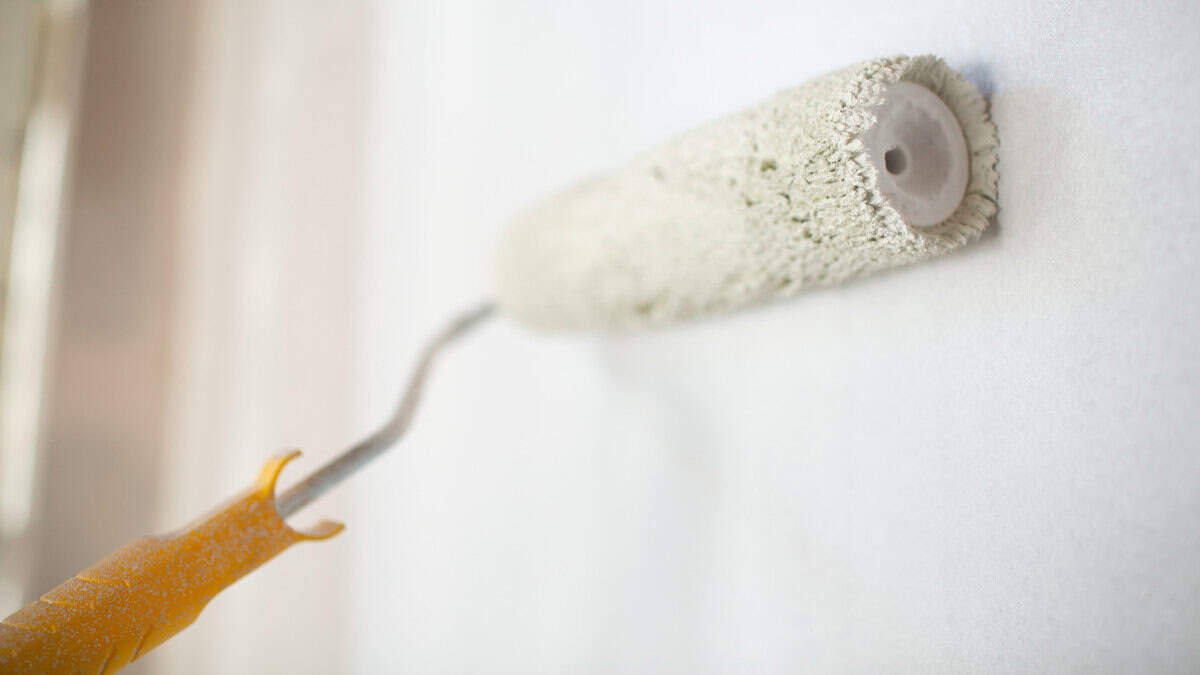
Option 1: Roll the Ceiling with an 18″ Roller
Say what! They make them that big?
Yes, yes they do make paint rollers 18”! I promise you’ll never go back to a traditional size roller for any future wall or ceiling painting you do.
PROS: Affordable, No learning curve needed and little prep time involved.
CONS: Time consuming and your arms, shoulders and back will hate you.
Your arms will thank you for not choosing a traditional size roller!
Rolling a ceiling may seem like the more traditional approach and it definitely is. But, with a larger roller it makes the process so much faster.
Here’s a step-by-step guide on how to roll your ceiling using an 18″ roller:
Step 1: Gather Your Materials
Before you begin, ensure you have all the necessary materials:
- 18″ roller
- Extension pole (you can use a broom handle)
- Drop cloths or plastic sheets
- Painter’s tape
- Primer (if needed)
- Ceiling paint
- 18” Paint tray and liners
- Paintbrush for cutting in edges
- Ladder
Step 2: Prepare the Room
Cover the floor with drop cloths, painters paper or plastic sheets to protect it from paint splatters.
Use painter’s tape to mask off areas you don’t want to paint, such as walls and trim. If your ceiling requires a primer, apply it and allow it to dry completely before proceeding.
Step 3: Cut In Edges
Use a paintbrush to cut in along the edges of the ceiling, including corners and around light fixtures. This step ensures a clean and precise finish.
Step 4: Load the Roller
Pour the ceiling paint into the 18” paint tray and load the 18″ roller. Roll the roller in the paint, making sure it is evenly coated.
You want to make sure you don’t overload with paint. Roll out the roller a bunch of times in your tray. This is a less is better scenario.
Too much will mean splatter city everywhere you don’t want paint.
Step 5: Roll the Ceiling
Attach the roller to the extension pole (aka your broom stick) and start rolling the ceiling. Work in small sections, overlapping each pass slightly to avoid streaks. Maintain a consistent pressure on the roller for an even application.
Step 6: Keep a Wet Edge
To avoid lap marks, always keep a wet edge by rolling into the previously painted section while it’s still wet.
This technique ensures a seamless finish.
Repeat all the steps above until you have finished painting the entire ceiling!
Option 2: Spray Painting the Ceiling
PROS: Faster application and Flawless Finish
CONS: More expensive, Big learning curve and a lot of prep time needed
Keep in mind this technique requires a lot more preparation and practice!
You want to make sure you have practiced with your paint sprayer. Whether that be on a smaller furniture flip or just spraying a large piece of cardboard outside.
DON’T SKIP PRACTICING FIRST!
Here’s a guide on how to use a paint sprayer for your ceiling:
Step 1: Gather Your Materials
Collect the following materials for spray painting:
- Paint sprayer
- Drop cloths, painters paper or plastic sheets
- Painter’s tape
- Primer (if needed)
- Ceiling paint
- Paint strainer (to prevent clogs)
- Respirator
- Paint Suit
- Safety Goggles
- Ladder
Step 2: Prepare the Room
Cover the floor completely and mask off areas as you would for rolling. The main difference is you want to tape all edges of the floor covering. This will ensure paint doesn’t settle in places it shouldn’t.
Ensure proper ventilation in the room and wear a respirator and safety goggles to protect yourself from paint fumes and overspray.
Rooms with windows are ideal to do this in. If you don’t have windows. I would suggest looking into the best ways to vent a room without windows before you start.
Step 3: Cut In Edges (Optional)
This is not necessary when spraying. Some will disagree with this approach.
I have found that the paint sprayer does a great job of spraying in corners and edges just fine without the need to cut in with a brush.
This is where practicing with your sprayer will really show. Knowing what angle and how close to hold it is important. This will ensure proper coverage on areas that are not flat. Like doors, trim and crown molding.
Step 4: Load the Sprayer
Pour the paint into the sprayer’s reservoir, following the manufacturer’s instructions. Use a paint strainer to prevent clogs.
Make sure to read your sprayers manual. Ensure your paint thickness is correct based on their recommendations.
If paint is too thick or thin you will have a mess on your hands.
Step 5: Test and Adjust
Practice Practice Practice FIRST!
Before starting, test the sprayer on a scrap surface like cardboard to ensure the spray pattern and thickness are to your liking. Adjust the settings as needed.
Once you are happy with the settings. You can start spraying your ceiling!
Step 6: Spray the Ceiling
Hold the sprayer about 12-18 inches away from the ceiling and spray in long, even strokes. Overlap each pass slightly for consistent coverage.
Work in small sections, keeping a steady pace to avoid uneven application.
Repeat this process in small sections until you have painted your entire ceiling!
Wow, you did it! Give yourself a huge pat on the back.
Whether you choose to roll or spray paint your ceiling, both methods can deliver professional-looking results when done correctly.
Consider the size of the project, your skill level, and the finish you desire when deciding between these two techniques.
With the right tools and a methodical approach, you can elevate your space with a freshly painted ceiling that adds a touch of sophistication and charm to any room.
COZY HOME, COZY RECIPES:
Every cozy home deserves amazing recipes, and it’s even better when those recipes are both delicious and healthy. Our goal is to provide tasty meals that are easy to make, regardless of your skill level.
Fast, easy meals leave more time for fun activities, making your home a hub of joy and good food.
CONNECT WITH US:
As always, we love hearing about your experiences with our “How to Paint a Ceiling: Two Techniques” tutorial. Reach out to us through our social channels. Any questions you have, we’re here to answer.
Stay updated by joining our newsletter, offering a monthly dose of new tutorial, recipes and a first look at upcoming projects/reveals of current projects.
MORE COZY KITCHEN RECIPES:
If you’re hungry for more, explore our collection of Cozy Kitchen Recipes. A healthy favorite is the “Sausage Potato Veggie Bake.” Find this recipe and more here.
DIY RESOURCES:
For additional resources, check out our DIY Tutorials, offering a wealth of information to enhance your home improvement skills.

