Creating your own furniture can be one of the most satisfying DIY experiences. From crafting a rustic dining table to assembling a cozy reading nook, each piece reflects your personal style and skill. But when it comes to building DIY furniture that’s both stylish and durable, choosing the right wood is essential.
With so many options out there—like pine, oak, maple, and walnut—it’s easy to feel overwhelmed by the choices. You might wonder: Which wood is best for beginners? Which type can handle the weight of a bookshelf or withstand outdoor elements? The truth is, each type of wood has its own strengths, weaknesses, and aesthetic qualities that can make or break your project. Picking the right wood can mean the difference between a piece that lasts for years and one that wears down quickly.
Maybe you’re just getting started in DIY furniture. Or, perhaps you’ve built a few pieces and want to elevate your skills. Whatever your experience, this guide will introduce you to the best woods for DIY furniture. Helping you choose the ideal material for your next project. Let’s dive in and explore the unique benefits of each wood type so that you can turn your vision into reality with confidence and ease!

Choosing the Right Wood Species for Your Project
When choosing wood for DIY furniture, the key is understanding the differences between softwoods and hardwood options. Each serves different purposes in furniture making. Softwoods, like pine, cedar, and fir, are generally more affordable and easier to work with. They’re perfect for beginners because they’re less dense and are easily shaped or sanded.
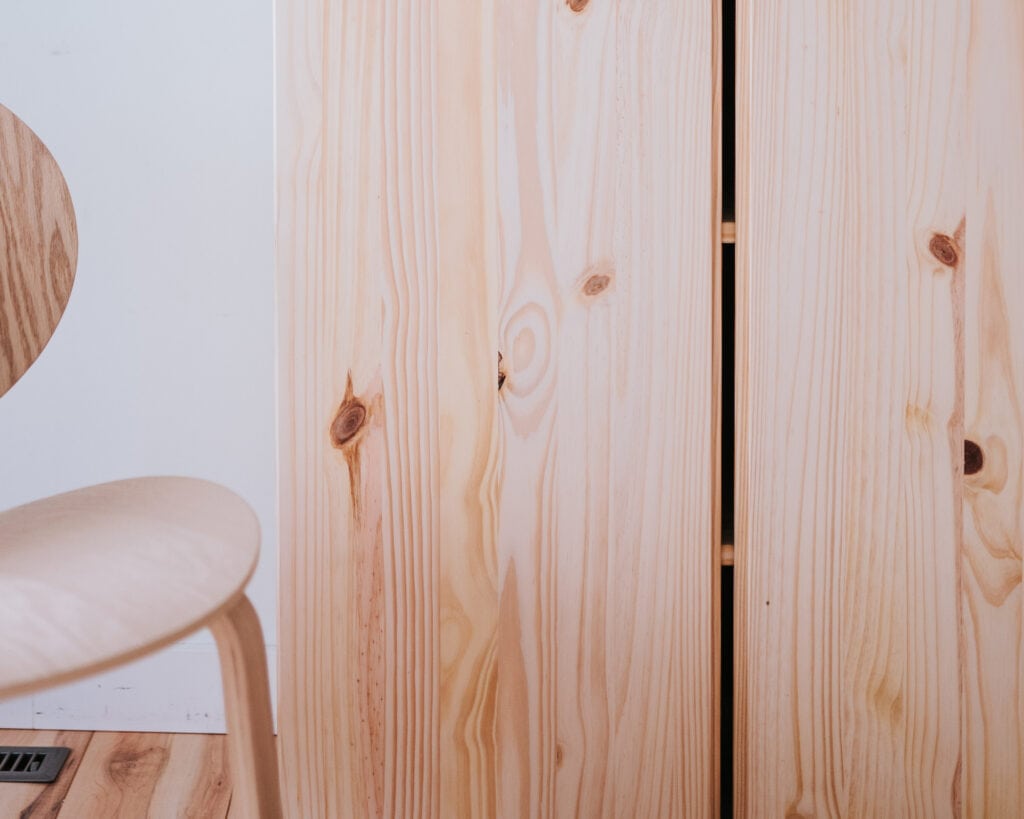
However, they can be less durable over time, so they’re best suited for indoor furniture that won’t endure heavy, daily use. Pine, for instance, is a softwood that’s great for indoor furniture like shelves, nightstands, or accent tables. Where the softer surface isn’t as likely to get damaged.
Hardwoods, on the other hand, include options like oak, maple, and walnut. These woods are denser and more resistant to wear, making them ideal for high-traffic kitchen furniture pieces like dining tables, cabinets, and chairs. Hardwood’s natural strength means it’s less likely to dent or warp, even with regular use.
Oak, for example, is a highly popular hardwood for its combination of beauty and durability. It has a distinct grain pattern that adds a rustic or elegant touch to any piece. Maple is another popular choice for its scratch-resistant surface. It is a great option for furniture that might see heavy use, such as a kitchen island or dining table top.
Understanding these basic distinctions will guide you toward choosing the right wood for each project. If you’re new to woodworking, starting with softwoods for small indoor projects can help you get comfortable with the basics. As you gain experience, moving into hardwoods will allow you to create more durable and high-traffic furniture pieces that will last a long time.

Top Recommended Woods for DIY Furniture
To help narrow down the choices. Here are some of the best woods commonly recommended for DIY furniture, along with their pros and cons:
- Pine – This softwood is an affordable common wood and widely available, making it a go-to for beginners. Pine wood is easy to cut, sand, and stain, allowing beginners to experiment without a high cost. It works well for pieces that don’t require high durability, such as bedroom furniture, kids’ furniture, or decorative shelving. However, pine dents and scratches easily, so it’s not the best choice for heavy-use items.
- Oak – Oak is a classic hard wood with a bold beautiful grain pattern that brings a beautiful, natural look to any furniture piece. It’s exceptionally strong and holds up well over time, making it great for furniture that will see a lot of use, like dining room table, chairs, and bookcases. Oak wood can be a bit challenging to work with, especially for beginners, as it requires sharp tools and careful handling to avoid splintering.
- Maple – Known for its smooth texture and durability, maple is a strong hardwood that’s resistant to scratches, making it a good choice for kitchen cabinets, desks, and other frequently used furniture. Maple can be more challenging to stain because of its dense, close grain, but it’s ideal if you’re aiming for a light, natural look or plan to use a clear finish.
- Walnut – Walnut is a beautiful hardwood with a rich, dark color that adds elegance to any piece of furniture. While more expensive than other woods, walnut is highly durable and doesn’t warp easily, making it ideal for statement pieces like headboards or cabinets. Due to its price, it’s often used for smaller projects or high-impact areas where the rich color and grain will stand out.
- Cedar – Naturally resistant to rot and pests, cedar is an excellent choice for outdoor furniture or storage solutions. Its distinct scent makes it a favorite for storage chests or closets. However, cedar is softer than other hardwoods, so while it’s great for areas that need some resistance to moisture, it’s best to avoid using it for heavy-use furniture pieces.
By understanding the strengths and weaknesses of each of these woods. You’ll be able to select the best material for specific types of furniture, from rustic and budget-friendly pine to rich, elegant walnut.

Tips for Working with Different Types of Wood
Once you’ve selected the best wood for your DIY furniture project. It’s essential to understand how to work with each type effectively to get the best results. Here are some tips for working with different woods:
- Softwoods like pine and cedar are very beginner-friendly but can be prone to dents and scratches. When working with softwoods, it’s best to use hand tools or low-speed power tools to avoid splintering. Pre-sanding softwoods can help smooth out the surface, and using a clear finish will protect it from wear and tear. Because pine and cedar can absorb stains unevenly, a wood conditioner applied before staining can ensure a more consistent finish.
- Hardwoods such as oak, maple, and walnut require sharper tools and a bit more skill. Their density can make cutting and sanding more challenging. With hardwoods, always make sure to sharpen your tools regularly and work slowly to prevent splintering. Sanding is essential with harder wood to get a smooth finish. Be prepared to spend time on this step if you want professional-quality results.
- Moisture management is crucial for all wood types, but particularly for outdoor use furniture or pieces that may be exposed to humidity. Outdoor furniture should be treated with a weather-resistant finish, especially if using softwoods. Cedar has natural moisture resistance, but even it will benefit from a sealant if placed outside. For indoor furniture, using a high-quality wax or oil finish on hardwoods like walnut and oak can keep them looking beautiful over time.
Taking these extra steps will ensure that each piece of wood is handled correctly. Whether you’re making a simple pine shelf or a stunning oak dining table. With proper handling, your DIY furniture will not only look better but also last longer. Giving you pride in each piece you create.
Finishing Techniques for Different Types of Wood
Finishing is the final step in DIY furniture making, and it’s key to achieving a professional look and enhancing durability. Different types of wood respond uniquely to various finishes, so it’s essential to choose the right one for your project. A good finish not only enhances the appearance but also protects your piece from scratches, moisture, and daily wear. Here’s how to finish some of the most popular woods for DIY furniture:
- Pine and Other Softwoods: Softwoods like pine are highly absorbent, which can lead to uneven finishes if not prepared properly. To prevent blotchiness, start by applying a wood conditioner, especially before staining. A clear polyurethane or a furniture wax finish works well on softwoods. Providing a subtle sheen and additional protection without adding much color. If you’re aiming for a rustic look, consider using milk paint or chalk paint, which gives softwoods a matte, vintage aesthetic.
- Oak: Oak’s bold grain pattern makes it an excellent candidate for stains, as staining enhances its natural beauty. However, oak can sometimes feel too porous, leading to excess stain absorption. Using a pre-stain conditioner or choosing a gel stain can help achieve an even tone. For a durable finish, top it off with a polyurethane or varnish that complements its natural color and offers extra durability. Especially for high-use furniture like tables and chairs.
- Maple: Maple’s tight grain makes it more resistant to absorbing stains evenly. Many DIYers prefer a natural or clear finish for maple, allowing its smooth, light tone to shine through without darkening. If you want to add a bit of color, try a water-based stain or a gel stain, which adheres well to maple’s dense surface. Apply several coats of a satin polyurethane or Danish oil to enhance maple’s natural sheen while adding scratch resistance.
- Walnut: Walnut’s rich, dark hue often doesn’t need much in the way of stain, as its natural color is already eye-catching. A simple clear coat finish, like tung oil or linseed oil, will highlight its rich tones and beautiful grain. Oils penetrate walnut deeply, enhancing its durability and giving it a natural, hand-rubbed look. For a glossier look, apply a few coats of polyurethane, but keep it thin so it doesn’t dull walnut’s natural vibrancy.
- Cedar: For outdoor furniture, cedar should be treated with a weather-resistant finish like spar varnish or an outdoor-grade polyurethane. These finishes protect against moisture, sunlight, and temperature fluctuations, which can cause cracking or discoloration. For a more natural look, you can use a clear wood sealer that preserves cedar’s color and protects it without adding gloss. Indoor cedar furniture can be finished with oils or beeswax for a gentle sheen that highlights its reddish-brown hues.
A well-applied finish not only extends the life of your furniture but also gives it a polished look, showcasing the wood’s natural characteristics. With the right finishing technique, each piece of furniture becomes not just functional but also a true work of art.

Beginner Project Ideas to Get Started with DIY Furniture
Starting with simple projects is the best way to build confidence in working with wood. Beginner-friendly projects are usually small, manageable, and can be completed with a limited set of tools. Here are a few DIY furniture ideas that are perfect for beginners. Are you looking to get comfortable with woodworking while creating practical pieces:
1. Pine Bookshelf
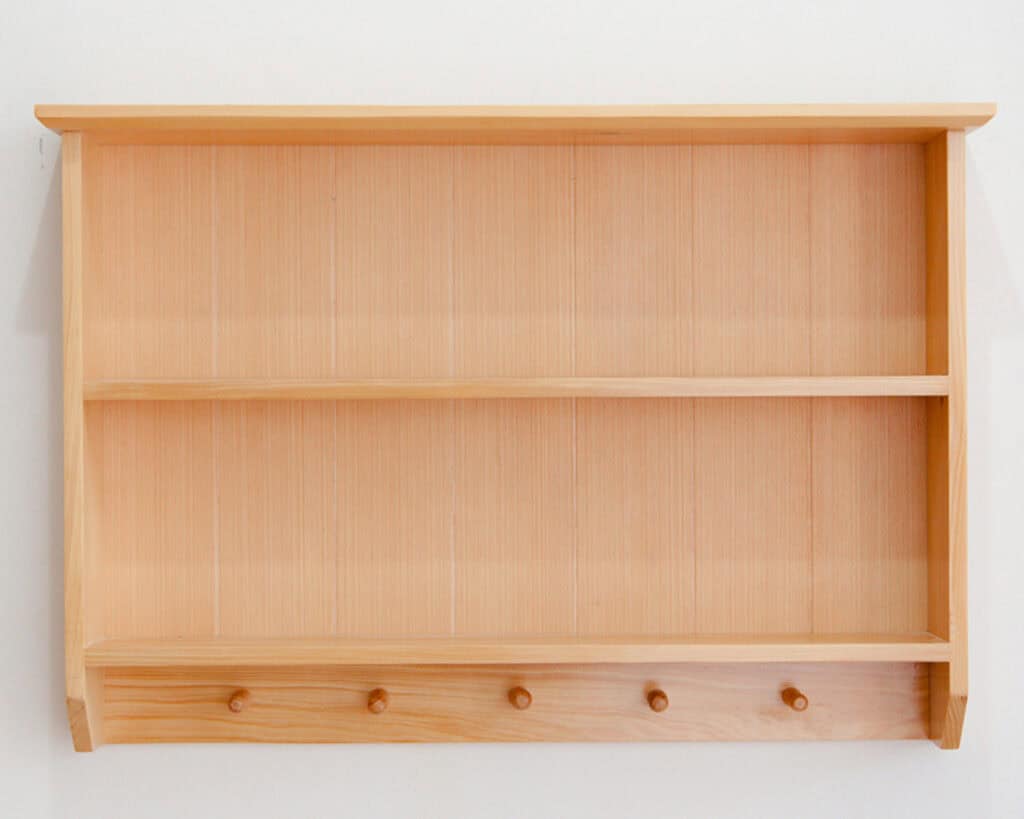
- Why It’s a Good Starter Project: A pine bookshelf is a straightforward project that doesn’t require complex cuts or joinery. Making it ideal for beginners. Pine is inexpensive, easy to cut, and works well with screws, glue, and basic finishes.
- Basic Steps: Cut the shelves to your desired size. Assemble using pocket holes or wood screws, and finish with a simple stain or paint. This project teaches essential skills like measuring, cutting, and sanding without requiring advanced techniques.
2. Maple Cutting Board
- Why It’s a Good Starter Project: A maple cutting board is small, affordable, and introduces beginners to finishing techniques. Maple’s durability and smooth grain make it an excellent choice for kitchen items, and it’s forgiving to work with.
- Basic Steps: Cut a piece of maple to size. Round the edges with sandpaper, and finish with a food-safe mineral oil or beeswax. This project teaches sanding and finishing techniques, which are critical for more complex DIY furniture pieces.
3. Cedar Outdoor Bench
- Why It’s a Good Starter Project: Working with cedar allows beginners to create a project that’s both functional and decorative. Cedar is naturally weather-resistant, making it perfect for an outdoor bench that can withstand the elements.
- Basic Steps: Cut cedar boards to the desired length, assemble with outdoor-grade screws, and apply a clear outdoor sealer. This project introduces users to building larger structures and working with weather-resistant finishes, which are great skills for future outdoor projects.
4. Oak Coffee Table
- Why It’s a Good Starter Project: An oak coffee table is a manageable project that lets beginners try out working with a hardwood. Oak’s natural beauty makes it easy to create a stunning table without complicated designs, and it’s sturdy enough to handle regular use.
- Basic Steps: Cut oak boards to form the tabletop, attach simple legs, and apply a clear coat or stain to enhance the grain. This project familiarizes beginners with handling heavier wood, basic table assembly, and staining techniques.
5. Wall-Mounted Floating Shelf (Using Plywood)
- Why It’s a Good Starter Project: Plywood is affordable, versatile, and easy to work with, making it ideal for a floating shelf project. This is a simple way to start creating furniture pieces that save space and add character to any room.
- Basic Steps: Cut a plywood panel to the desired shelf size, sand the edges, and mount it with brackets or floating shelf hardware. This project builds confidence in handling plywood and understanding weight-bearing capabilities, all without requiring extensive skills.
These beginner projects are excellent for honing basic woodworking skills while building functional, stylish furniture pieces. Starting small allows you to master key techniques, develop a feel for different wood types, and gain the confidence needed to tackle more ambitious DIY furniture projects in the future.
Before you go…
Creating beautiful, long-lasting furniture starts with choosing the right wood. From softwoods like pine, perfect for beginner-friendly indoor pieces, to durable hardwoods like oak and maple, each option has its place in the world of DIY furniture. By understanding the strengths and weaknesses of different wood types, you can make informed choices that suit both your design goals and your practical needs.
Whether you’re aiming for a sturdy outdoor bench or a statement coffee table, selecting the right wood will help you build furniture that endures. Ready to start your next DIY project? Don’t forget to explore more woodworking tips and techniques on our blog.
For those looking to expand their skills, check out our articles on essential woodworking tools, like “How to Use a Circular Saw for Thick Wood Cuts” or “Choosing the Best Screws for Plywood.” And if you want inspiration and hands-on tips, follow us on Instagram @buildacozyhome for project ideas and tutorials that make DIY furniture accessible and fun. Happy building!
If or when you do make your own woodworking project. I’d love for you to follow us and tag us on Instagram so I can see your really DIY projects finished results! Happy crafting!
COZY HOME, COZY RECIPES:
Every cozy home deserves amazing recipes, and it’s even better when those recipes are both delicious and healthy. Our goal is to provide tasty meals that are easy to make, regardless of your skill level.
Fast, easy meals leave more time for fun activities, making your home a hub of joy and good food.
CONNECT WITH US:
As always, we love hearing about your experiences with our “Best Wood for DIY Furniture: Top Choices for Sturdy, Stylish Projects”. Reach out to us through our social channels. Any questions you have, we’re here to answer.
Stay updated by joining our newsletter, offering a monthly dose of new recipes and a first look at upcoming projects.
MORE COZY KITCHEN RECIPES:
If you’re hungry for more, explore our collection of Cozy Kitchen Recipes. Another healthy favorite is the “Sausage Potato Veggie Bake.” Find these recipes and more here.
DIY RESOURCES:
For additional resources, check out our DIY Tutorials, offering a wealth of information to enhance your home improvement skills.
