DIY Mini Indoor Greenhouse: Easy IKEA Rudsta Hack
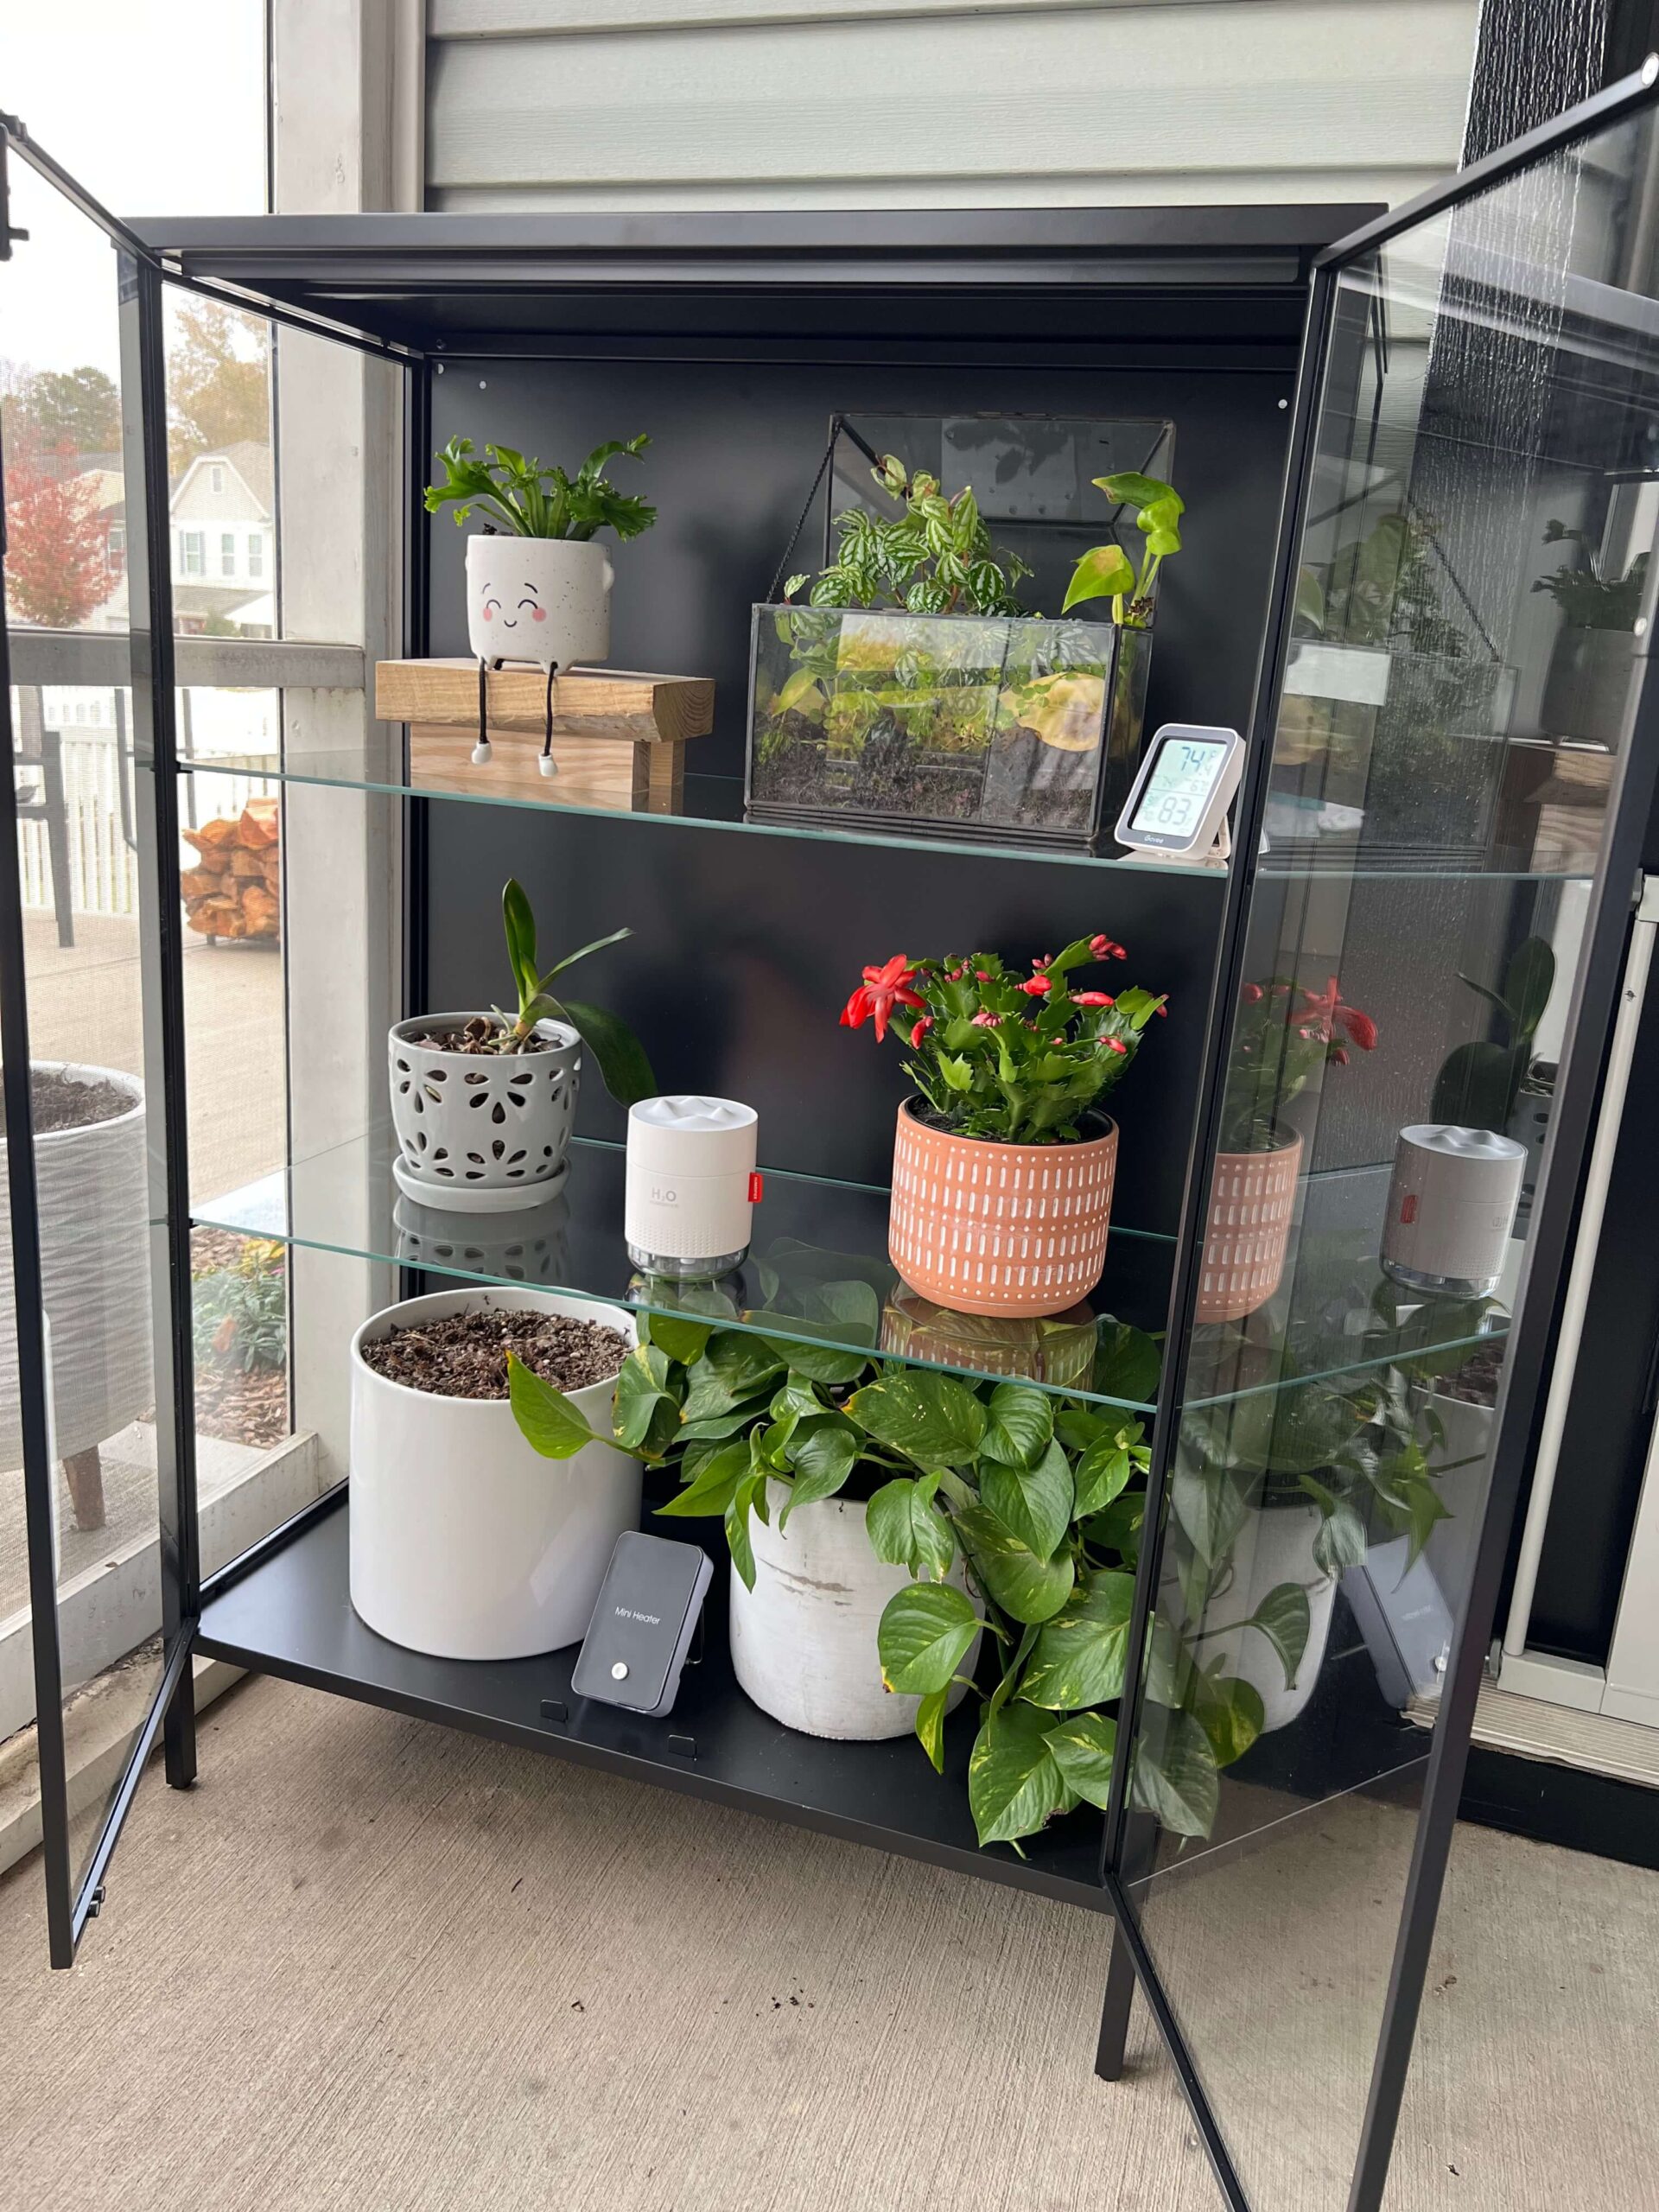
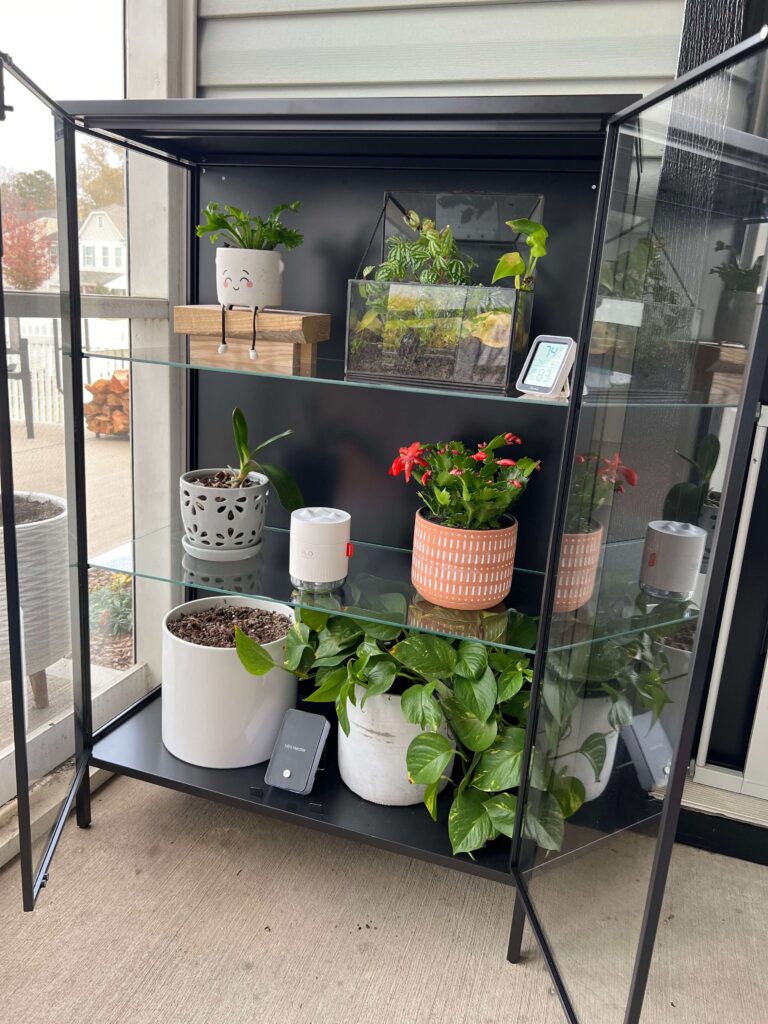
Imagine stepping out onto your patio and being greeted by lush, vibrant plants thriving in their very own mini-greenhouse—even when the weather outside might not be ideal. With a few simple steps and some smart planning, you can create this scene right in your home using a unique hack involving the IKEA Rudsta glass door cabinet.
If you’re a plant lover who’s short on space, you may have felt frustrated by the challenges of growing and maintaining plants in a small area. Maybe you’ve tried indoor plants that don’t quite get the sunlight they need, or outdoor plants that struggle in fluctuating temperatures. The idea of having a dedicated greenhouse might seem out of reach, but with this easy DIY solution, you can build a compact, functional greenhouse on your patio that’s affordable, efficient, and visually appealing.
In this guide, we’ll show you how to transform the IKEA Rudsta into a DIY mini indoor greenhouse using a few essential tools—a portable heater, a humidifier, and the cabinet itself. With these simple additions, you’ll create a controlled environment that allows your plants to thrive, no matter the season. This setup not only protects your plants but also adds a touch of greenery and style to your outdoor space. Ready to make your dream mini greenhouse a reality? Let’s dive in!
Why You Might Need a Mini Greenhouse for Your Patio or Home?
For many people, a mini/small greenhouse is more than just a compact gardening solution; it’s a way to extend their growing season, protect delicate plants, and create a sustainable home garden even in limited space. If you’ve ever struggled to keep plants alive during colder months or found yourself limited by seasonal growing constraints, a mini greenhouse can offer the solution you’ve been looking for. Here are a few reasons why adding a mini greenhouse to your patio might be a perfect choice.
Extend Your Growing Season
One of the biggest benefits of a mini greenhouse is that it allows you to grow many types of plants outside of their typical growing seasons. With the added warmth and humidity control, you can start seeds earlier in spring and continue growing plants well into fall and even winter. This means fresh herbs, flowers, and veggies can flourish long after outdoor temperatures drop, giving you access to homegrown produce and greenery all year long.
Protection from Weather and Pests
Outdoor plants are often vulnerable to changing weather conditions—cold snaps, heavy rains, and unexpected frosts can easily damage tender seedlings or sensitive plants. By placing your plants in a controlled environment like a mini greenhouse, you can shield them from harsh weather while still allowing for light and airflow. This setup is also helpful in keeping pests, like insects or animals, away from your plants. The enclosed cabinet creates a protective barrier, reducing the risk of infestations that might otherwise damage your garden.
Ideal for Small Spaces
If you live in an apartment, condo, or home with limited outdoor space, a full-sized greenhouse may not be an option. A mini greenhouse, however, can easily fit on most patios, balconies, or even indoors near a light source. Its compact size makes it accessible to people who may not have a yard, yet it still provides all the essential benefits of a greenhouse. Plus, it’s versatile—you can use it as a plant nursery, herb garden, or even a display for exotic plants that need specific care.
Low Maintenance and Efficient
A mini greenhouse like the IKEA Rudsta requires minimal upkeep compared to larger setups. With a small heater and humidifier, it’s easy to maintain ideal growing conditions with little daily maintenance. This efficiency makes it an excellent choice for busy gardeners who want to enjoy the benefits of fresh plants without a significant time commitment.
In short, a mini greenhouse is a great way to maximize your gardening potential in a small space. It’s functional, affordable, and helps overcome many of the challenges that come with urban or small-space gardening.
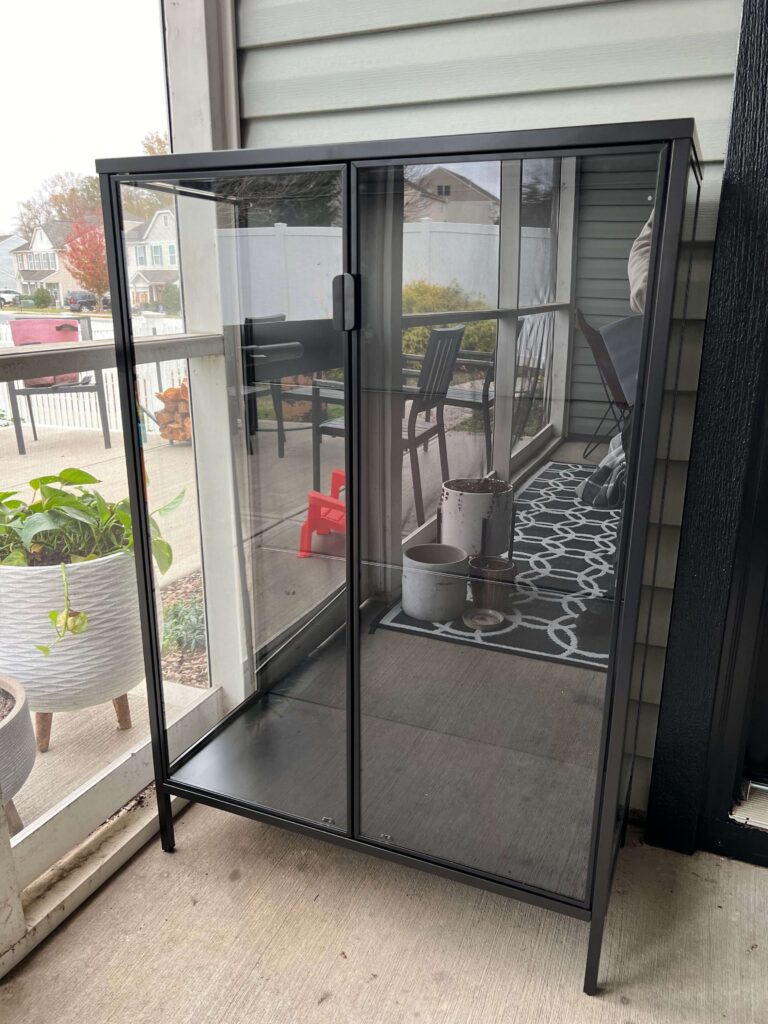

Why Use the IKEA Rudsta for Your Patio Greenhouse?
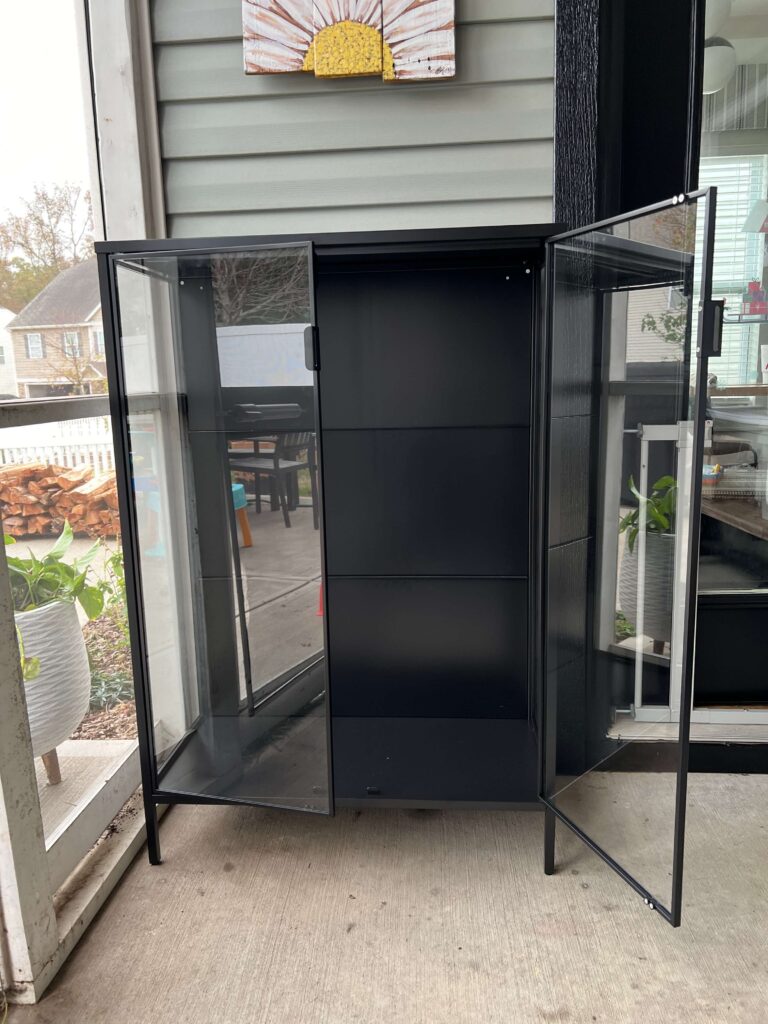
The IKEA Rudsta cabinet, with its sleek glass door design, is perfect for small indoor and outdoor gardening projects. It’s compact, easy to assemble, and protects plants from outdoor elements while maintaining a clean, modern look. By adding a few additional tools, this cabinet becomes an efficient, self-contained greenhouse.
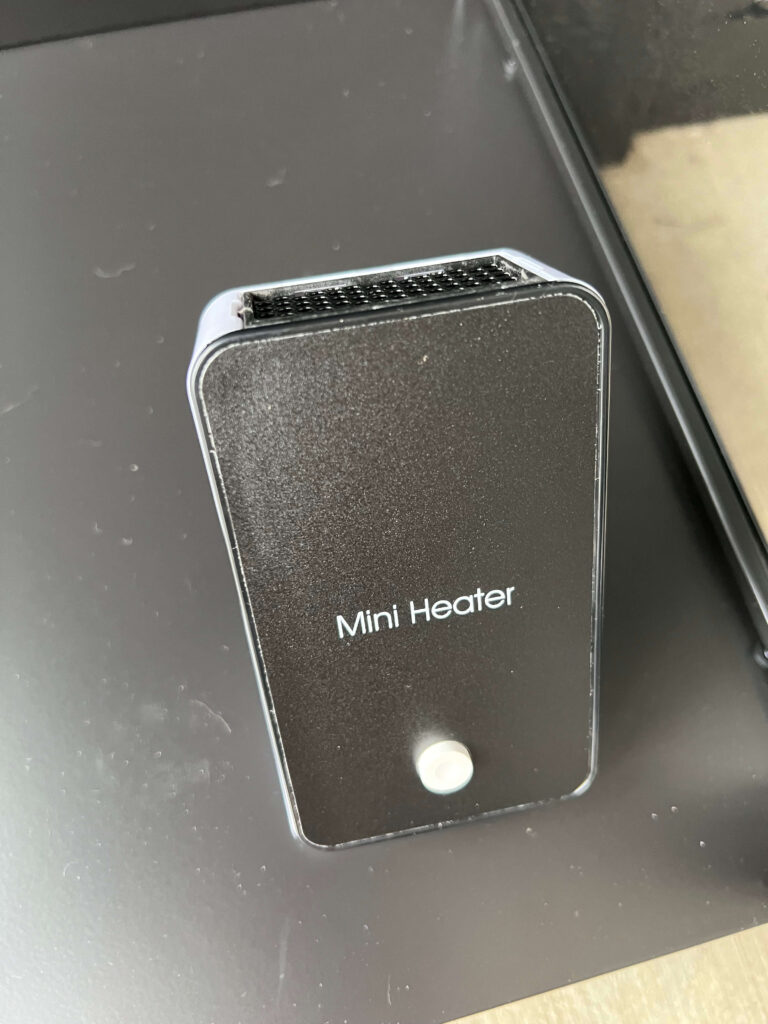
- Temperature Control with a Portable Heater: Maintaining warmth, especially during cooler months, is essential for healthy plant growth. The YOUCIDI Mini Portable Heater is compact yet powerful, making it ideal for fitting inside the Rudsta and keeping plants warm without using much energy.
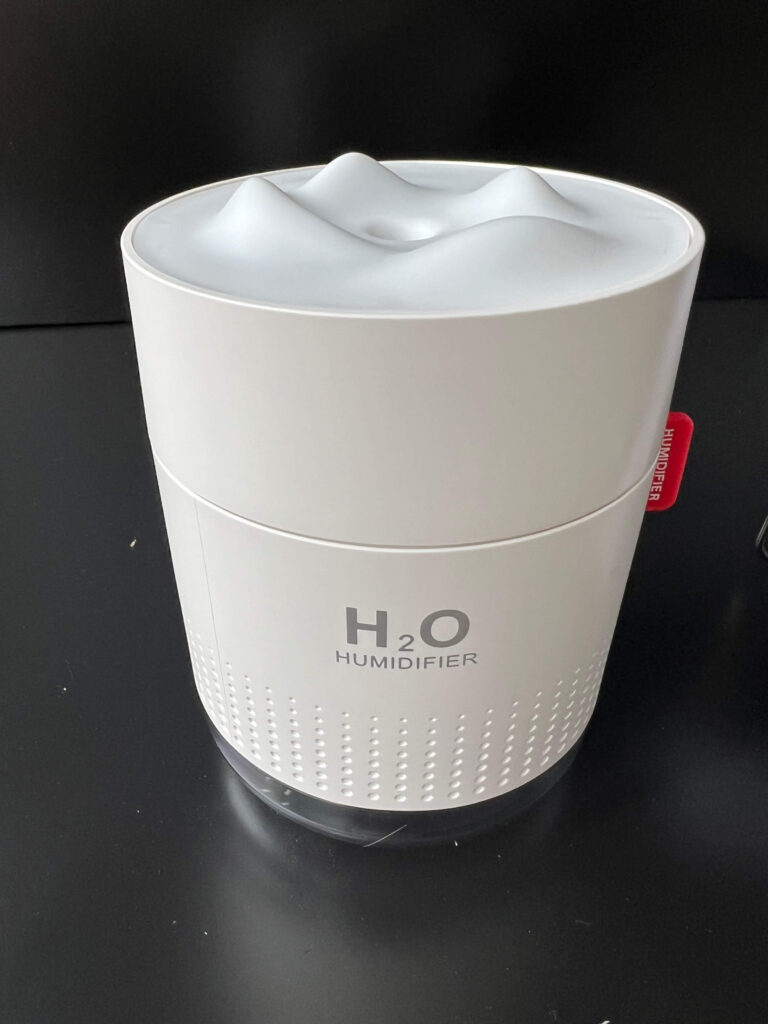
- Humidity with a Portable Humidifier: Plants thrive in a balanced, humid environment. The Movtip Mini Portable Humidifier allows for consistent moisture, preventing plants from drying out, especially in heated spaces. Adding this to the cabinet ensures a controlled microclimate.
- Easy to move: Because of the size of the RUDSTA IKEA Cabinet this mini greenhouse can be easily moved and can be considered a portable greenhouse to move whenever you need to.
- Easy to Access and Secure: You have easy access to open the doors when you need to get to your plants. There is also a latch and holes in the handle so you can securely lock the cabinet so it can’t be opened.
Step-by-Step Guide to Setting Up Your Patio Greenhouse
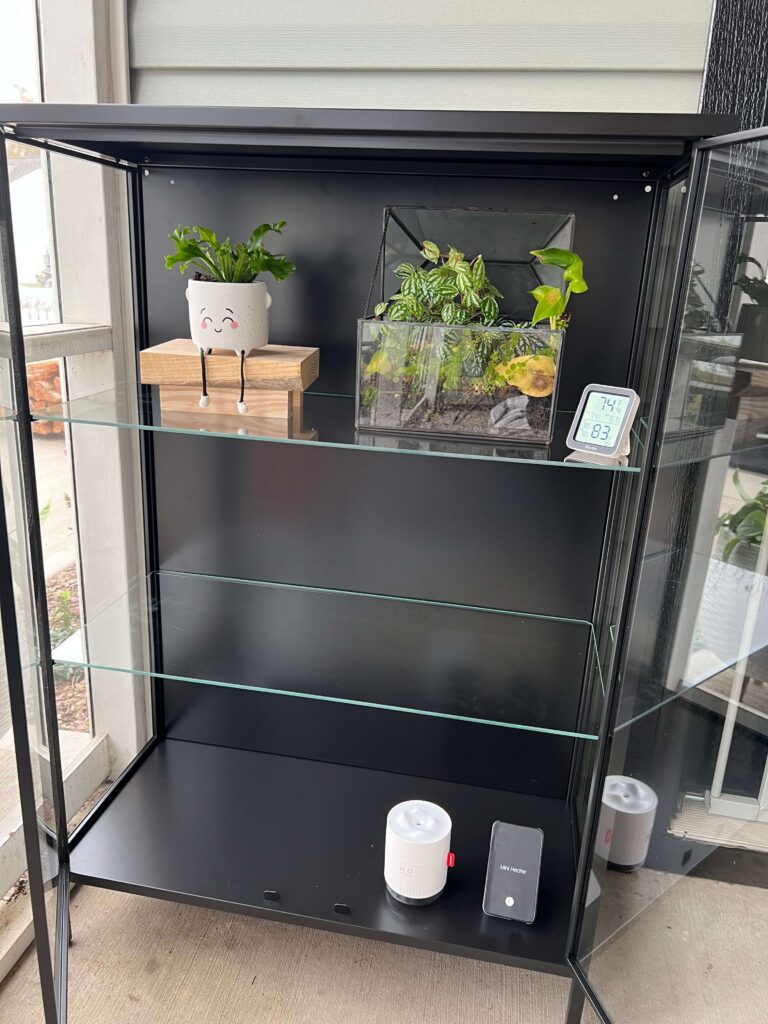
Step 1: Preparing the IKEA Rudsta Cabinet
Start by assembling your Rudsta beautiful cabinet according to IKEA’s instructions. Once set up, place it in a spot on your patio that receives enough light but isn’t exposed to harsh weather conditions. Ideally, this space should be shaded but well-lit.

Step 2: Placing the Heater for Optimal Warmth
Position the YOUCIDI Mini Portable Heater inside the Rudsta cabinet, ideally toward the bottom to allow warm air to rise. Keep the heater on a low setting; the small cabinet space will hold heat efficiently, helping plants thrive in colder weather. The fan in the heater also helps keep air circulation moving in your little greenhouse.

Step 3: Adding the Humidifier
Set up the Movtip Mini Portable Humidifier on a middle shelf. Keeping humidity levels balanced is vital for a perfect environment, especially if the heater reduces the moisture while creating a warm environment. Refill the humidifier as needed, and consider using distilled water to prevent mineral buildup.

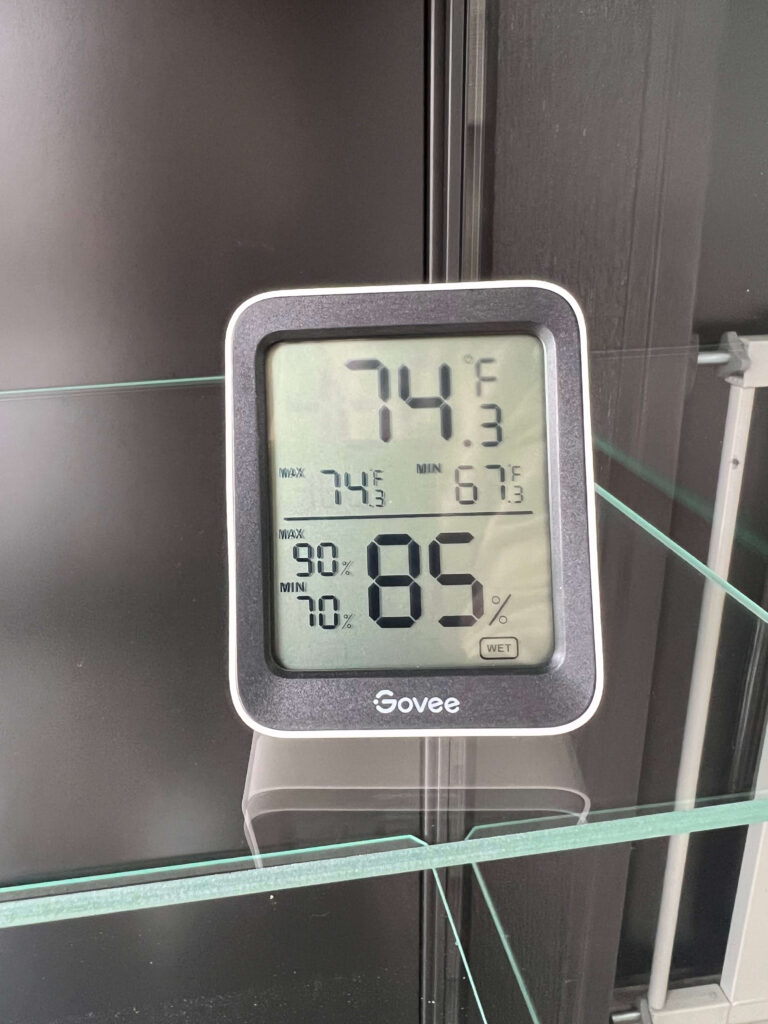
Step 4: Monitoring Temperature and Humidity with a Digital Thermometer and Hygrometer
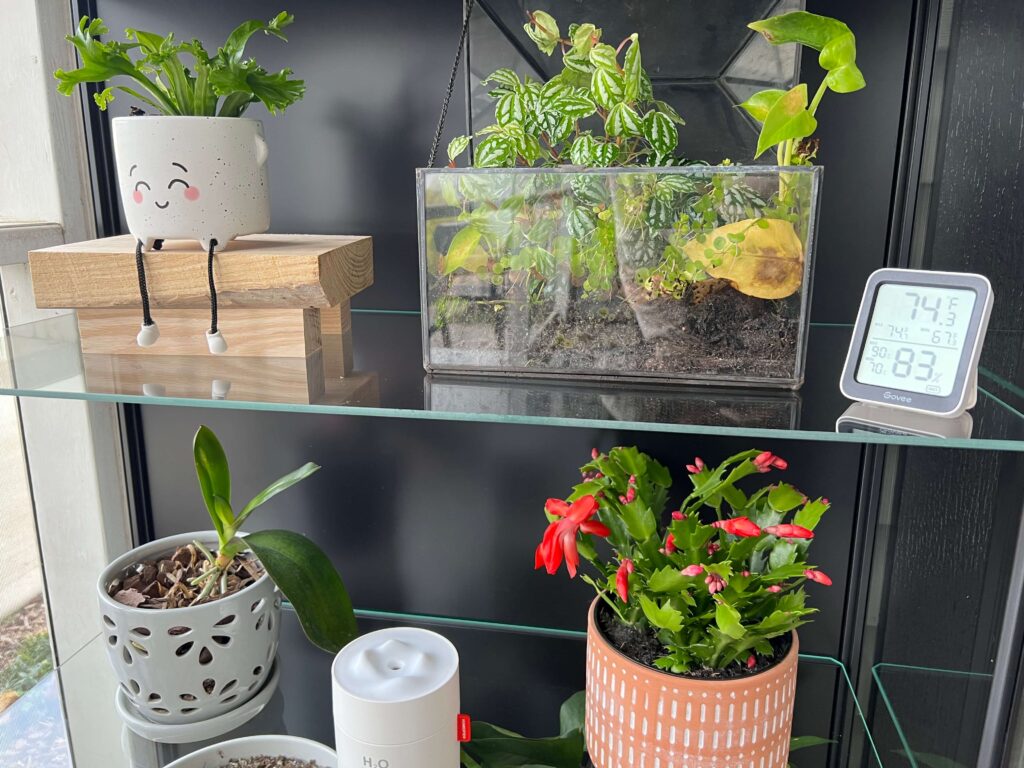
Place a small digital thermometer and hygrometer inside the cabinet to keep track of temperature and humidity levels. This device will allow you to monitor and adjust the heater or humidifier as needed to maintain optimal growing conditions. Position it at eye level on one of the shelves so it’s easy to check. Maintaining a steady temperature and humidity range will ensure your plants thrive and stay healthy throughout the changing seasons.
Step 5: Adding a Grow Light for Supplemental Lighting
If your patio or indoor space doesn’t receive plenty of light(natural preferably). Consider adding a small grow light to your mini greenhouse setup. Choose a full-spectrum LED grow light that provides balanced lighting for all types of indoor plants. Attach your grow lights inside the Rudsta cabinet or position it so it covers your plants evenly. Keep the light on a timer to simulate a natural day/night cycle or outdoor greenhouse. Ensuring your plants receive adequate light even on cloudy days or in dim indoor conditions. This step will help your plants grow strong and vibrant, even in low-light areas!
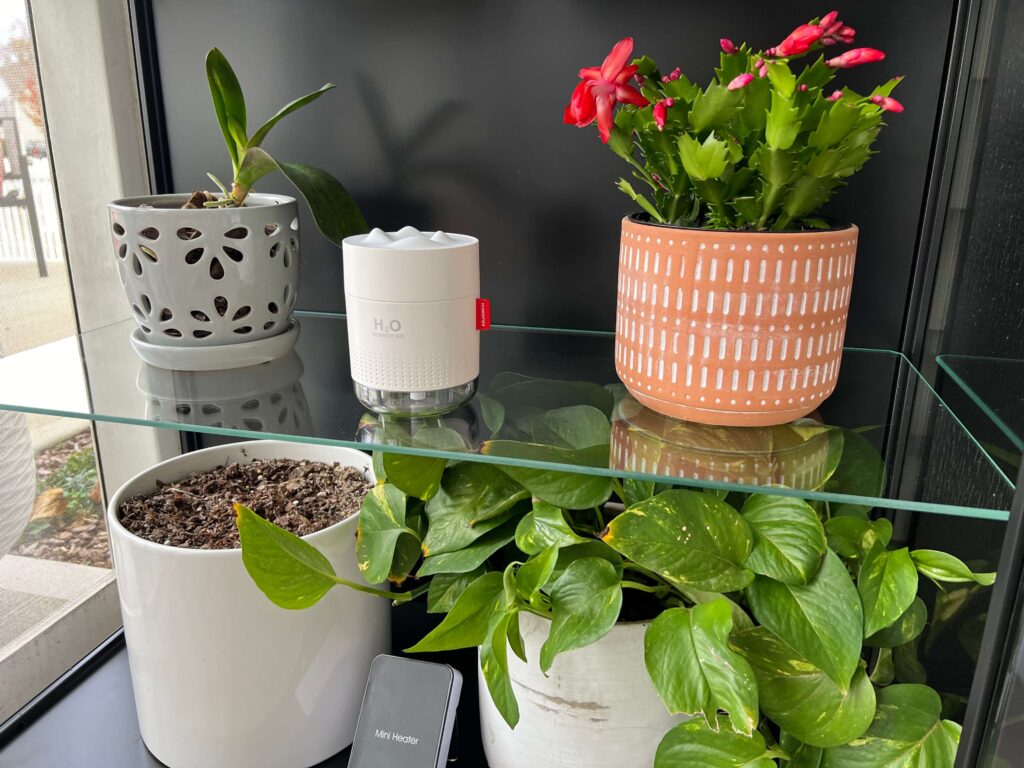
Versatile Indoor Use for Year-Round Greenery
One of the great benefits of this IKEA Rudsta mini greenhouse setup is that it’s just as effective for indoor greenhouse ideas as it is on a patio. Placing the greenhouse inside your home lets you cultivate plants all year, regardless of outdoor temperatures. These glass cabinet greenhouses setup are ideal for creating a designated indoor plant area without sacrificing style or space. The glass cabinet maintains an attractive stylish indoor greenhouse. A sleek look that fits seamlessly into various home decor styles, from minimalist to modern.
With the portable heater and humidifier, you can control warmth and moisture levels indoors. Ensuring a stable environment even in colder months or drier areas of your home for your beautiful plants. Indoor placement also brings plants closer to you. Improving indoor air quality and adding a touch of nature to your living space. Whether used as a dedicated herb garden in your kitchen or a tropical plant display in your living room. This mini greenhouse is a stylish, functional solution for indoor gardening enthusiasts.
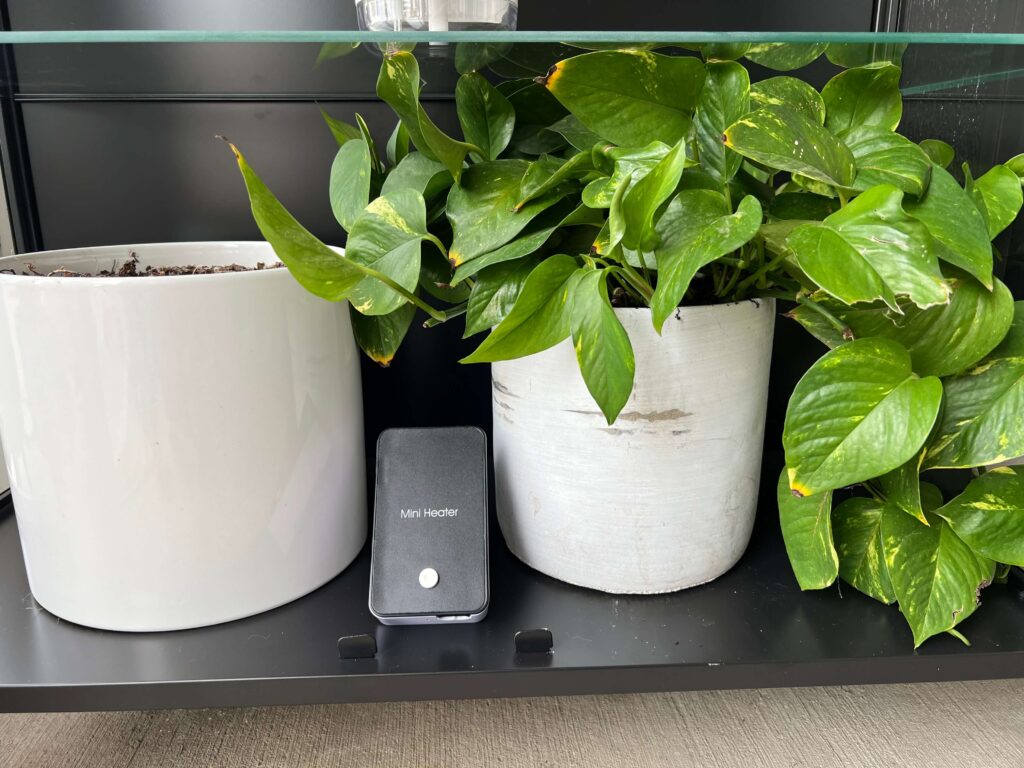
PRO TIP Good Use of Space: Arrange your taller plants that are heavier on the bottom shelf and your small plant on the middle and top shelf since they are lighter and those shelves are made of glass. Don’t be afraid to add some other decorative objects in there to add more style and charm.
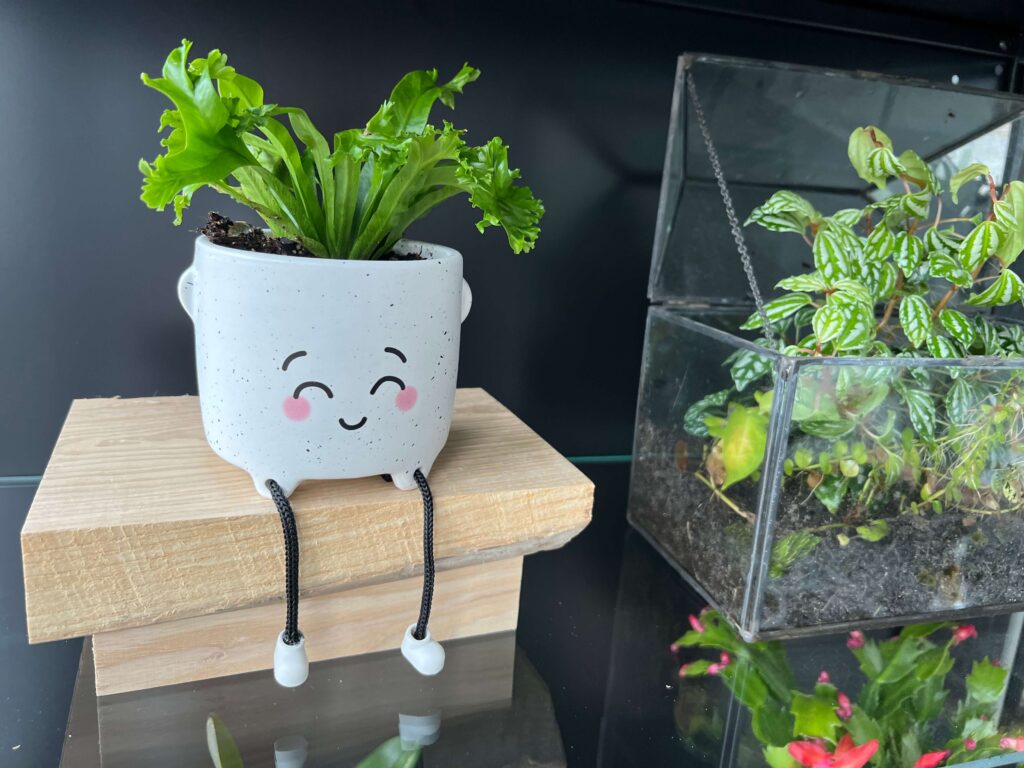
We will also have a MOST RECENT UPDATES on how our greenhouse survives winter here in South Carolina, stay tuned!
Before you go…
Creating a patio greenhouse using the IKEA Rudsta cabinet is an ideal solution for anyone who wants to grow plants but lacks the space or budget for a full-scale top indoor greenhouse. With just a few easy-to-find tools—a compact portable heater, a mini humidifier, and the IKEA Rudsta cabinet itself. You can take your patio or small outdoor area next level into a thriving dream garden plant habitat. This hack gives your various plants the right combination of warmth, moisture, and protection, creating a nurturing environment that encourages healthy growth year-round.
The biggest takeaway here is that building a mini greenhouse doesn’t require a huge investment or major construction. With a bit of creativity, the right products, and minimal setup, you can create a self-sustaining, stylish greenhouse that suits even small gardens. Whether you’re new to gardening or looking to expand your plant collection. This DIY project makes it possible to care for your plants in any season, right on your patio for a great value.
Ready to make your own DIY mini greenhouses with this affordable greenhouse kit? Start today with the IKEA Rudsta and the tools mentioned. Soon you’ll be enjoying your own mini greenhouse a thriving, beautiful green space that enhances your home. For more DIY gardening tips and smaller space solutions. Check out our other blog posts, or follow us on Instagram for regular updates on all things green and cozy!
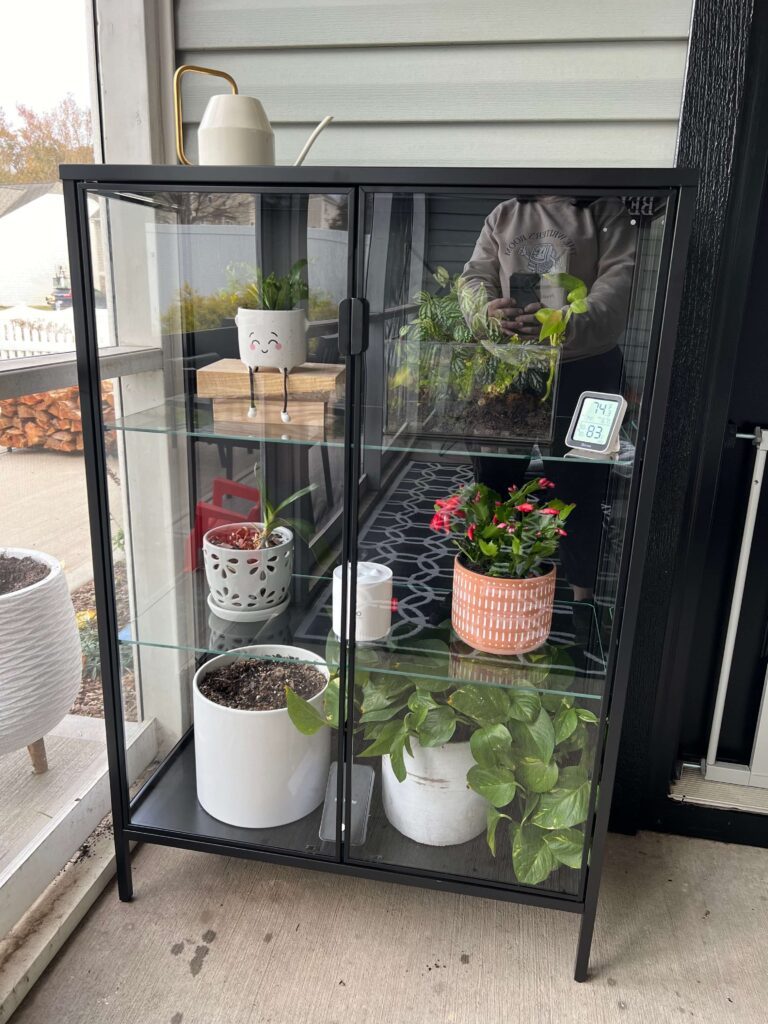
Create a mini greenhouse with this IKEA hack! For more outdoor ideas, set up a DIY Backyard Splash Pad. Or capture garden moments with our Best Bird Feeder Camera recommendations.
If or when you do make your own DIY Greenhouse. I’d love for you to follow us and tag us on Instagram so I can see your really DIY projects finished results! Happy crafting!
COZY HOME, COZY RECIPES:
Every cozy home deserves amazing recipes, and it’s even better when those recipes are both delicious and healthy. Our goal is to provide tasty meals that are easy to make, regardless of your skill level.
Fast, easy meals leave more time for fun activities, making your home a hub of joy and good food.
CONNECT WITH US:
As always, we love hearing about your experiences with our “DIY Mini Indoor Greenhouse: Easy IKEA Rudsta Hack”. Reach out to us through our social channels. Any questions you have, we’re here to answer.
Stay updated by joining our newsletter, offering a monthly dose of new recipes and a first look at upcoming projects.
MORE COZY KITCHEN RECIPES:
If you’re hungry for more, explore our collection of Cozy Kitchen Recipes. Another healthy favorite is the “Sausage Potato Veggie Bake.” Find these recipes and more here.
DIY RESOURCES:
For additional resources, check out our DIY Tutorials, offering a wealth of information to enhance your home improvement skills.

