


Create a Stunning Book Page Wreath From Simple Materials
Have you ever wanted to create home décor that feels meaningful, handmade, and a little vintage—but still elegant enough to hang anywhere in your home? If so, this DIY book page wreath is going to become one of your new favorite crafts.
There’s something magical about transforming old, worn, or thrifted vintage books into something beautiful and timeless. And if you already love paper crafts or upcycled décor, this project is the perfect mix of creativity and simplicity.
Whether you’re decorating for the holidays, looking for a year-round neutral wreath, or just craving a peaceful craft night, this folded book wreath checks all the boxes. It’s inexpensive to make, soothing to assemble, and surprisingly sturdy once finished. Plus, every wreath turns out slightly different, giving you a unique work of art made entirely from your hands.
Maybe you’ve seen paper wreaths online and wondered if they’re actually easy to make. Maybe you’ve been searching for a craft that uses supplies you already have at home. Or maybe you simply love the aesthetic of vintage book pages, textured paper edges, and soft neutral décor.
Wherever you’re coming from, this DIY book page wreath tutorial will guide you step-by-step so you can create a beautiful piece you’ll be proud to display or gift to your favorite book lovers you know.. Ready to turn old book pages into a charming wreath you can hang in any season? Let’s dive in.

Why Make a Wreath From Old Book Pages?
Book page crafts have exploded in popularity, and it’s easy to see why—they combine sustainability, nostalgia, and creativity in one simple project. Like folded book trees or paper ornaments, this DIY wreath lets you reuse materials that might otherwise be tossed, especially old books with damaged covers or loose pages.
Book paper has a timeless charm. The soft cream tones, aged text, and delicate texture create a vintage look that fits seamlessly with modern farmhouse, cottage, traditional, or minimalist décor.
Thanks to its neutral colors, a book page wreath works for any season—fall, Christmas, winter, or everyday styling.
Another reason these wreaths are so loved? They’re deceptively easy to make. With just a wreath blank, hot glue, book pages, ribbon, and a decorative punch, you can create a full, boutique-worthy piece.
The simple folding technique—tear, fold, punch, repeat—adds structure and detail that makes the finished wreath feel surprisingly high-end.
This craft is also incredibly flexible. Choose any wreath form you like, use crisp white or aged book pages, and keep it simple or dress it up with ribbon, berries, glitter, or seasonal accents.
This adaptability is why many people make more than one—to match different rooms, holidays, or styles. Once you understand the charm behind book page crafts, creating your own wreath becomes even more enjoyable. Now let’s look at what you need before you get started.


Supplies For Your DIY Book Page Wreath
One of the biggest advantages of this craft is the simplicity of the materials. You don’t need fancy tools or complicated instructions—just a few basic items that you may already have in your craft stash.
Materials Needed
- A book or loose book pages
Any paperback or thrifted book works. Matte pages fold well and punch cleanly. - Wood wreath blank (12″ wide)
This is the base that holds your folded pages in place. - Hot glue gun + glue sticks
Essential for securing each page layer. - Decorative paper punch
This gives the ends of your folded pages that fancy, scalloped or lacy look. - Velvet ribbon (or any ribbon you love)
Adds elegance and creates a way to hang your finished wreath. - Scissors (optional)
To trim any extra ribbon or uneven ends.


Why these materials matter
Using a wooden wreath blank offers strength and stability, especially since book pages can become heavier once layered. The decorative punch adds detail that takes the wreath from “cute” to “boutique-worthy.” And the velvet ribbon adds that perfect finishing touch, creating a soft, elevated final look.
Once you’ve gathered your supplies, you’re ready for the step-by-step process!
How to Make a DIY Book Page Wreath (Step-by-Step Tutorial)
You’re now ready to make your stunning wreath! Follow these simple steps to create your own folded book page wreath. This project is beginner-friendly and comes together with just a few basic supplies.

Step 1: Remove your book pages
Tear out each page individually. Don’t worry if the edges look a little imperfect—this actually adds charm and texture to the final wreath.


Step 2: Fold each page
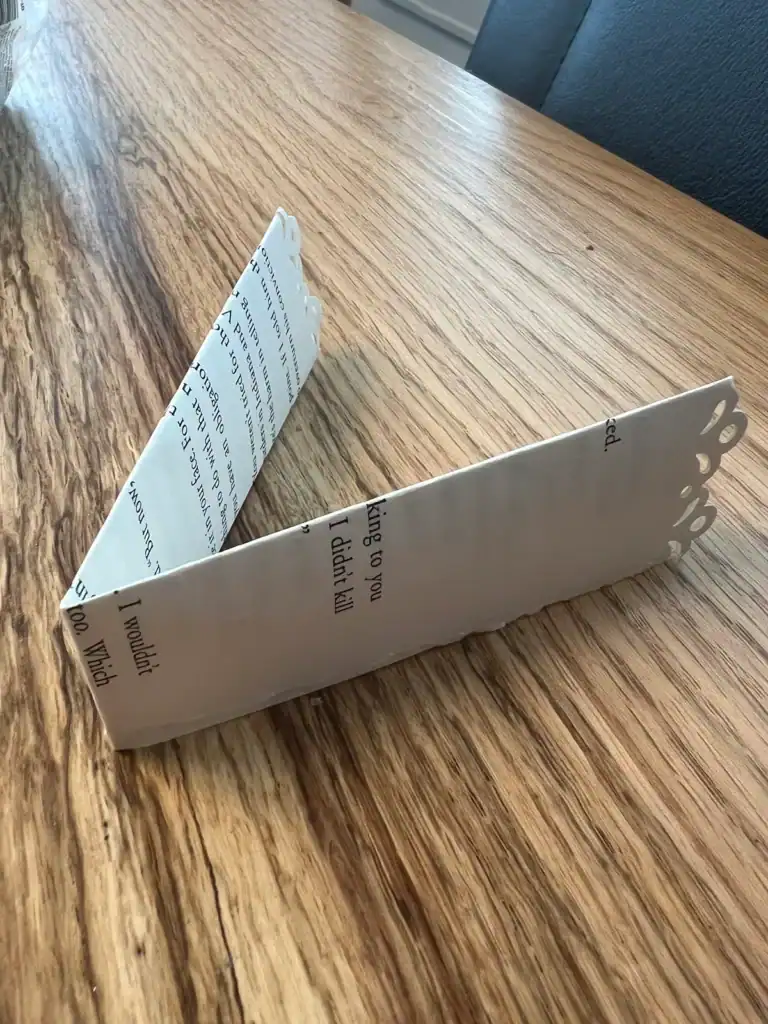
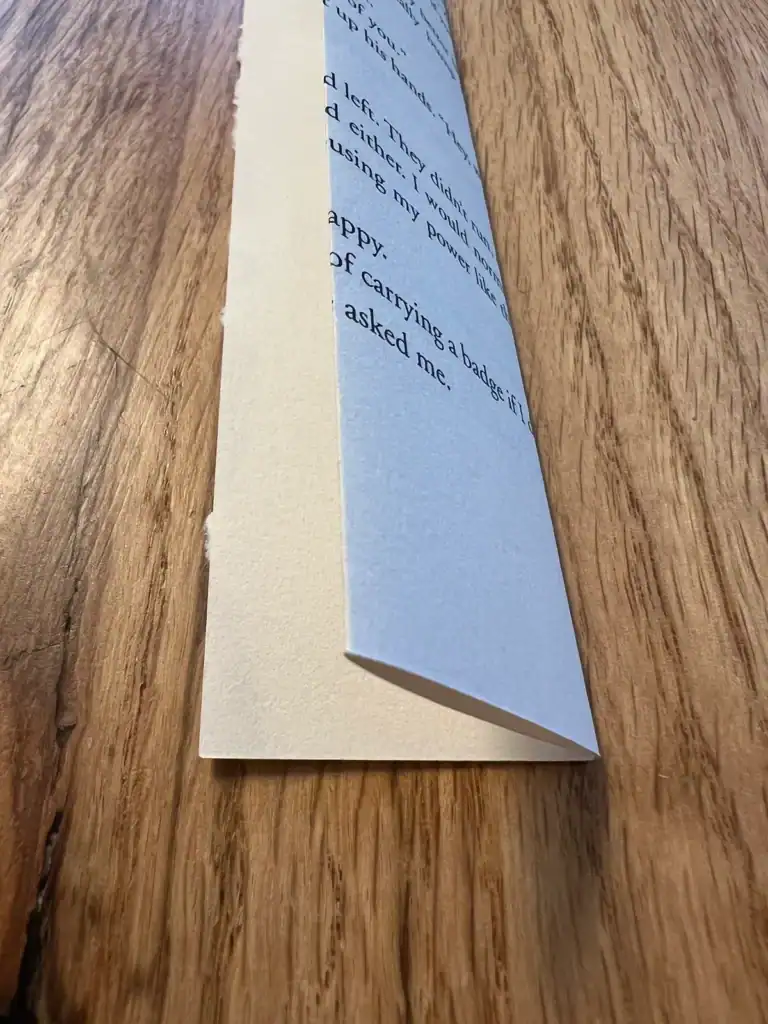
- Fold each book page in half lengthwise (hot dog style).
- Fold it lengthwise again.
- Then fold the entire strip in half.
This creates a thick, structured folded piece that makes your wreath look full and layered.


Step 3: Punch the ends
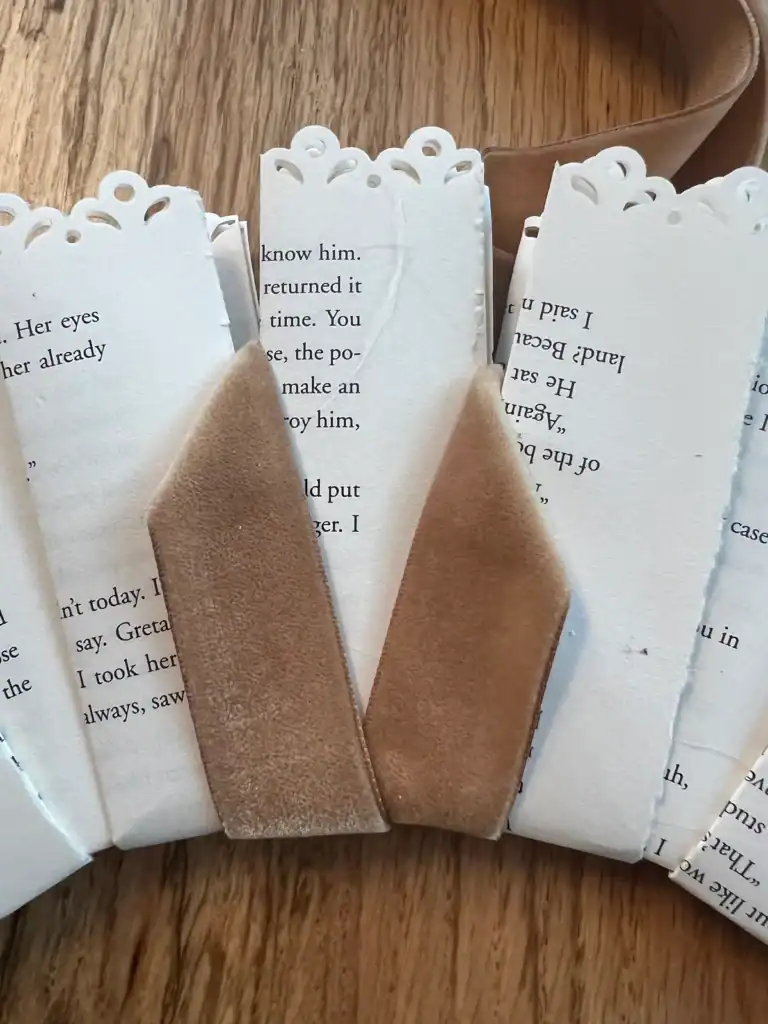
Use your decorative paper punch to punch both ends of the folded strip. This is what creates the fancy, lacy, scalloped effect on your wreath.

Step 4: Glue the first layer
Using your hot glue gun, attach 16 folded and punched book pages around the wooden wreath blank with a dab of hot glue. Space them evenly so they create a level base layer.
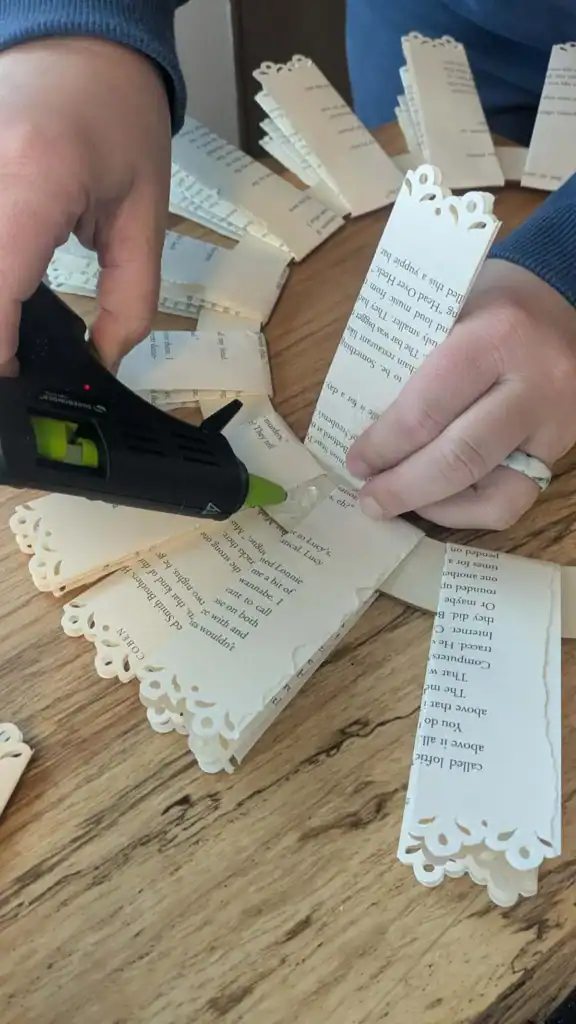

Step 5: Add your second layer
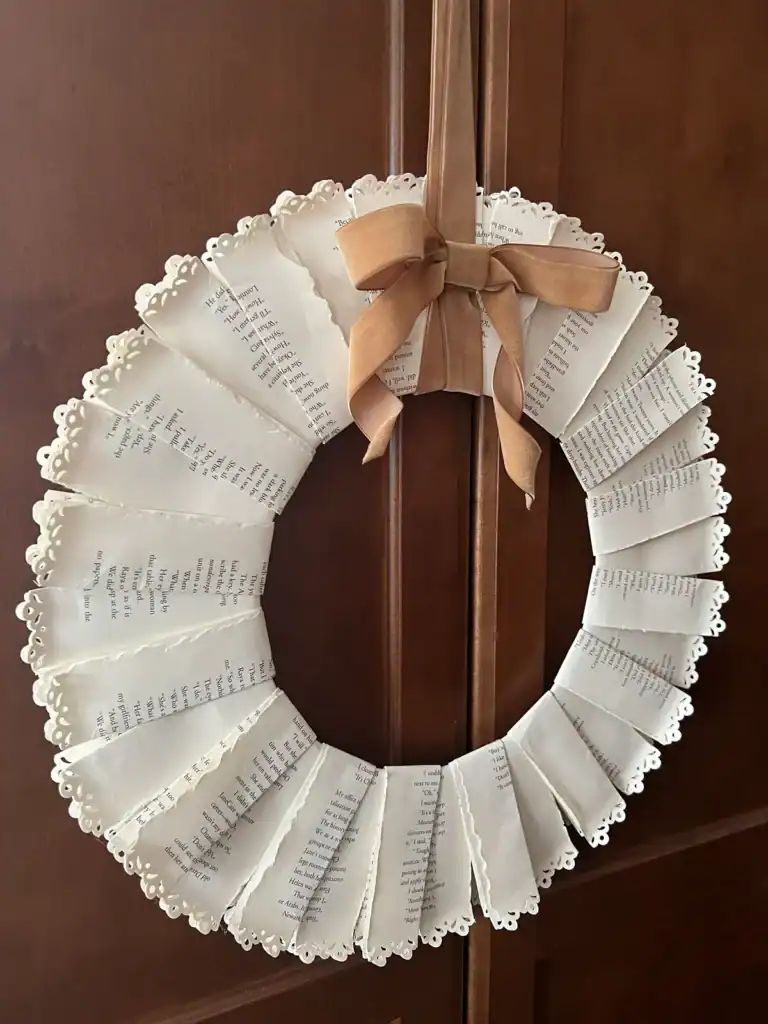
Attach another 16 folded and punched pages as your next layer, layering them half off-set to create fullness and cover the wreath frame. This second layer gives the wreath its rich, full shape.

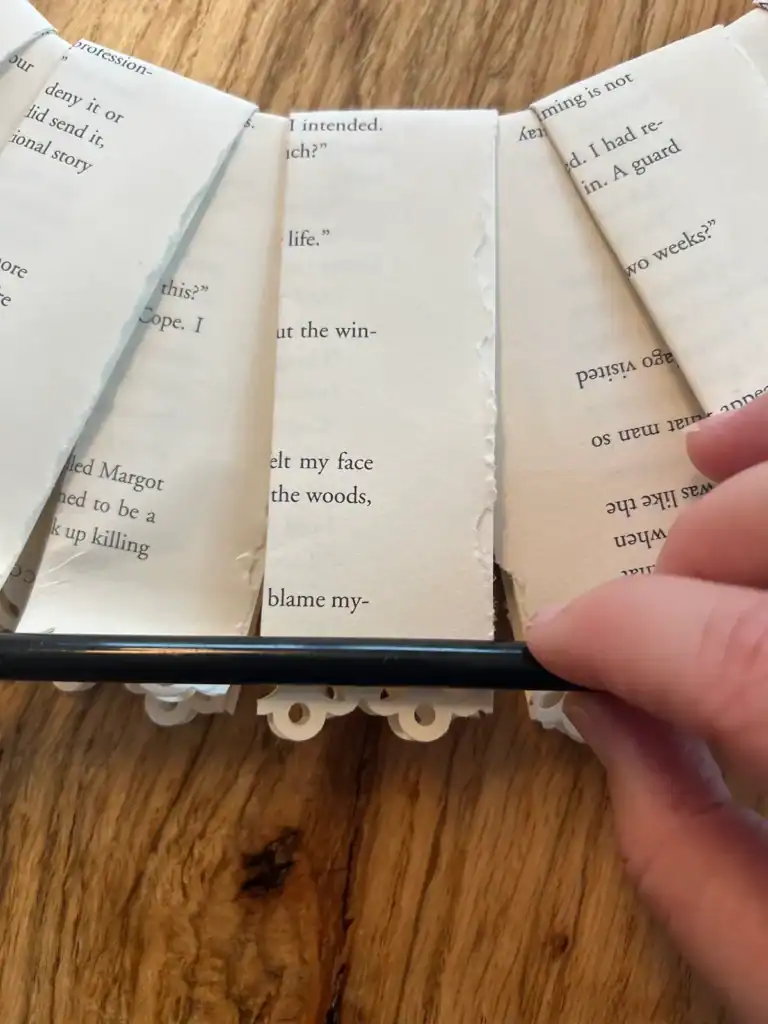
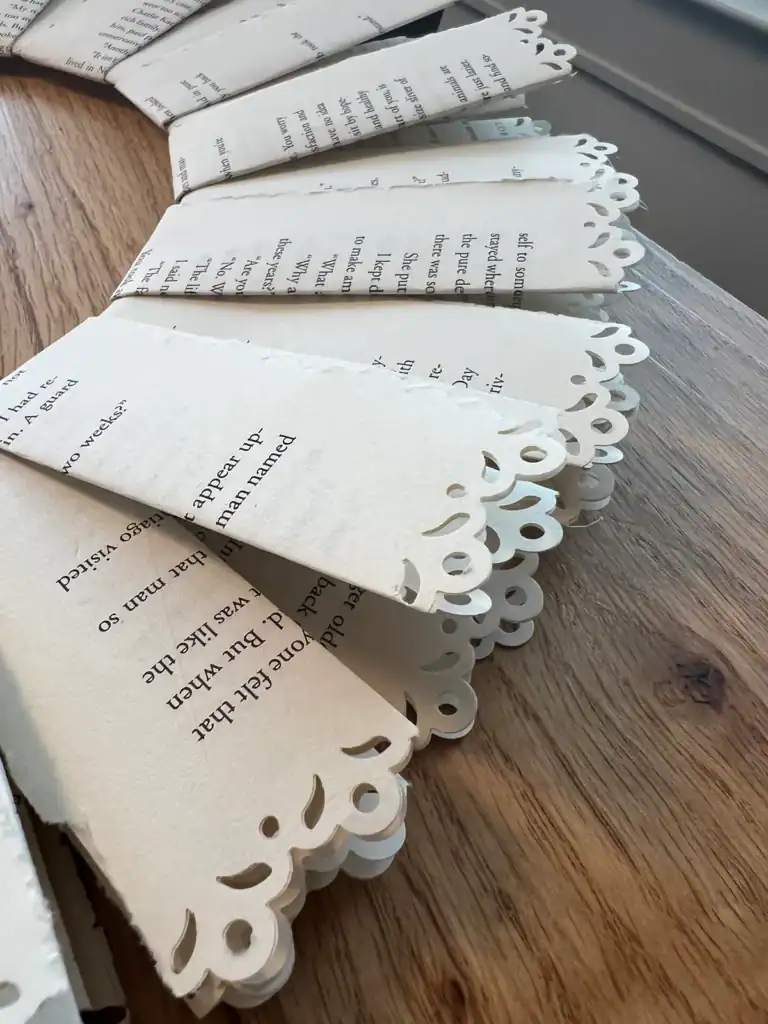
Step 6: Lightly roll the edges of your book pages
Simply take a straw or something narrow and round like a straw. Place on top of one of the book pages where you punched the decorative edge. Hold the edges of the pages in place around the straw and slowly roll the paper about a half inch. The rolled book page wreath edges give your wreath a less perfect, more vintage and tattered look. (optional)

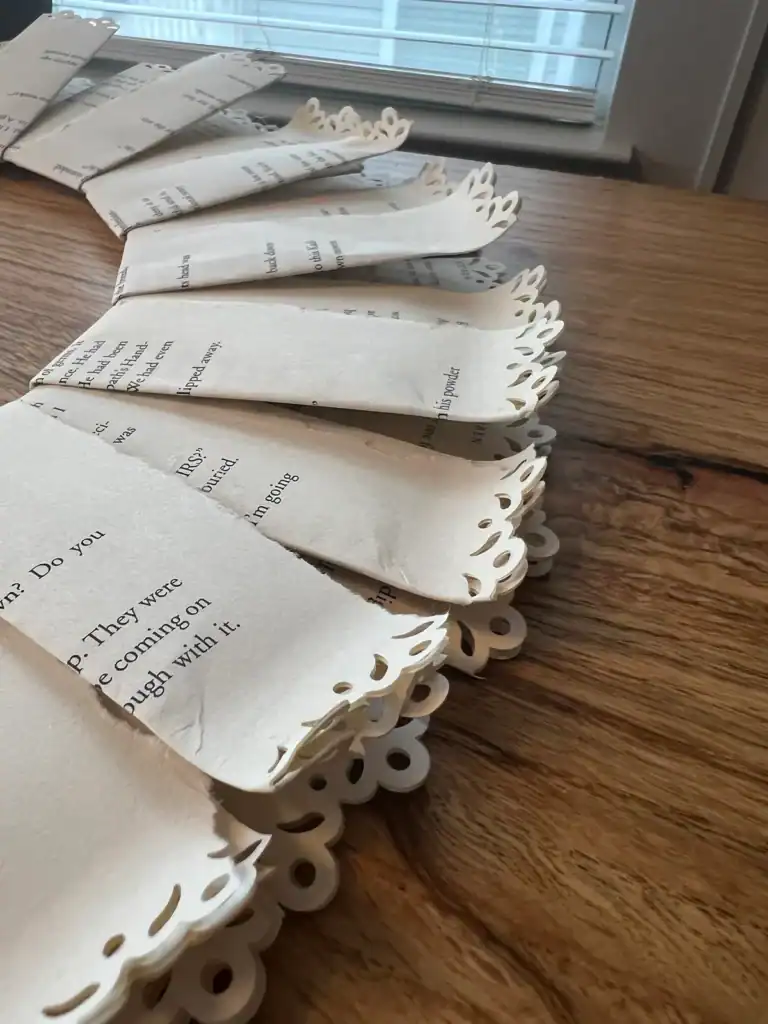
Step 7: Final Step, Add your ribbon and bow
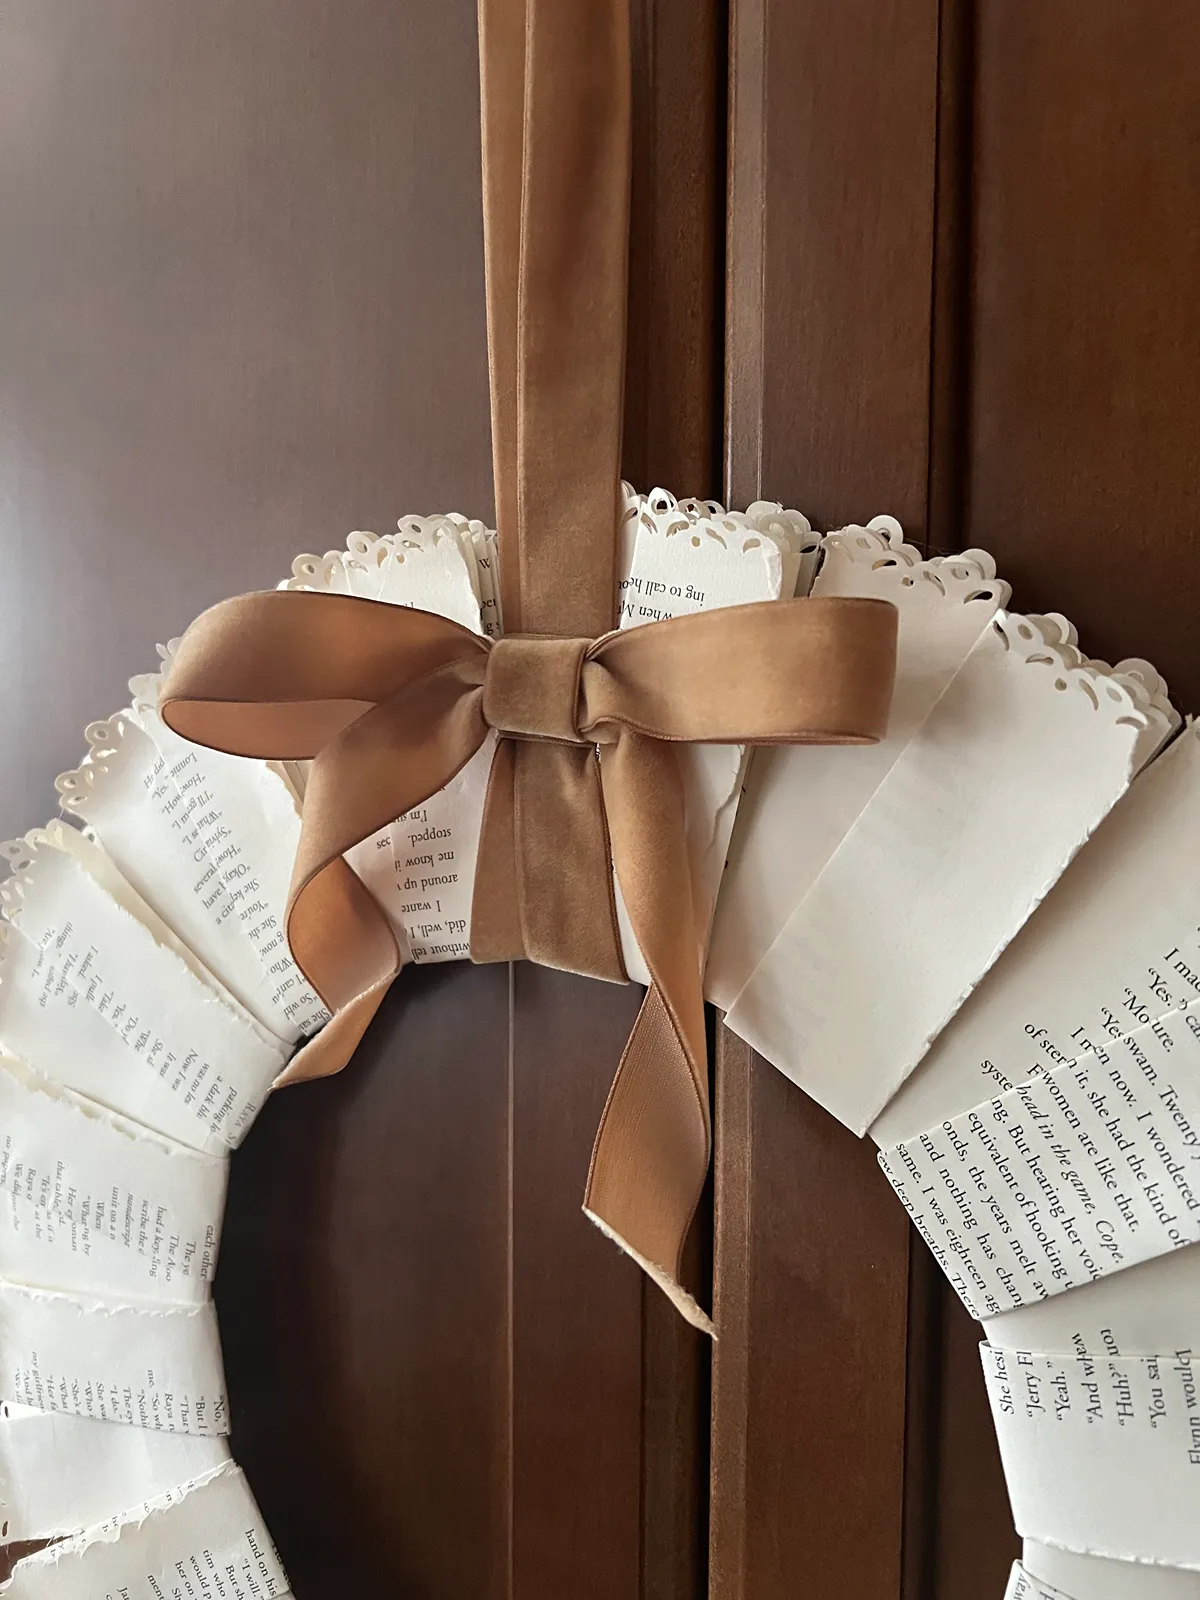
Tie on your velvet ribbon for a soft, elegant finish. You can tie it in a bow, in a simple loop, or let the ribbon drape beautifully. This also gives you the perfect way to hang your finished wreath.
And you’re done! Your DIY book page wreath is ready to display. Hang it on a door, above a mantel, on a gallery wall, or anywhere you want to add a cozy, handcrafted touch.


Before you go…
Creating this DIY book page wreath isn’t just about making home decor — it’s about slowing down, crafting something beautiful with your hands, and giving new life to materials you already have. There’s something incredibly satisfying about stepping back and seeing craft projects that feels meaningful, personal, and totally unique to your home.
Whether you made this to hang on your front door, add texture to a gallery wall, or gift to a friend who loves vintage-inspired décor, I hope this project brought you as much joy as it brings charm to your space.
Remember, crafts like this beautiful wreath are all about experimentation. Try different book types, mix in colored or tea-stained pages, add seasonal picks or dried florals, or switch up your ribbon for the holidays.
Once you master the basic technique, the possibilities are endless — and you might just find yourself making a whole collection of these wreaths for different rooms and different seasons.
If this tutorial inspired you, I’d love to help you keep that creative momentum going:
➡️ Explore more DIY and upcycled crafts on the blog — from simple paper projects to beginner-friendly woodworking.
➡️ Join my email list for free templates, crafty cheat sheets, seasonal projects, and early access to new tutorials.
➡️ Save or pin this post so you can revisit it anytime you’re ready to make another wreath (trust me, once you start, it’s hard to stop!).
Keep in touch!!!
Thank you so much for crafting with me today. Your handmade wreath deserves a cozy, cherished spot in your home — and I hope every time you walk by it, you feel a little spark of pride knowing you made it.
And as always, if you give this project a try, tag me on Instagram @buildacozyhome so I can celebrate your beautiful work. Happy crafting, friend — and here’s to filling your home with creativity, warmth, and projects that make you smile. ✨
And if you’re hungry for more DIY inspiration—from cozy crafts to creative kitchen projects—stick around and explore the blog. There’s always something new brewing.☕
If or when you do try to make your very own Book Page Wreath: Easy and Simple DIY Tutorial. I’d love for you to follow us and tag us on Instagram so I can see your DIY finished results! Happy DIYing!
COZY HOME, COZY RECIPES:
Every cozy home deserves amazing recipes, and it’s even better when those recipes are both delicious and healthy. Our goal is to provide tasty meals that are easy to make, regardless of your skill level.
Fast, easy meals leave more time for fun activities, making your home a hub of joy and good food.
CONNECT WITH US:
As always, we love hearing about your experiences with our “DIY Coffee Roasting: Easy Beginner’s Guide to Roast at Home”. Reach out to us through our social channels. Any questions you have, we’re here to answer.
Stay updated by joining our newsletter, offering a monthly dose of new recipes and a first look at upcoming projects.
COZY KITCHEN RECIPES:
If you’re hungry for more, explore our collection of Cozy Kitchen Recipes. Another healthy favorite is the “Sausage Potato Veggie Bake.” Find these recipes and more here.
DIY RESOURCES:
For additional resources, check out our DIY Tutorials, offering a wealth of information to enhance your home improvement skills.
DIY Book Page Wreath FAQs
For this specific tutorial, you use 32 folded book pages—16 for the first layer and another 16 for the second.
A paperback or thrifted book works great for making a DIY book page wreath. Look for a book with matte pages that are easy to fold and sturdy enough to hold their shape. Older books are especially beautiful for this project because the cream-colored pages and aged text naturally create a vintage look.
Yes! You can make a book page wreath with newer or older books. Newer book pages will give your wreath a cleaner, brighter appearance, while older or thrifted books tend to have warmer, aged pages for a more vintage look. Either option will work with the folding and decorative paper punch technique used in this tutorial.
One easy way to give your book page wreath a more vintage look is to gently curl the decorative edges of the folded pages. In this tutorial, I use a straw or another small, round object to roll the ends of each book page about half an inch. This makes the pages look a little less perfect and gives the finished wreath a softer, tattered appearance.
For this DIY book page wreath, I used a 12-inch wooden wreath blank. The wooden base provides plenty of strength and stability for the layered book pages. I attached 16 folded pages for the first layer and another 16 pages for the second layer, for a total of 32 book pages.

