


We are not only going to talk about how to make butter homemade in this post. I am going to tell you how I discovered making butter when I was a kid. Yes, you heard that right “I learned when I was a kid.”
There is this false idea that butter is so hard to make. I want to once and for all debunk that misconception and show you how easy it can be. Not only is it easy but it is so much healthier than the store-bought butter.
Why is it healthier to make your own homemade butter?
You can first and foremost control the milk you are using to make it. Next you can choose how much and what type of salt you add to your butter. Last but not least, you can make sure no preservatives or random oils are added to your butter. This does mean your butter won’t last as long as store bought, so keep that in mind. The best part is you don’t need any special equipment to make your own homemade butter.
Don’t worry, I will also go over how to make a big batch and make sure it lasts without spoiling before you get to use it! I am a work smarter not harder kinda gal myself, so I get it.
I can’t wait for you to make your own butter that is healthier, easy and will last you a while. Let’s get into it!!!

It’s so easy a kid can make homemade butter…
I remember being in elementary school making butter for the first time ever. It is a core memory that is stuck with me forever. If I can make butter in elementary school, so can you! I want to once and for all squash people saying butter is TOO HARD TO MAKE!
The backstory on me learning how to make butter homemade…
In elementary school we made butter one day sitting at our school desks. I very vividly still remember them just sitting us down that day and giving us all baby food jars. It seemed so out of nowhere that we were just going to be making butter and we all just stared at each other in disbelief.
Then they passed around the container of salt and we poured a little into each of our jars. Next we got the cream and we filled our little jars. Then the magic was about to start and we didn’t even know it.
We were asked to put the lids on our jars tightly and just shake shake shake and keep shaking. I wish I knew exactly how long we shook for? Looking back now, I am impressed they were able to talk us kids into shaking those jars for as long as we did for the teeniest amount of butter. This should have been a group project and passed the jars around 🤣
After a while the butter started forming and you could feel the little clump moving inside your jar. I think some people were racing to get theirs done first. Eventually we did in fact have butter in our little jars.
I wish I could remember every small detail of that moment but I can’t. All I do know is that it has lived with me all these years which speaks for itself. Fast forward 20+ years later and I am finally making butter again for the first time since then.
As an adult I never had the urge to make butter knowing in the back of my head I would have to shake a baby jar forever. Definitely not worth the effort in my opinion for so little in return.
So, I thought, how can I make butter that is real, cheaper and better for me than the grocery store stuff? Welp, I figured it out! I decided to try my Kitchenaid Mixer with the whisk attachment and it worked! We were shocked with how much butter we had made with so little time and work.
I decided to make a huge batch because I wanted to be able to freeze it and pull out butter when I needed it. Rather than having to make butter once a week or every time we ran out.
This recipe makes roughly (8) 1/2 cup sticks of butter. Yeah, I know that sounds like wayyyyy too much. But, just trust me on this one when you can stockpile all it in your freezer you will thank yourself!
Let’s get into it and learn how to make butter at home!
Supplies and Ingredients List To Make Homemade Butter
Now, I know I said I made butter as a kid shaking a jar. But, we are adults now and we are going to work smarter not harder here and use the easiest method I know. You will need a counter top stand mixer to make butter using our stand mixer butter method.
Any stand mixer will work, you don’t need a kitchen aid mixer specifically. Ours was a wedding gift from 8 years ago and it’s still going strong! We love our Kitchen Mixer and use it all the time.
I don’t think I could ever say enough good things about their mixers with how well ours has held up over the years. Also, can we just talk about all the amazing attachments they make for these mixers? Anyways, I am done praising the kitchen aid mixers.
Let’s make some butter!
Supply List to make Butter Homemade
Ingredients to make Butter Homemade:
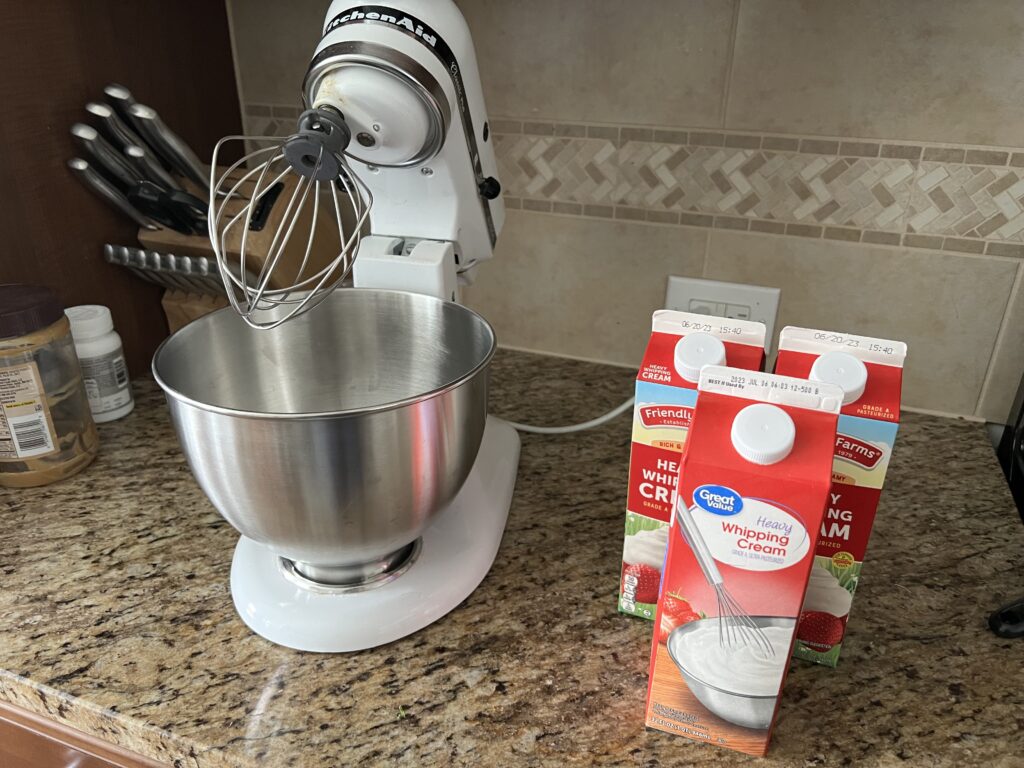
- 3 quarts of Heavy Whipping Cream
- Celtic Sea Salt
Steps to make Homemade Butter
I just want to preface this by saying, you are going to ask yourself why you didn’t make butter sooner when you are done.
- Get out your stand mixer
- Attach your bowl of your stand mixer and whisk attachment
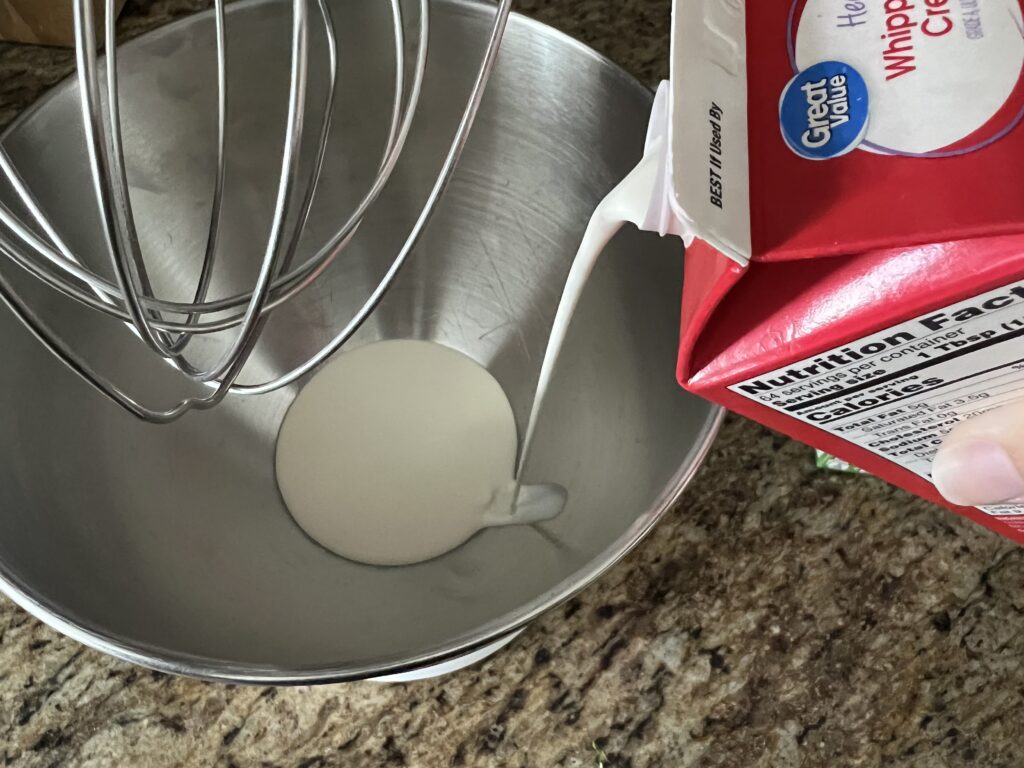
- Pour in one quart of cream for this batch.
- Add a pinch of salt (we measure this with our heart). If you want Unsalted Butter skip this step.
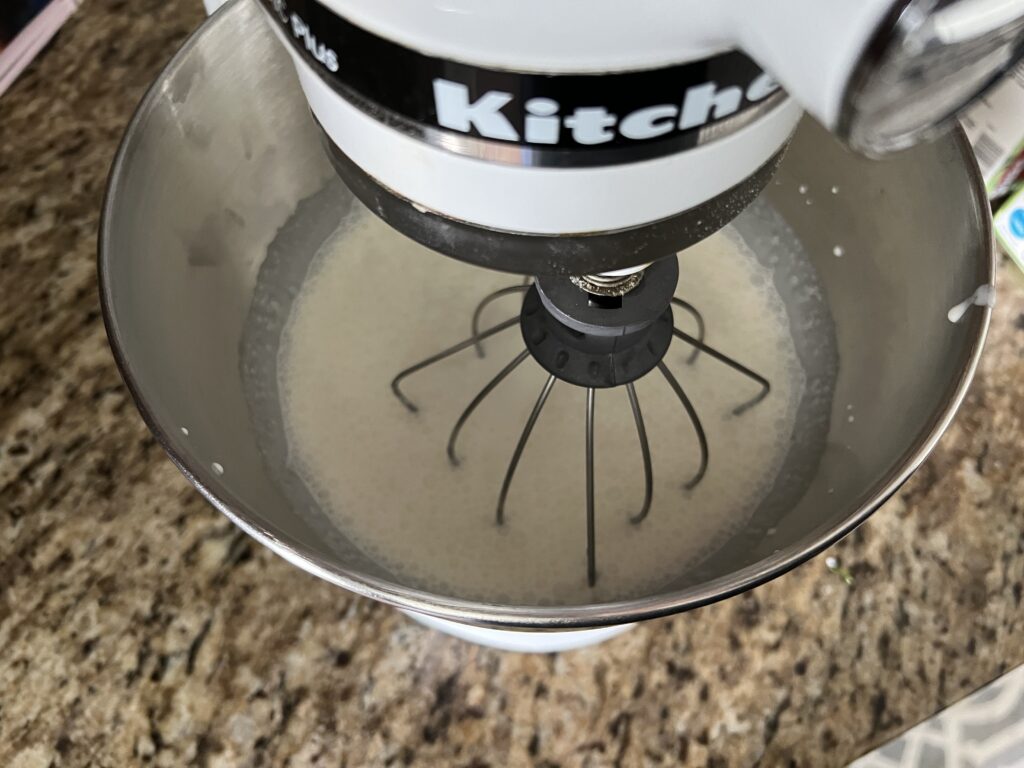
- Turn your mixer on to medium speed (don’t do high speed, it will spray cream everywhere) and let mix for 5 minutes and it will start getting into the whipped cream stage here.
- Keep checking every 5-10 minutes to keep an eye on when the cream breaks.
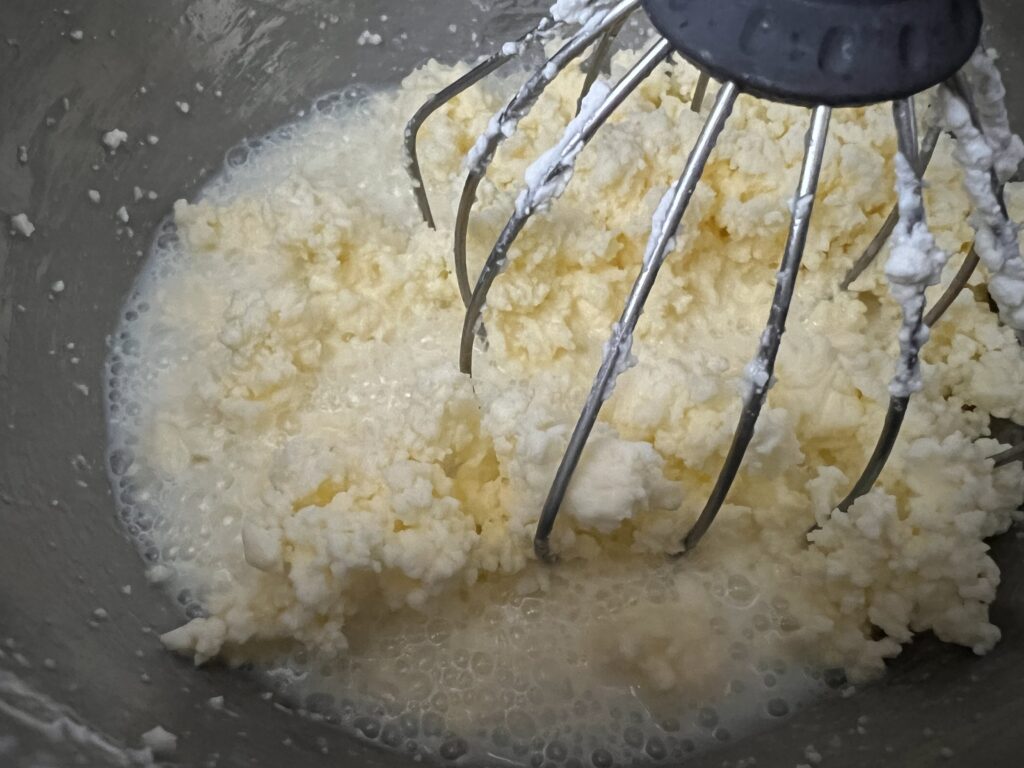
- The cream separates at first and then the butter solids will slowly start to form next.
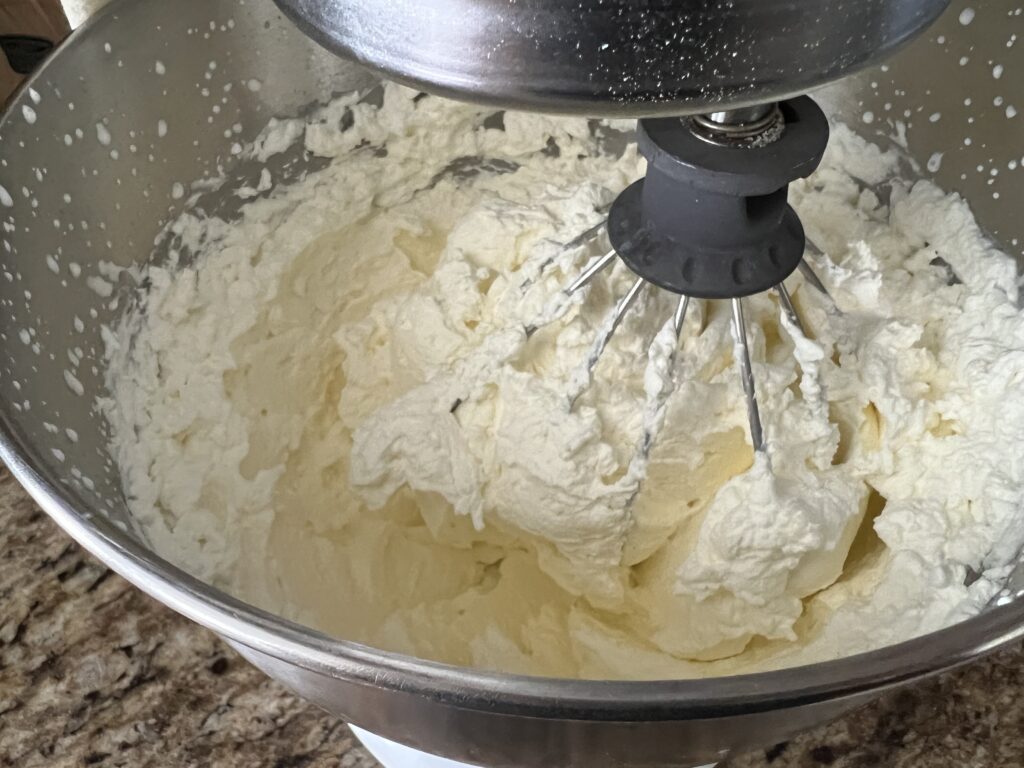
- Once it starts clumping let it keep going another couple of minutes
- You will notice it is done clumping when the yellow butter solids are very different looking from the pale white milk solids.
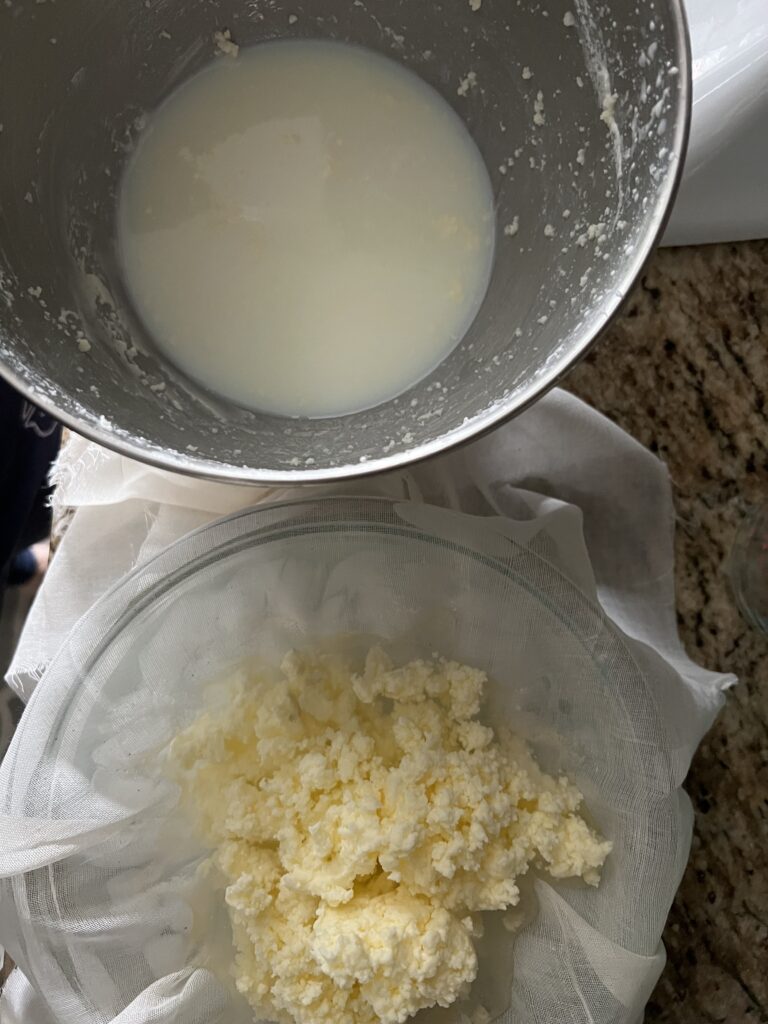
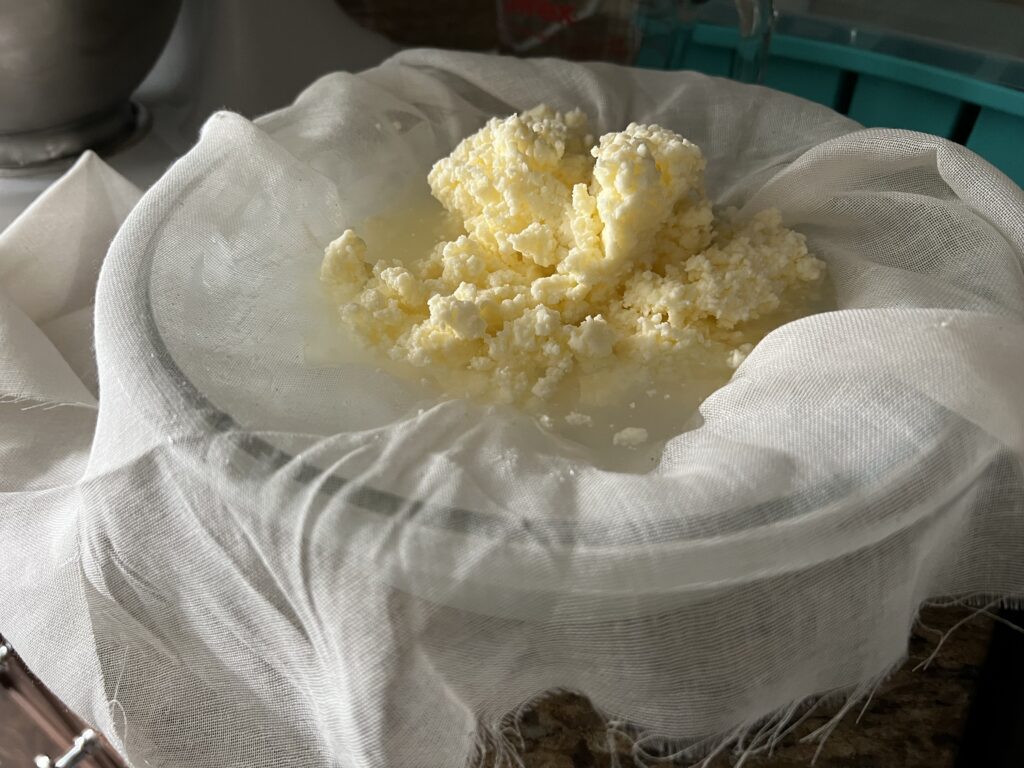
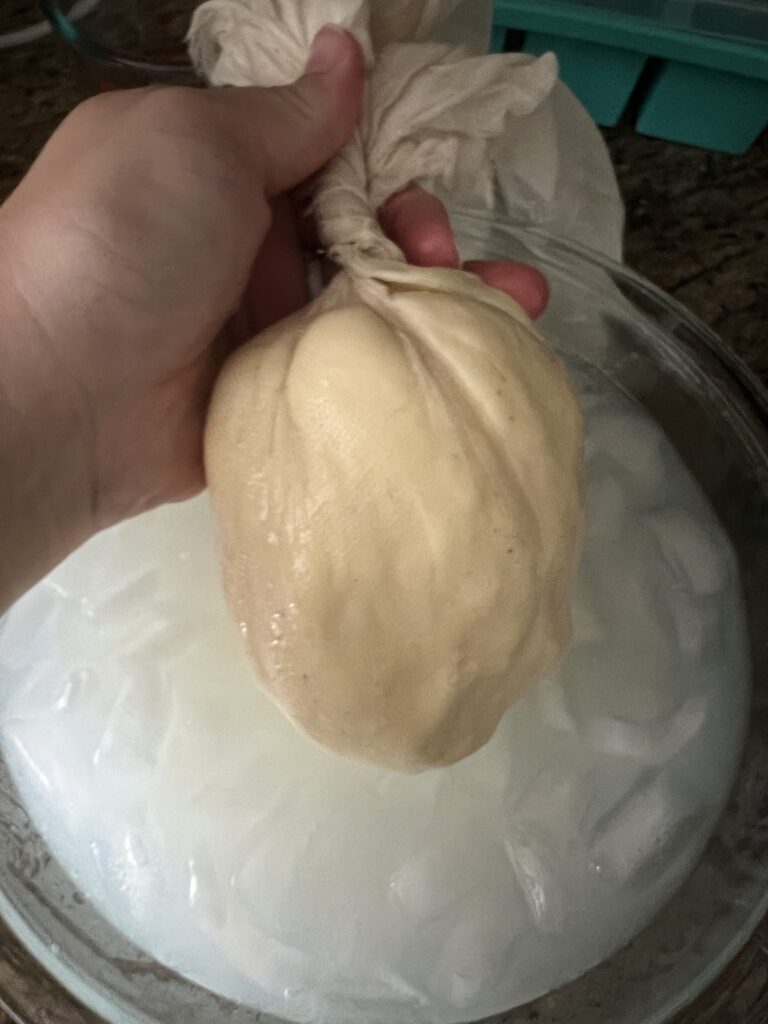
- Get a large mixing bowl with ice-cold water ready on the side and drape your cheesecloth over the large bowl
- Grab clumps of the butter from the mixer bowl and squeeze as much of the excess liquid out of the butter as you can. Continue to do this until all the butter is out of the bottom of the bowl and in the ice bath.
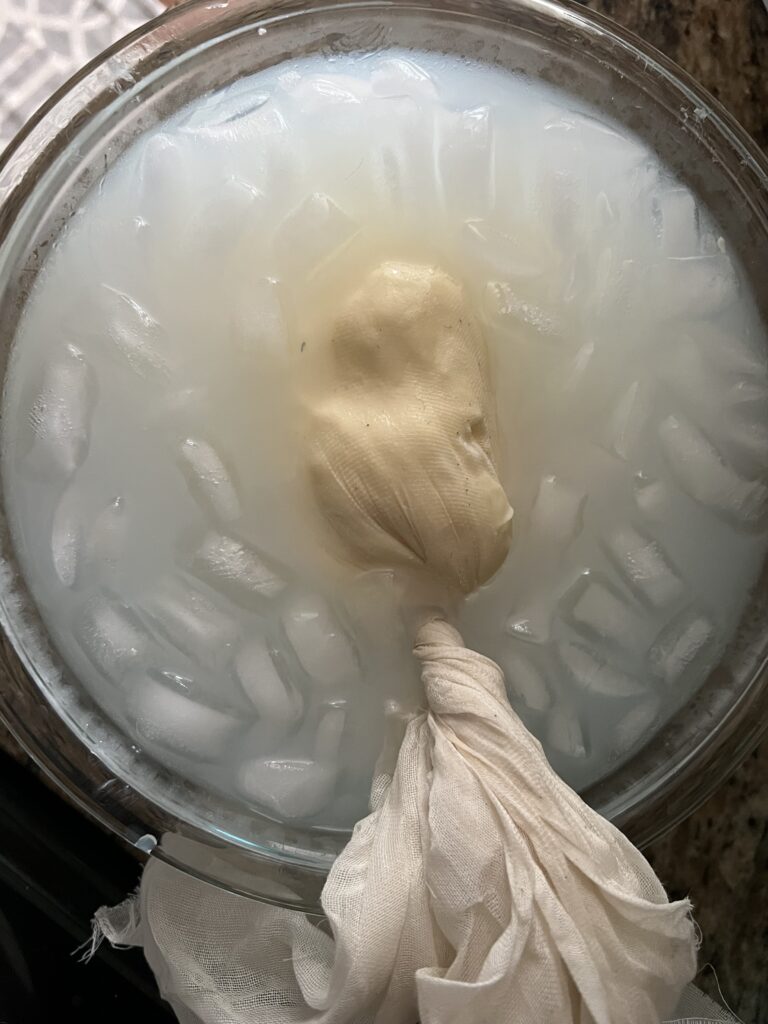
- Gather your cheesecloth ends and twist to tighten around the ball of butter. This will help you really squeeze the remaining liquid out of the butter
- Make sure to let your butter ball sit in the ice bath to keep it cold and clumped together.
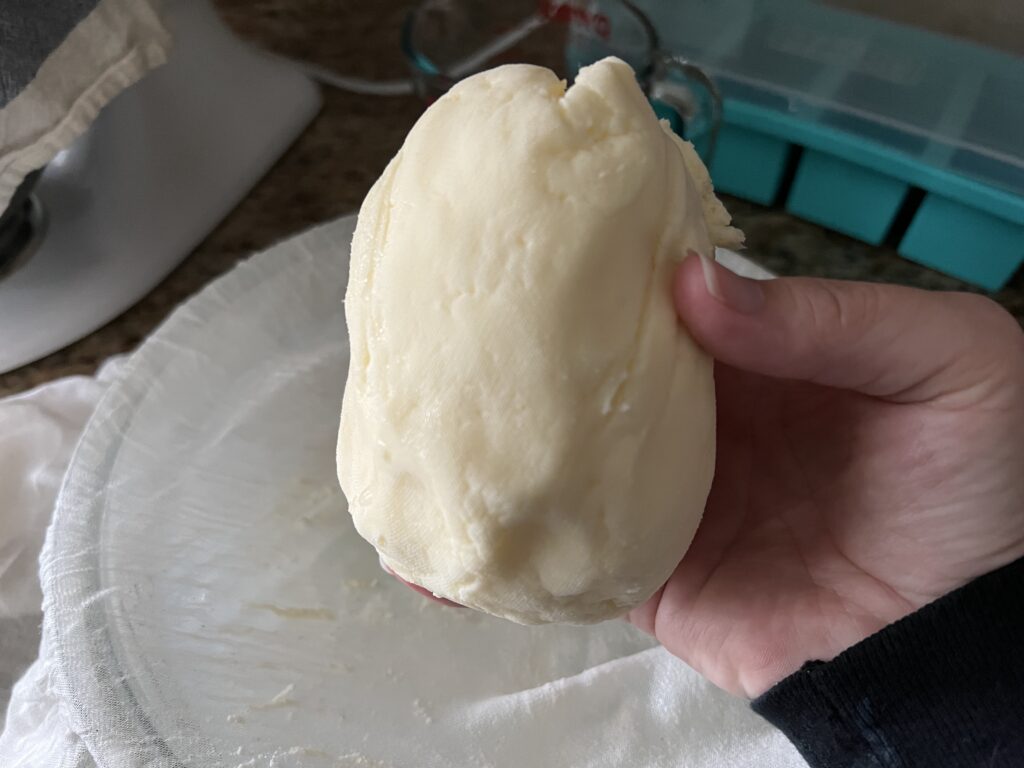
- When you can no longer squeeze out anymore liquid. Your butter is ready to store.
- Repeat these steps until all 3 quarts are turned into butter solids.
- Time to put your butter into the silicone molds to freeze in batches. These batches will be whatever size you think will be good for you to use your butter before it goes bad.
- Let freeze overnight in the freezer
- The next day take out the molds and wrap in parchment/freezer paper and store in the freezer and use as needed.
PRO TIP: Choose a silicone mold size that will freeze the individual stick sizes that will work best for your household. Keep in mind this butter has no preservatives so it will spoil and mold faster than store bought. I recommend doing what we do and using the 2 cup size molds and then cutting each block into 4 sticks. These 4 sticks will be the size of a traditional ½ cup stick of butter.
How to store your homemade butter
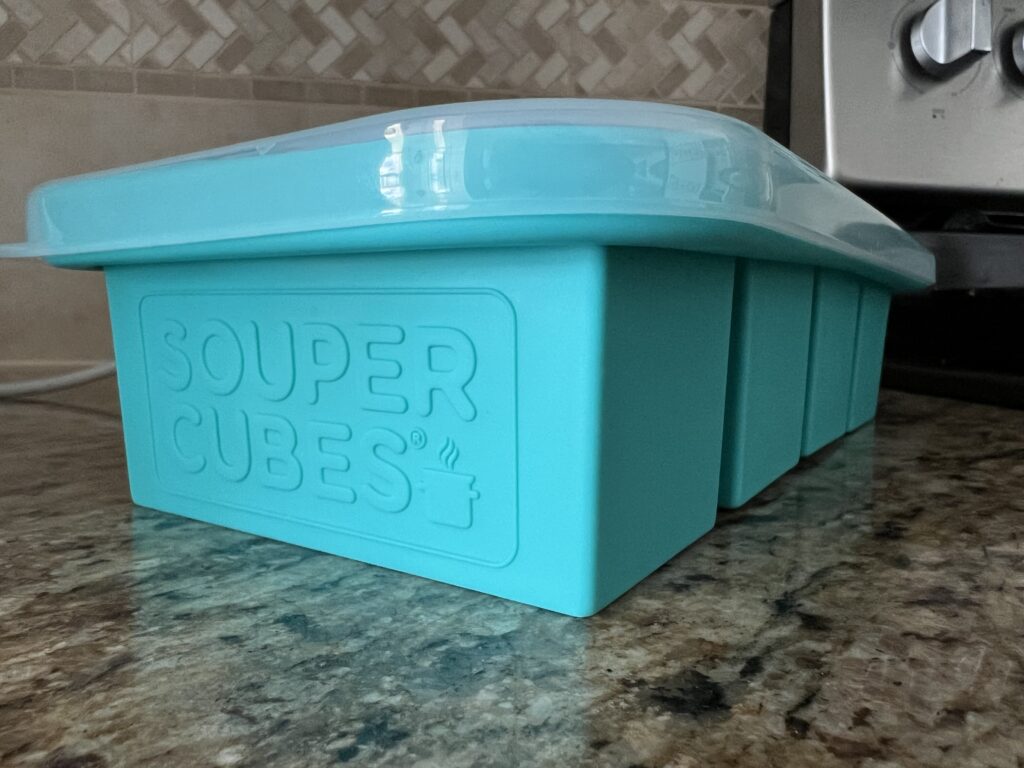
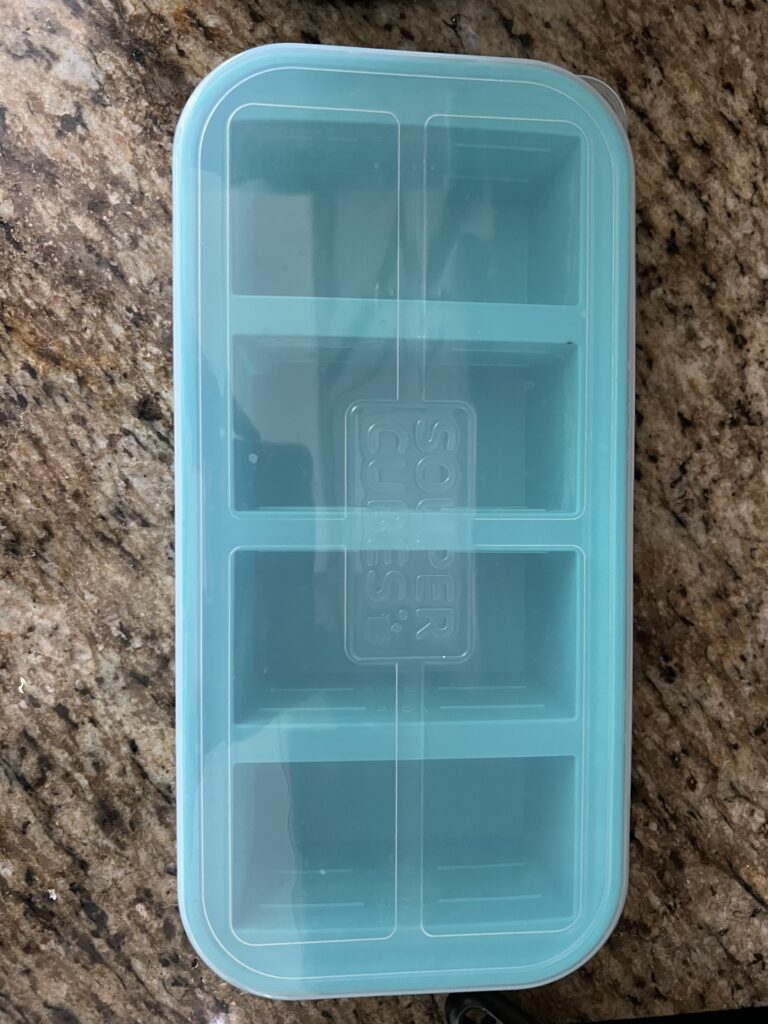
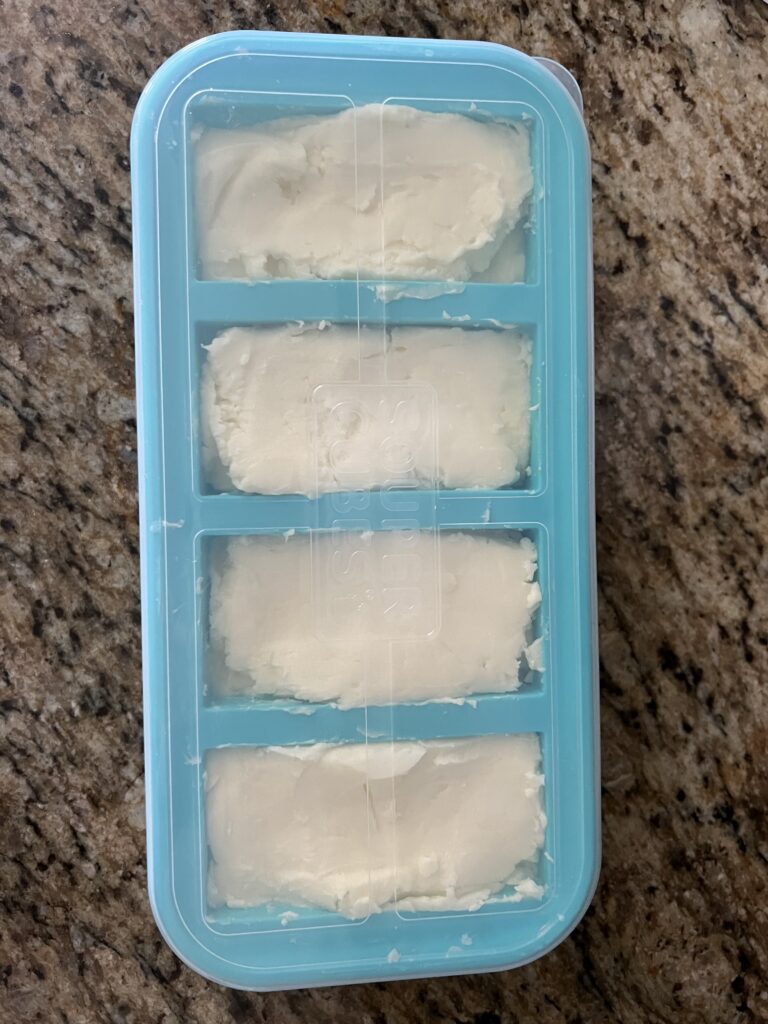
This next step is how we form and store our butter in the freezer. We like to use these Souper Cuber Silicone Freezer molds. These have made life easy with measuring and cutting into individual sticks.
You are going to take one of these molds and start pressing the butter into each compartment until filled up to the 2 cup lines. Your butter should fill all four compartments in one tray. Stick your silicone tray with butter in it into the freezer overnight.
The next day take out the tray and you will have solid chunks of homemade delicious butter to use whenever you need them. This is where you can decide to leave them as is in your silicone trays or cut them into true ½ cup stick sizes.
To store in individual stick sizes like we do. Pull out one chunk at a time and put on a cutting board. Get a hot bowl of water and stick a knife in it and wait a few minutes for it to get hot. Take your knife once hot and cut each chunk in half once lengthwise. You will end up with ½ cup sticks of butter.
Use parchment/freezer paper and wrap each stick by itself. We like to use these pre-cut parchment sheets to make life easier. You can also buy rolls of parchment paper and cut them to whatever size you want.
Store your wrapped sticks in the freezer and use them as needed. When storing in the fridge you don’t need a fancy container any butter dish will do just fine. Remember this butter does not last a long time in the fridge like store bought butter. Getting in the habit of taking out smaller amounts more often will make sure it doesn’t spoil on you.
If you haven’t already been over to our Easy Beginner 4 Ingredient Bread Recipe it will pair really well with your real butter. It is another great easy recipe that any skill level can make. You will impress your family and friends with this duo at any get together!
If or when you make this recipe, I’d love for you to tag us on Instagram so I can see your really fun recipes and DIY projects come to life!
COZY HOME, COZY RECIPES:
Every cozy home deserves amazing recipes, and it’s even better when those recipes are both delicious and healthy. Our goal is to provide tasty meals that are easy to make, regardless of your skill level.
Fast, easy meals leave more time for fun activities, making your home a hub of joy and good food.
CONNECT WITH US:
As always, we love hearing about your experiences with our “How to make Homemade Butter with only Two Ingredients”. Reach out to us through our social channels. Any questions you have, we’re here to answer.
Stay updated by joining our newsletter, offering a monthly dose of new recipes and a first look at upcoming projects.
MORE COZY KITCHEN RECIPES:
If you’re hungry for more, explore our collection of Cozy Kitchen Recipes. Another healthy favorite is the “Sausage Potato Veggie Bake.” Find these recipes and more here.
DIY RESOURCES:
For additional resources, check out our DIY Tutorials, offering a wealth of information to enhance your home improvement skills.
Stay updated by joining our newsletter, offering a monthly dose of new recipes and a first look at upcoming projects.


Yum!! This looks amazing!!!
It really is!!!!