


Kids’ Keepsake Box DIY
As your child grows and life continues to get busier and busier. It’s hard to remember to keep up with the treasure troves of precious memories they accumulate—baby pictures, first drawings, report cards, and special notes—that deserve a special place. What if we could make a time capsule to hold kids’ memories?
We wanted to make sure as new parents as our little one grows we could keep the mountain of keepsakes organized. Do you feel overwhelmed with what to do with all of those memories and things they make over the years? A Kids’ Keepsake File Box is the perfect solution for a memory-saving system.
Instead of purchasing one that can cost over $100, why not make your own for half the price? It’s a rewarding project that allows you to create a custom children’s memory box that reflects your child’s unique personality. You can customize their name on the box, the color of the box and file folders.
Here’s how you can make your own DIY Kids’ Keepsake File Box. Let’s get you feeling less overwhelmed and get the most precious childhood memories of your little one safely stored away for many years to come!
Materials You’ll Need for your Kids Keepsake Box
Before you begin, let’s gather the following materials:
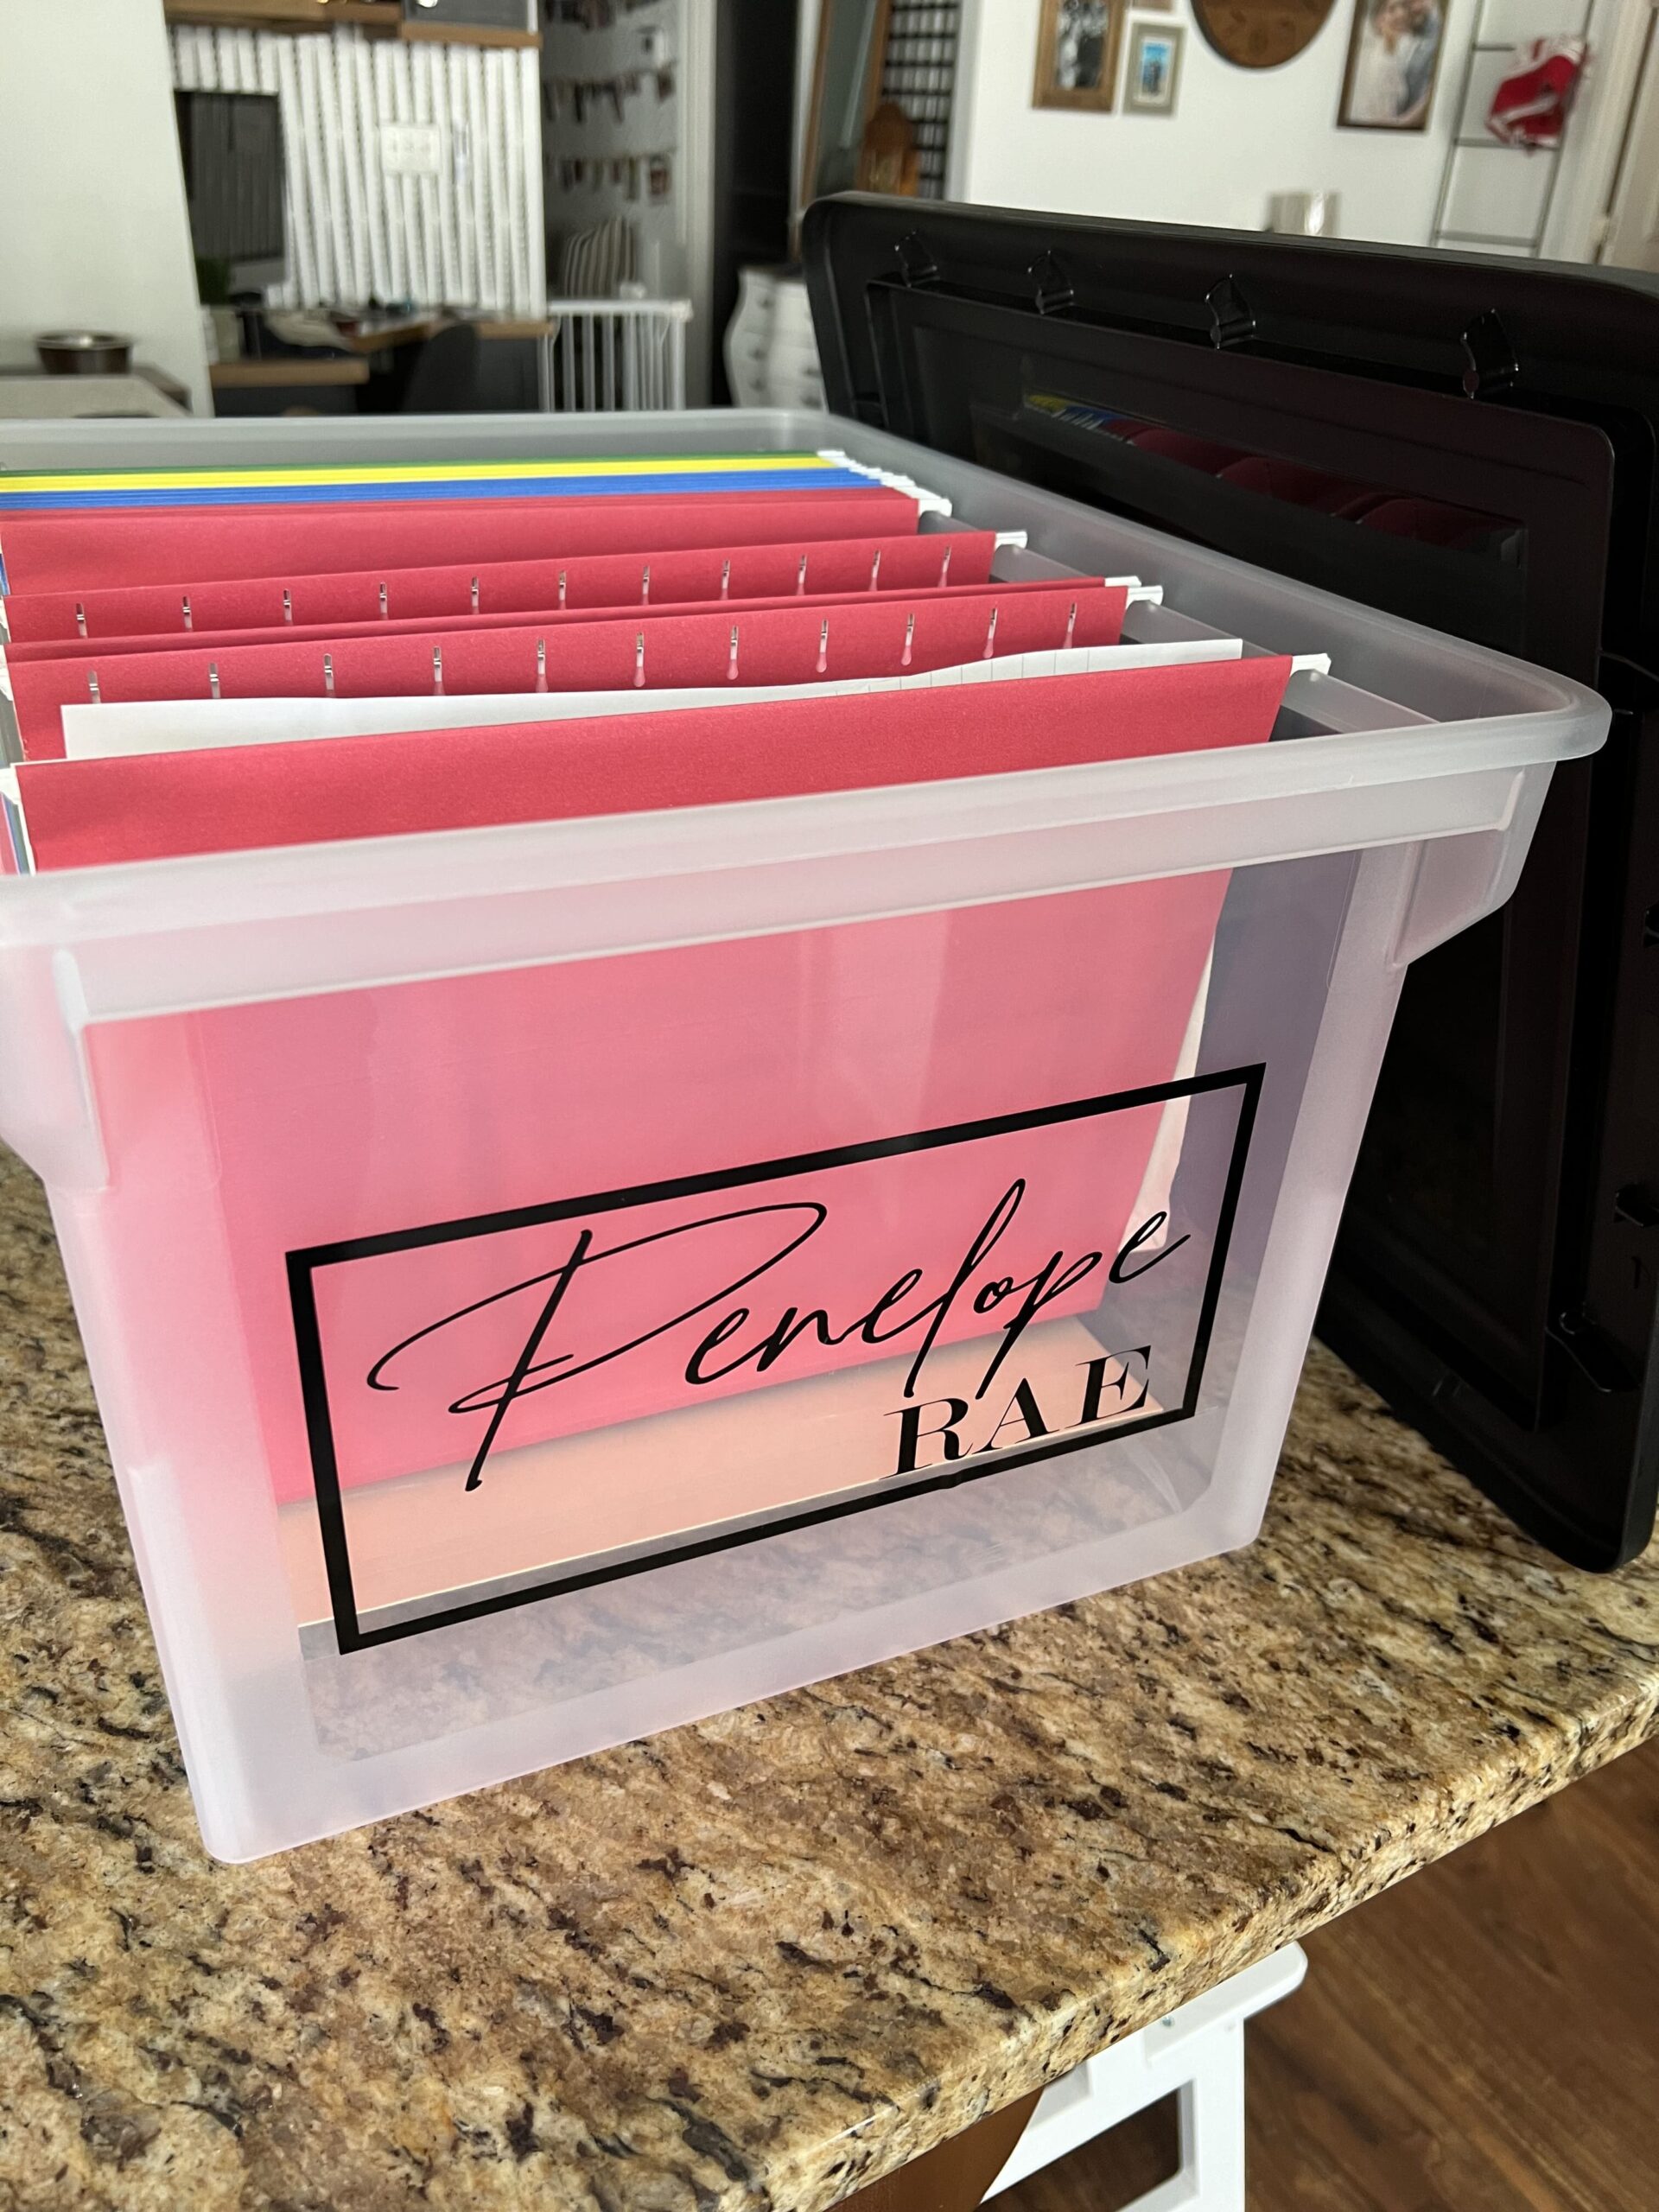
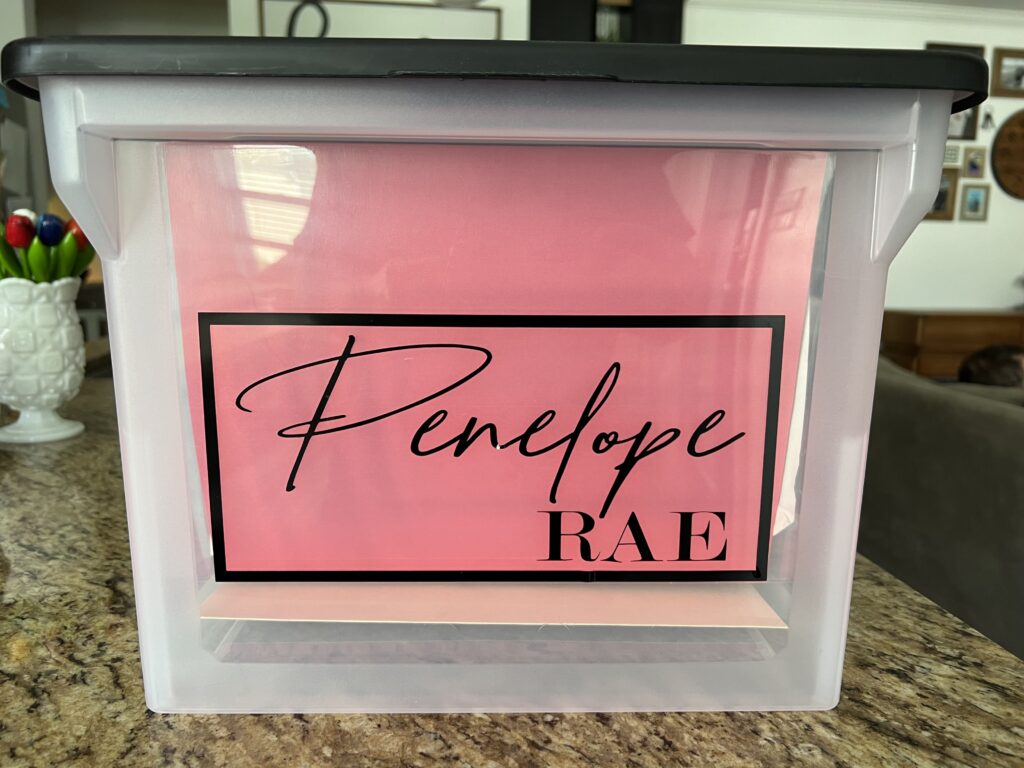
- Plastic Clear File Box: A sturdy Clear Keepsake Box with a lid (approx. 12” x 15” x 10”) that holds standard file folders.
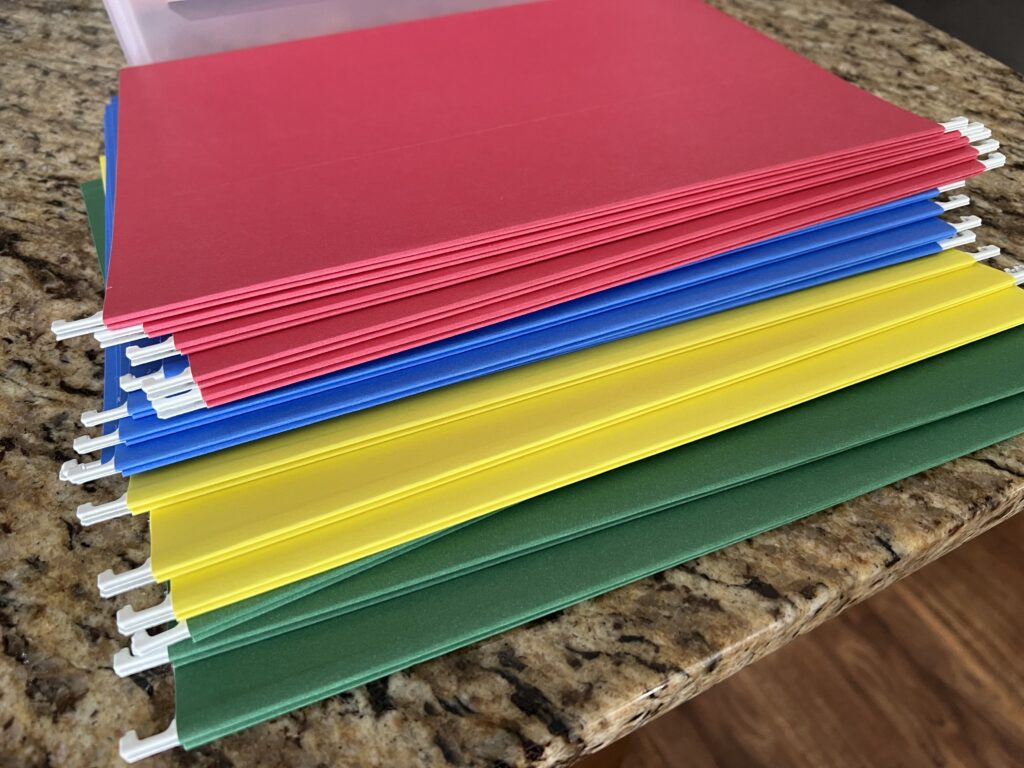
- Hanging File Folders: To organize keepsakes by year or category.
- Paint Markers: For decorating the box.
- Decorative Paper or Fabric: For lining the interior of the box.
- Letter Stencils or Stickers: For labeling the box.
- Wooden Letters or Shapes: For added personalization on the exterior.
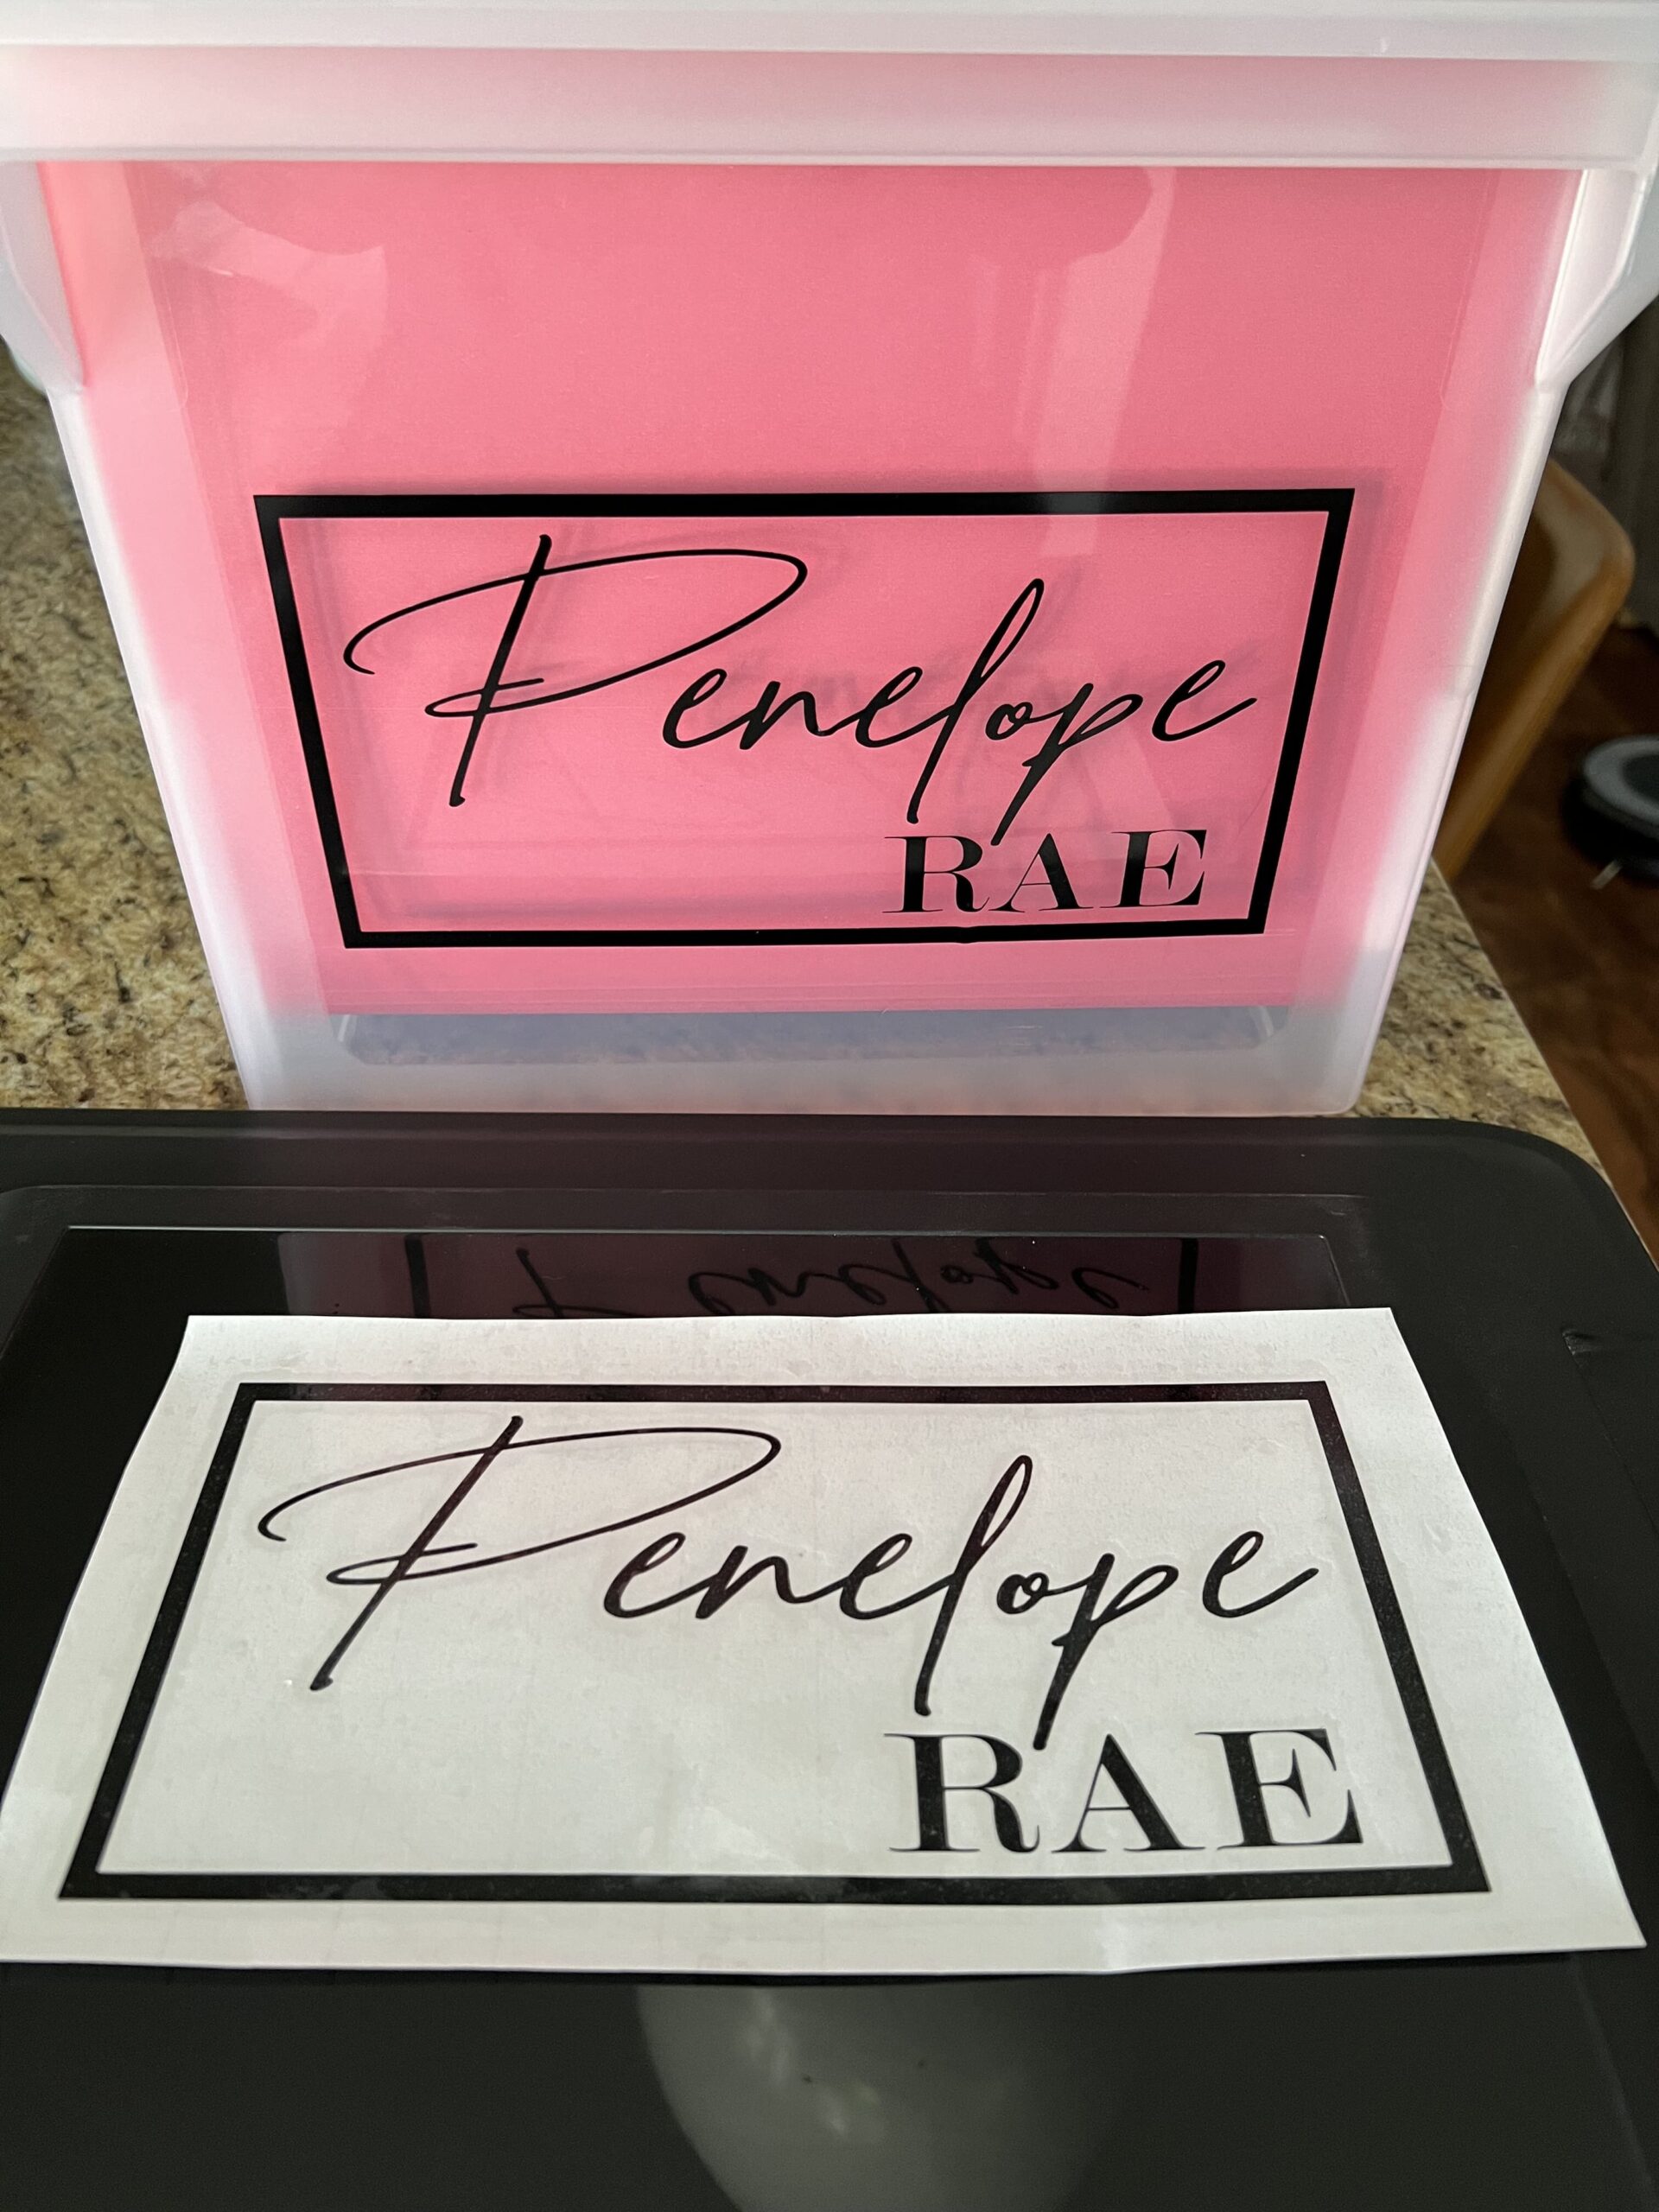
- Custom Vinyl Name Decals: For labeling the outside with your personalized name label.
- Squeegee Kit: To apply vinyl sticker
Step 1: Prepare your File Box
Start by prepping your file box. Take off any stickers you may have on the box from the store. (I am so glad we are past the dusty cardboard boxes for files era!)
Step 2: Clean your File Box
Clean the outside of your File box with a degreaser or rubbing alcohol. Make sure all dust, fingerprints and sticky residue from labels is removed. This will make sure when you apply your vinyl sticker it will adhere well.
Step 3A: Add your Vinyl Sticker
Once your File Box is clean and dry you can add your vinyl sticker. Peel off the backside paper of your vinyl sticker. Place it in the spot you want it to be. Squeegee the vinyl sticker while the clear label is still in place. Slowly peel back your clear label making sure the letters stay in place.
Or another option for personalized the box…
Step 3B: Personalize the Exterior of your Keepsake Box
If you do not want to use a vinyl sticker. You can use paint markers, letter stencils or stickers to add your child’s name or a special phrase to the box. You can also attach wooden letters or shapes to give the box a 3D effect. Paint these decorations in complementary colors to match your box. Glue on with a strong adhesive.
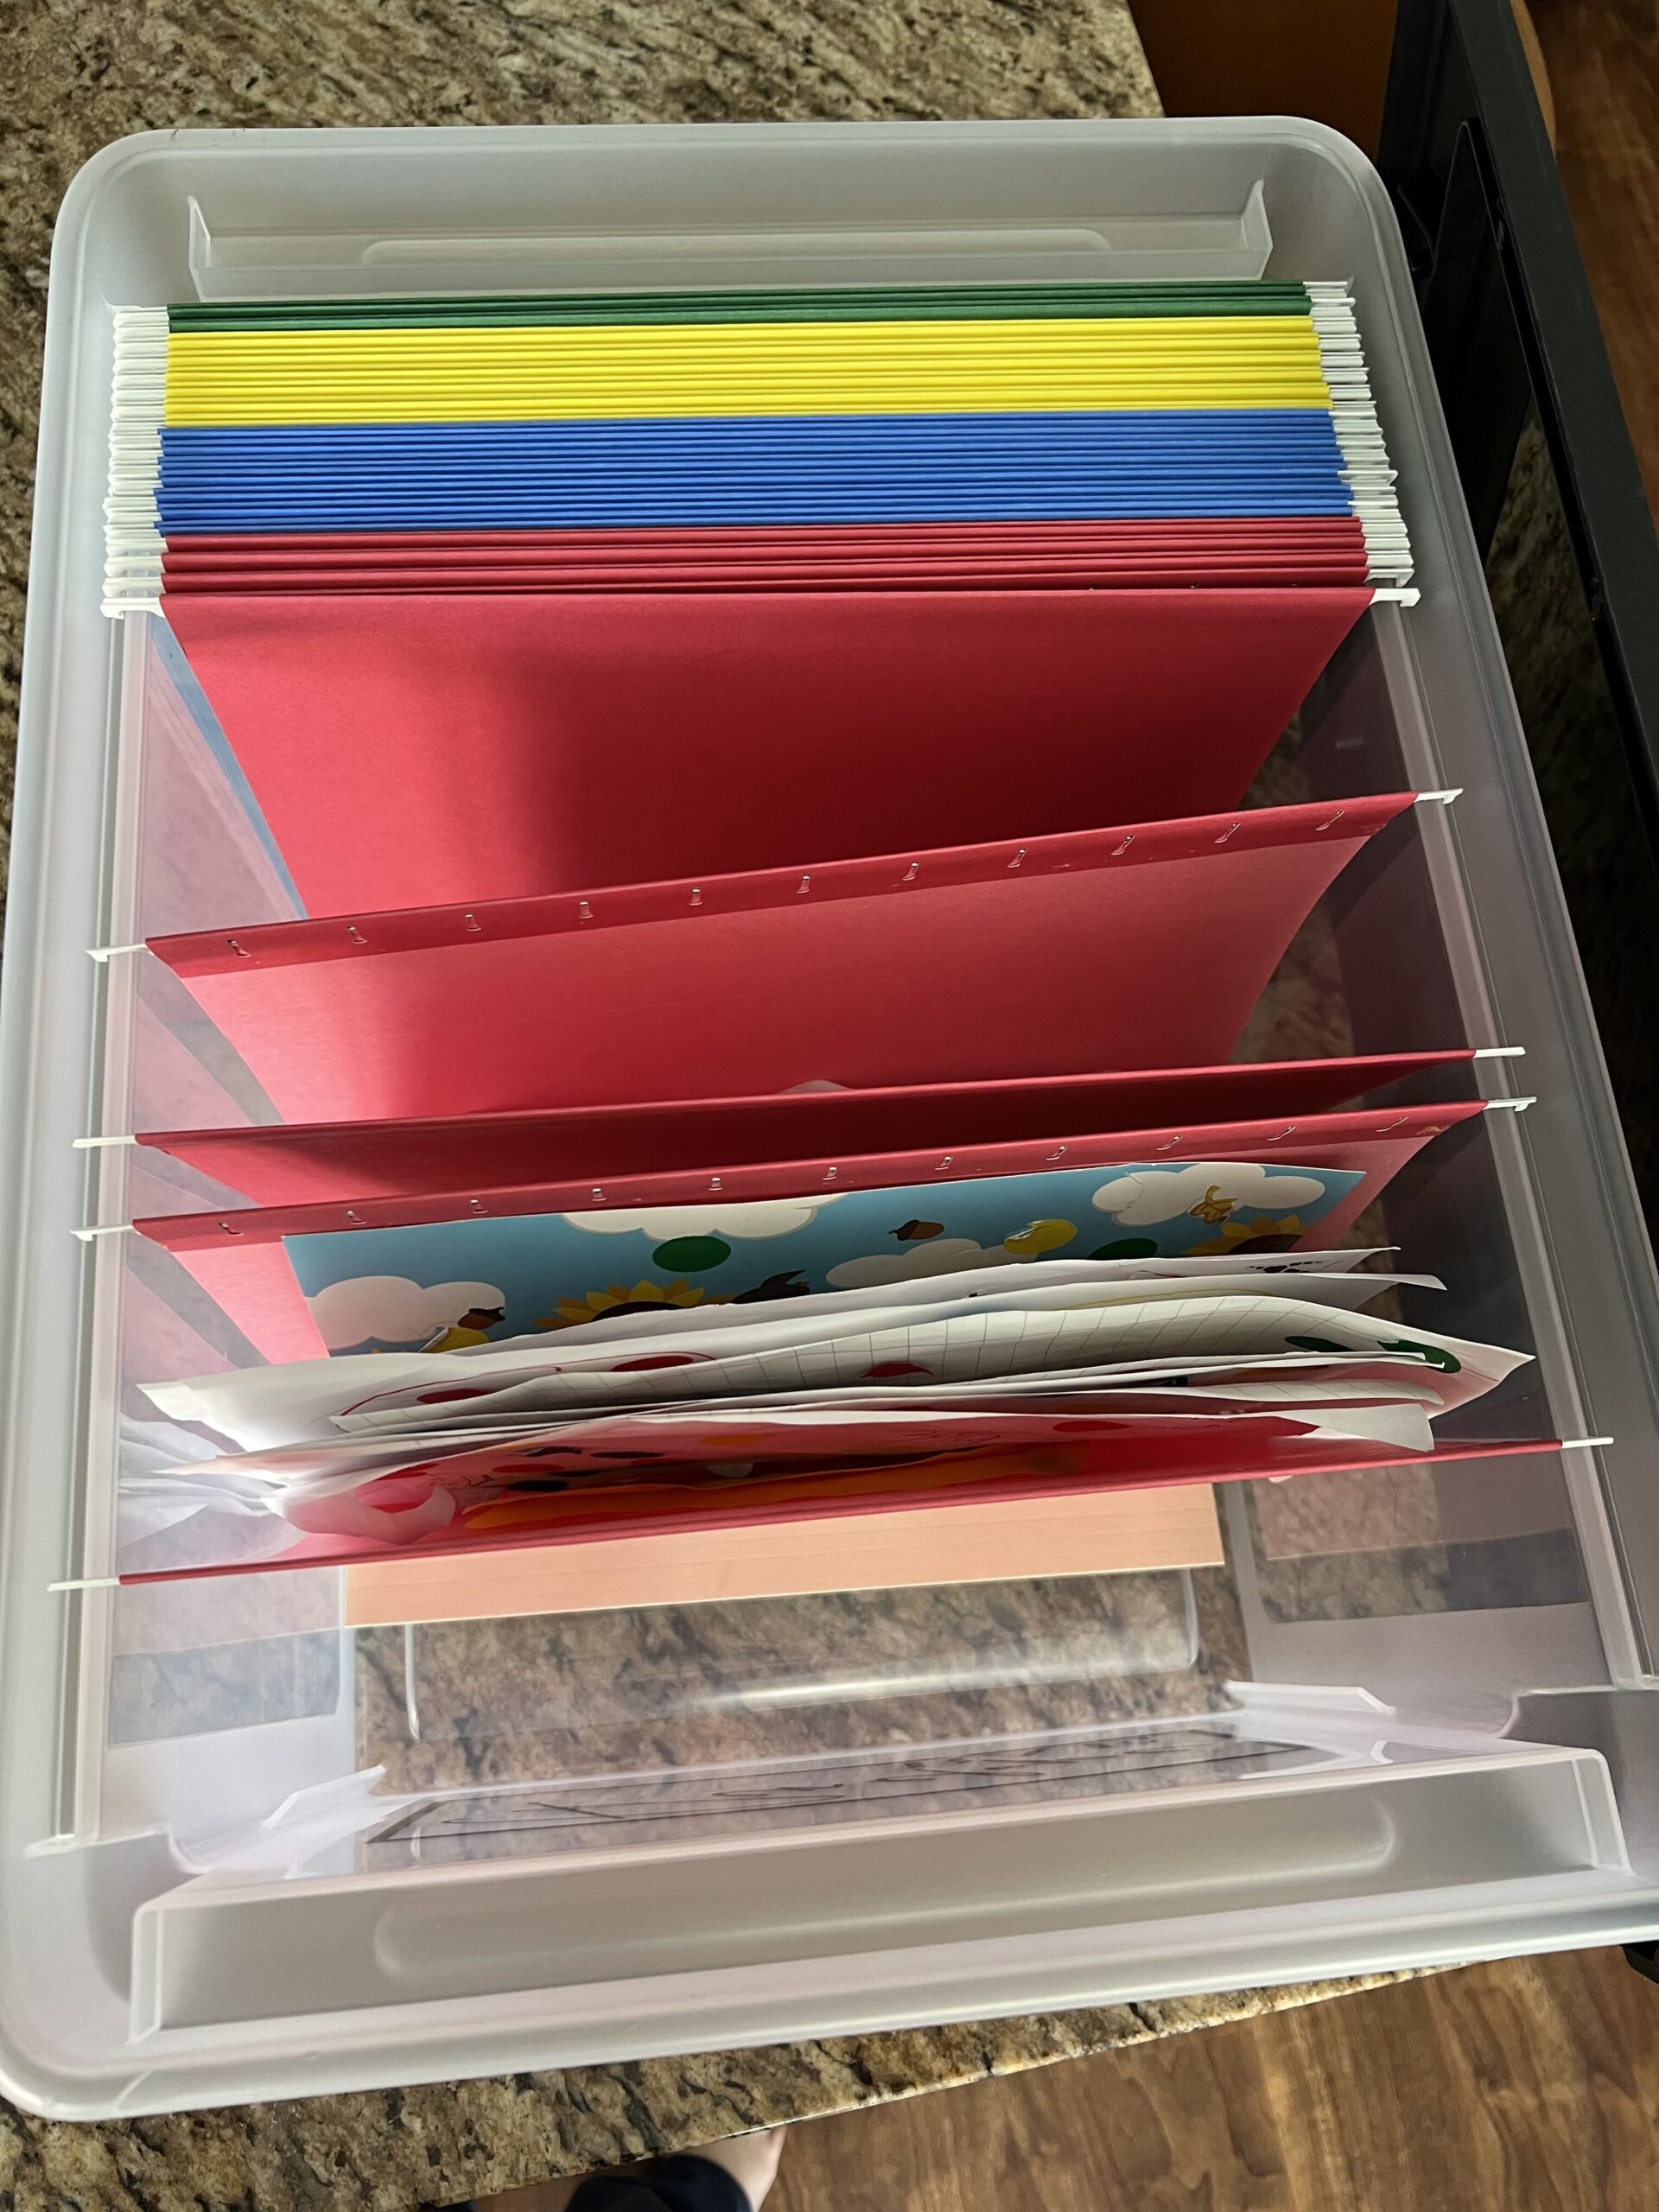
Step 4: Organize with you own Folders
Place your hanging file folders inside the box. Label each folder by year, category (like “First Grade” or “Art Projects”), or however you plan to organize the keepsakes. This will make it easy to sort and access items as your child grows.
Step 5: Fill with Memories
Once everything is dry, your Kids’ Keepsake File Box is ready to be filled with all those precious memories. As your child grows, you’ll have a beautiful, personalized box to look back on all those special moments.
PRO TIP: I would personally suggest going by a dated timeline filing system. Then you can continue to Repeat these Steps to add new boxes over the years as you need more space to house more memories.
Creating a DIY Kids’ Keepsake File Box is a wonderful way to preserve your child’s memories in a custom, meaningful way. Not only does this project allow you to express your creativity, but it also provides a practical solution for organizing keepsakes. Whether you choose to keep it simple or go all out with decorations, this keepsake box will be a cherished item for years to come.
Not only can you add more file boxes as you need them easily for many years to come. But, the overwhelm of not knowing what to do with all of those memories and making sure they are safely stored is now gone for you. I hope these boxes are something you cherish making as your little one grows.
I can’t wait to see what your DIY Kids’ Keepsake File Box looks like! The creativity that can go into these boxes to personalize them for your kiddo specifically is one of the cooler parts about this. Happy crafting and saving those irreplaceable mementos!
Do you know anyone expecting a new baby or need the perfect mother’s day gift? This is the perfect baby shower or mother’s day gift that will really be used for many years to come! Imagine being gifted a baby memory box that is ready for you to start organizing the mountain of precious clutter!
Before you go…
I figured I would just throw this out there…because, let’s be real. Being a parent is a lot and sometimes we just don’t have any extra time. If you love this idea but feel like you just don’t have the energy or time to gather the supplies and make these Memory Boxes. I found someone that creates these Personalized Keepsake Boxes you can order and have shipped right to your door.
You personalize the name on the box, font and color of file folders. It also comes with common premade labels you can put right into your file folders and start organizing your child’s memories asap! The best part about this premade keepsake box is the convenience that it comes fully ready for you to store your favorite memories as soon as you open your box!
If or when you make Kids’ Keepsake Box: Easy DIY File Box Step-by-Step Guide. I’d love for you to tag us on Instagram so I can see your baby keepsake box DIY project finished results!
COZY HOME, COZY RECIPES:
Every cozy home deserves amazing recipes, and it’s even better when those recipes are both delicious and healthy. Our goal is to provide tasty meals that are easy to make, regardless of your skill level.
Fast, easy meals leave more time for fun activities, making your home a hub of joy and good food.
CONNECT WITH US:
As always, we love hearing about your experiences with our “DIY Kids’ Keepsake File Box: A Step-by-Step Guide”. Reach out to us through our social channels. Any questions you have, we’re here to answer.
Stay updated by joining our newsletter, offering a monthly dose of new recipes and a first look at upcoming projects.
MORE COZY KITCHEN RECIPES:
If you’re hungry for more, explore our collection of Cozy Kitchen Recipes. Another healthy favorite is the “Sausage Potato Veggie Bake.” Find these recipes and more here.
DIY RESOURCES:
For additional resources, check out our DIY Tutorials, offering a wealth of information to enhance your home improvement skills.


I love this idea! I don’t have any kids yet, but will certainly be saving this idea for when that day comes!
I am so glad you love it!!!!
This is a great idea. Art and projects posted on the frig or shelf can go right into the box to make room for the new one. I’m going to have my granddaughter help me decorate her box
I am not sure where you are getting your information, but great topic.
I needs to spend some time learning more or understanding more.
Thanks for great info I was looking for this information for my mission.