

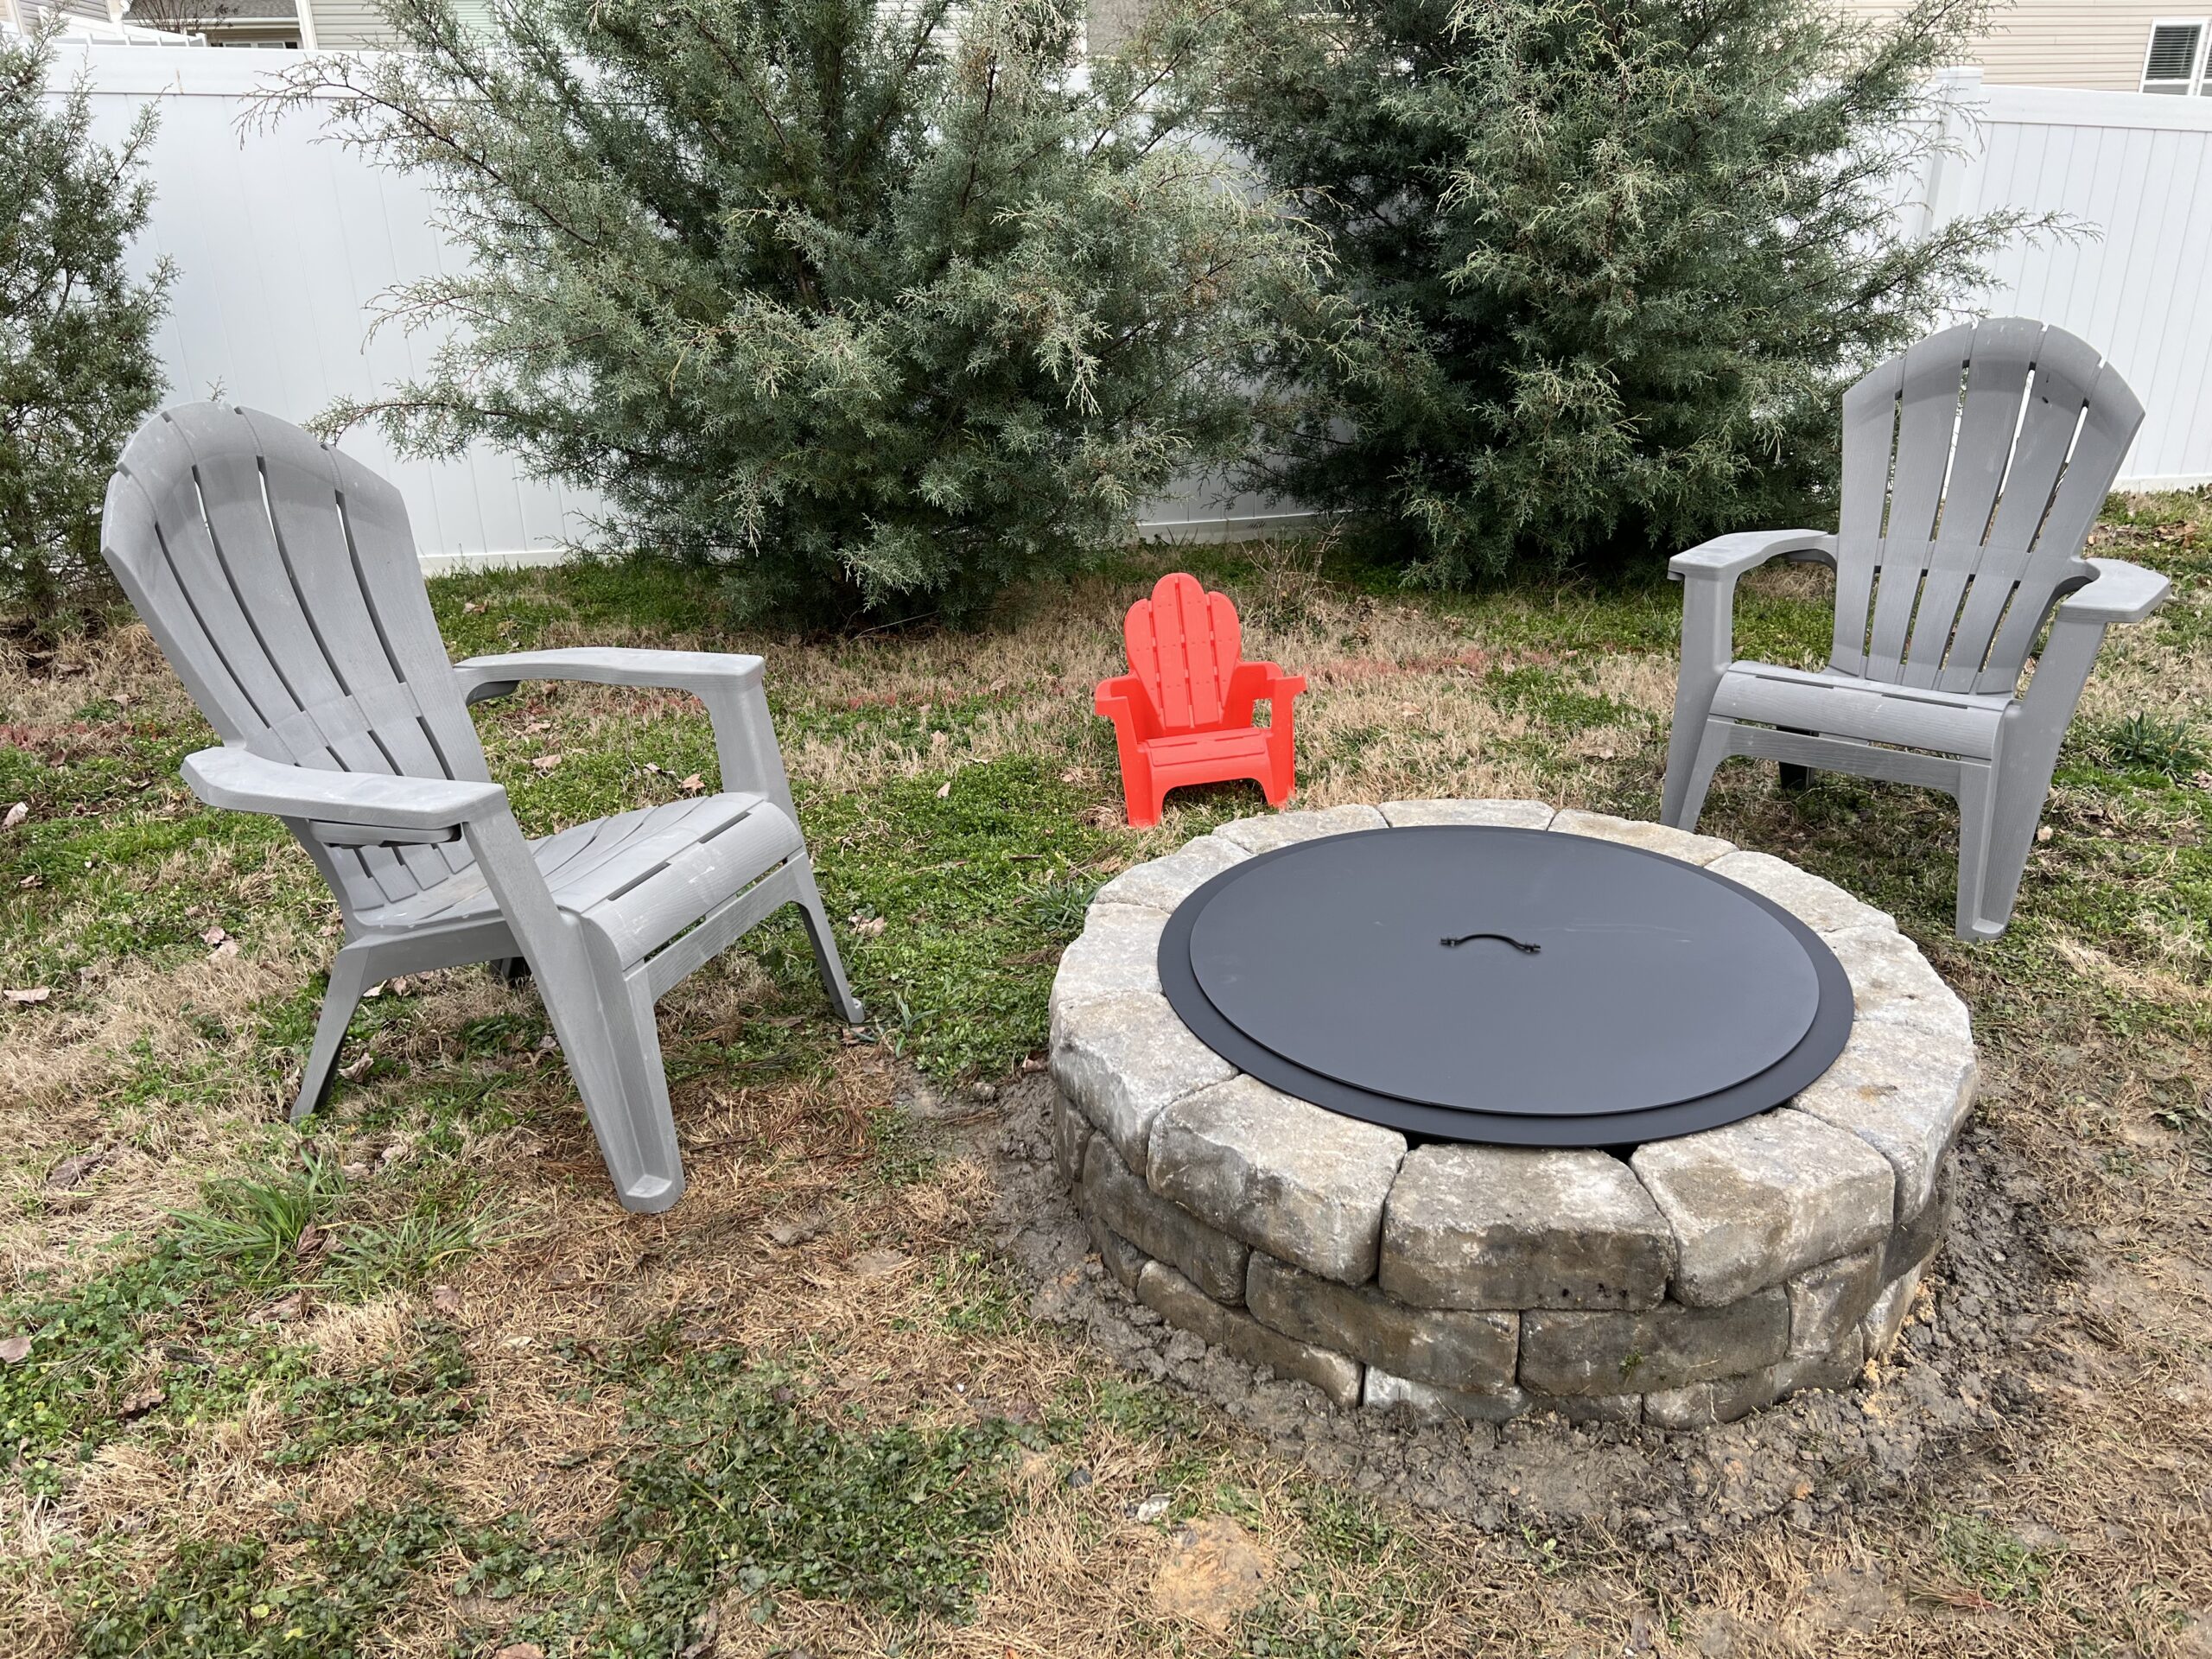

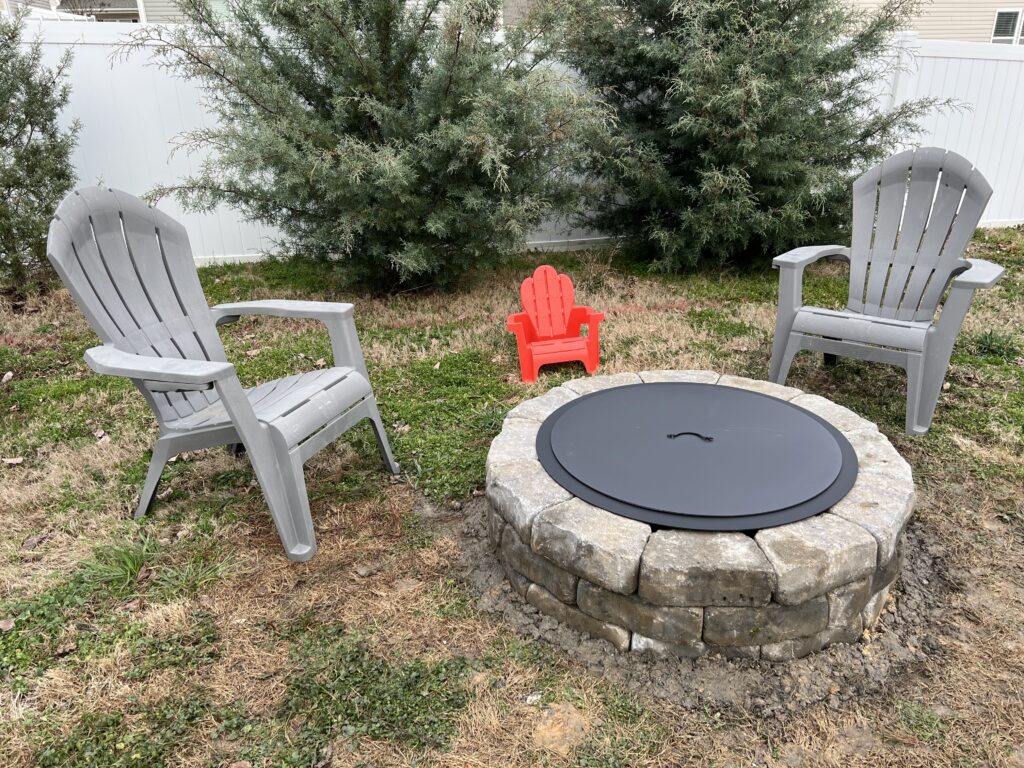
Building a diy stone firepit in your backyard can transform your outdoor space into a cozy retreat. Whether you’re hosting friends for a marshmallow roast or enjoying a quiet evening by the fire.
But with so many options available, it can feel overwhelming to figure out where to start. And it might feel like the only way to acquire the firepit you really want is by hiring a professional. The good news is, with the Veranda Concrete Fire Pit Kit from Lowe’s, creating your dream in-ground fire pit is not only achievable, but also incredibly straightforward!
One of the best parts of this Circular Fire Pit DIY project is the sense of accomplishment you’ll feel when you see the finished product. Imagine gathering with family and friends around a firepit that you built with your own two hands.
Plus, this kit is designed to make the fire pit project process as seamless as possible, even for beginners. But, our tutorial is also designed for you to source your own stone if you are going for a different look or shape!
In this blog post, we’ll walk you through everything you need to know about building a firepit using this specific kit. From preparation to assembly, you’ll have all the steps necessary to complete this rewarding DIY project. Let’s dive in and get started on bringing your outdoor vision to life!

Preparing for Your Firepit Build: What You Need to Know
Before jumping into the actual build, preparation is key.
- Consider the location of your backyard fire pit
Choosing the right fire pit location can make or break the project. Ideally, the area should be flat, free of vegetation, and at least 10 feet away from any structures or overhanging trees. Think about how you’ll use the space and ensure it complies with any local building codes or fire regulations in your area to confirm where you should build your own fire pit area before starting.
- Gather all the right tools and materials
The Veranda Concrete Pavers Firepit Kit comes with the stones and fire ring you need to build the structure of the firepit itself. You’ll also need a few basic tools and supplies in addition. Such as a level, a shovel, rubber mallet and a few more things we have listed below you might already have laying around. Having these ready before you start will save time and keep the process smooth and done within an afternoon.
- Consider safety
Always have a fire extinguisher, water hose or a bucket of sand nearby when using your firepit, and avoid placing it on wooden decks, concrete surfaces or areas with flammable materials. With your location selected, tools prepared, and safety measures in place, you’re ready to start building!
Supplies List:
- Polymeric Sand
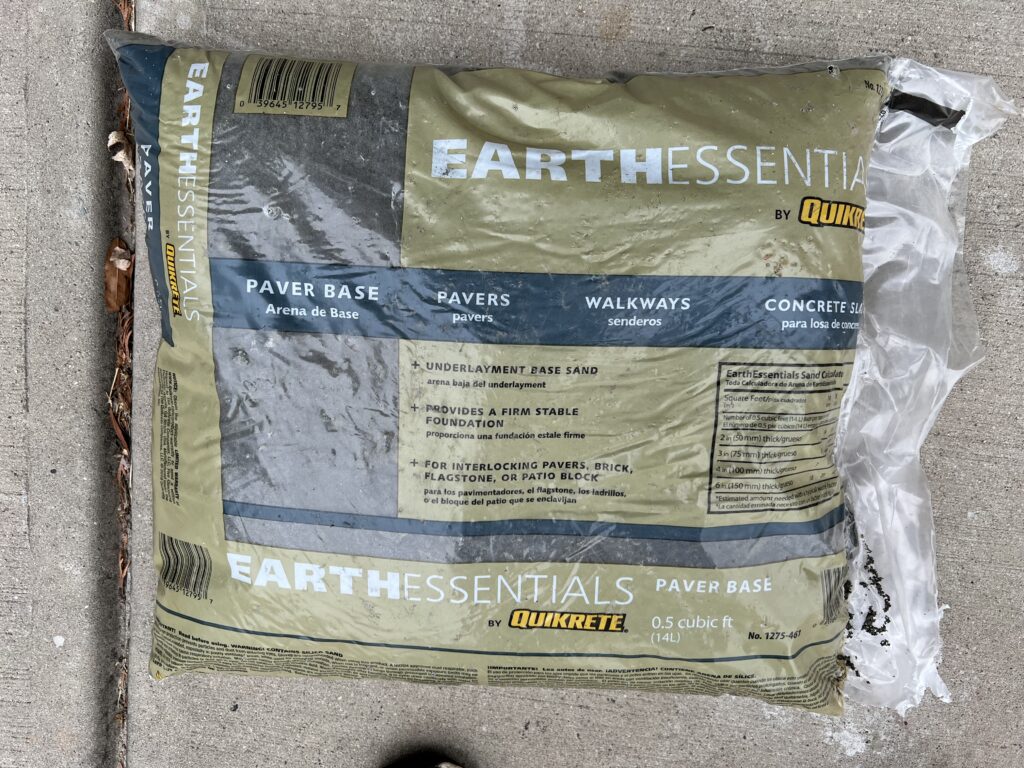
- Gravel Paver Base
- Veranda Fire Pit Kit with Fire Ring
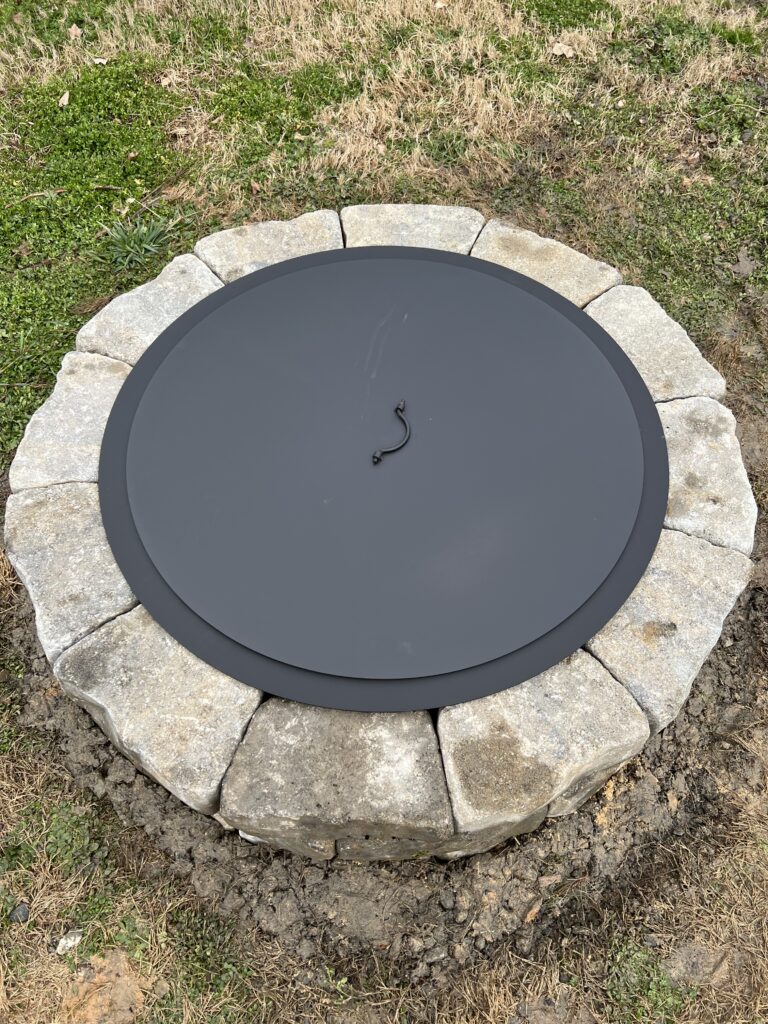
- Metal Firepit Cover
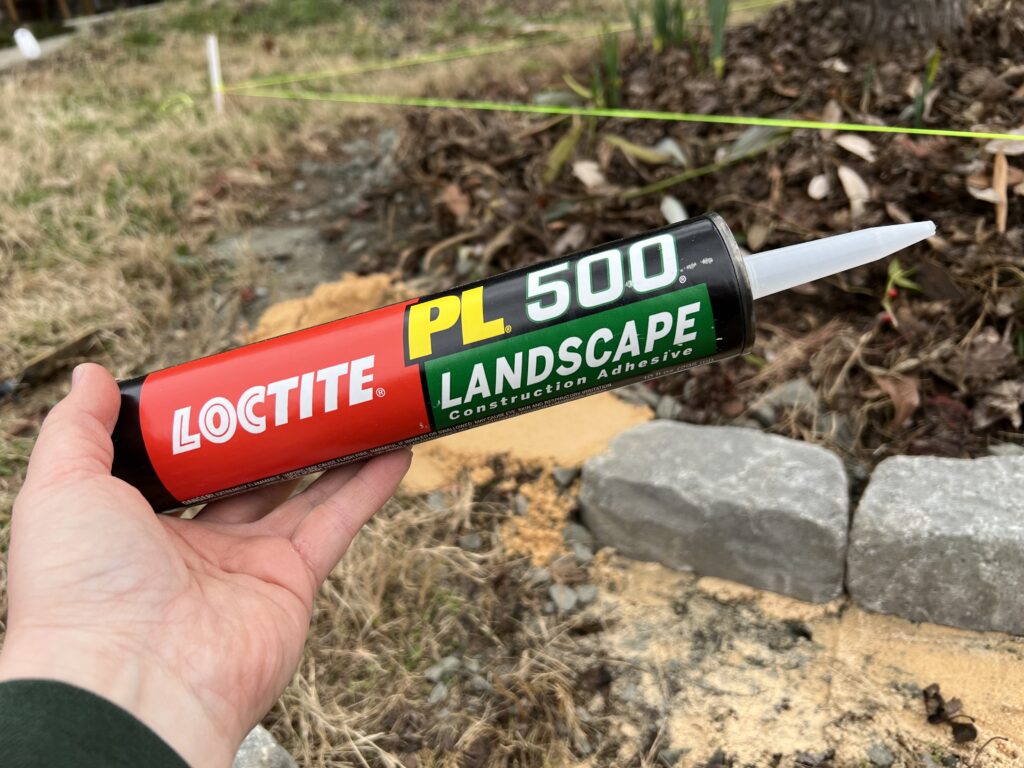
- Landscape Construction Adhesive
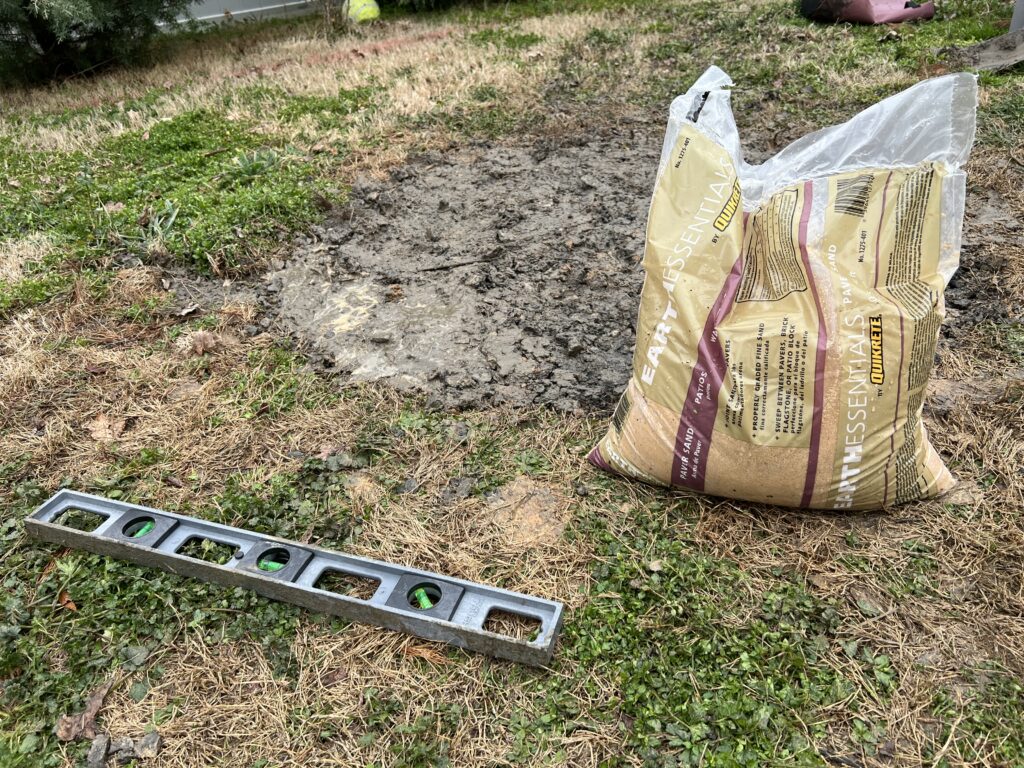
- 2′ Level
- 4′ Level
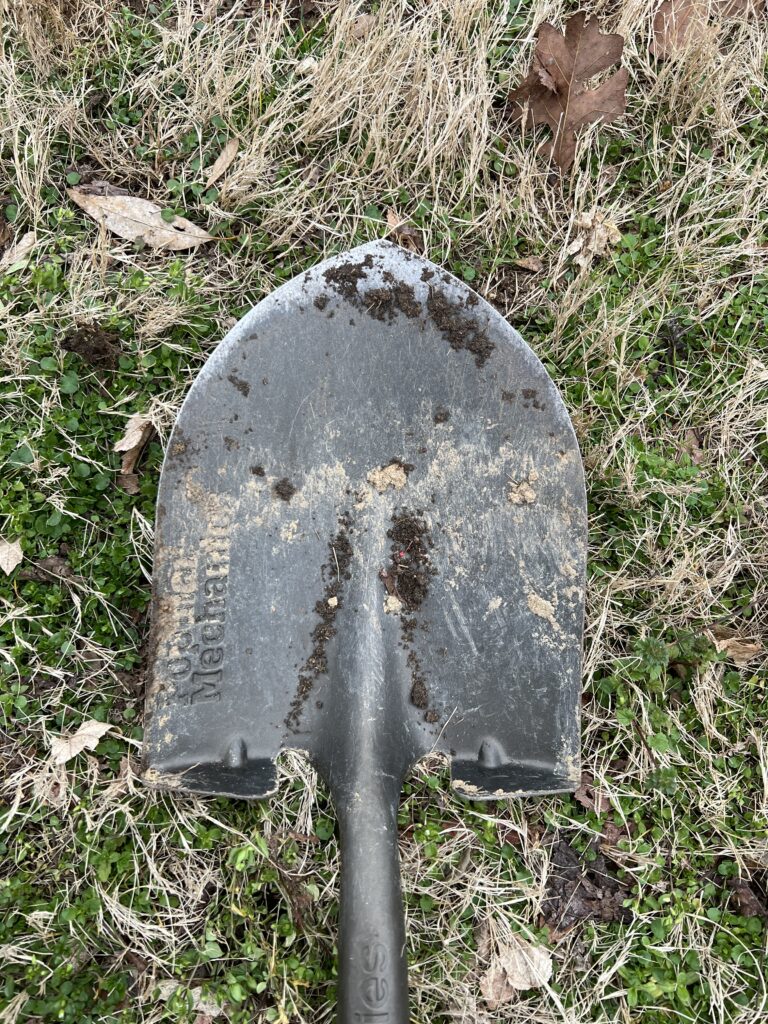
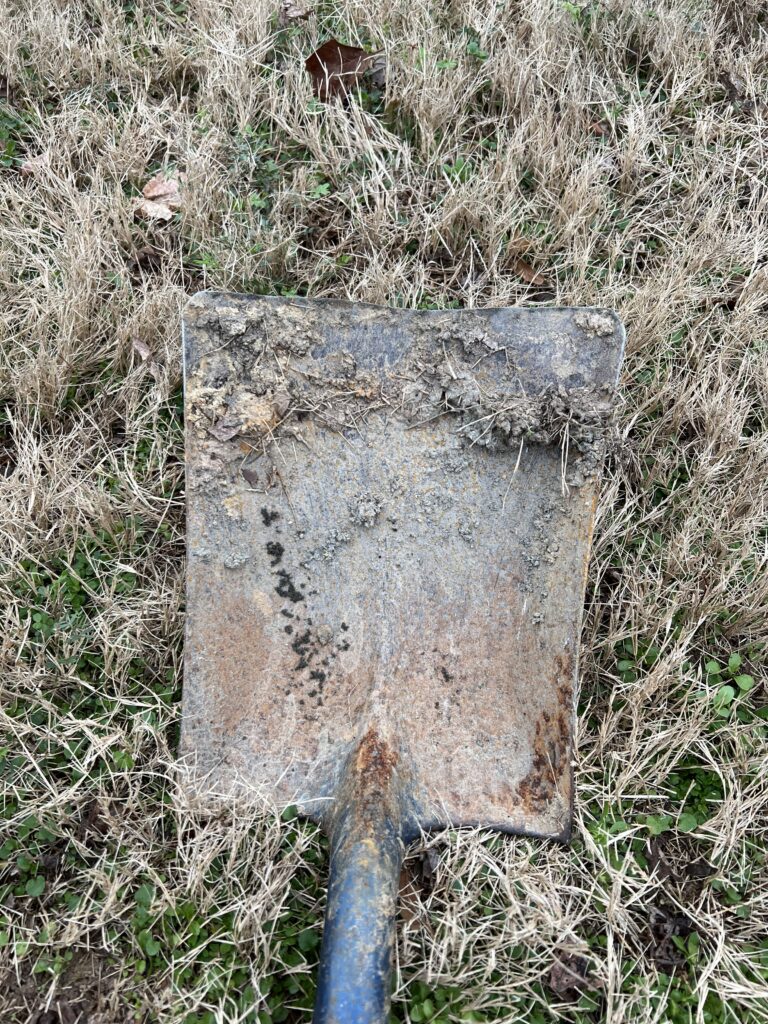
- Shovel
- Tamper
- Rubber Mallet
- Rake
Step-by-Step Guide to Building Your Veranda Concrete Firepit
The Veranda Concrete Firepit Kit simplifies the process, but it’s important to follow the steps carefully to ensure a sturdy and safe final product.
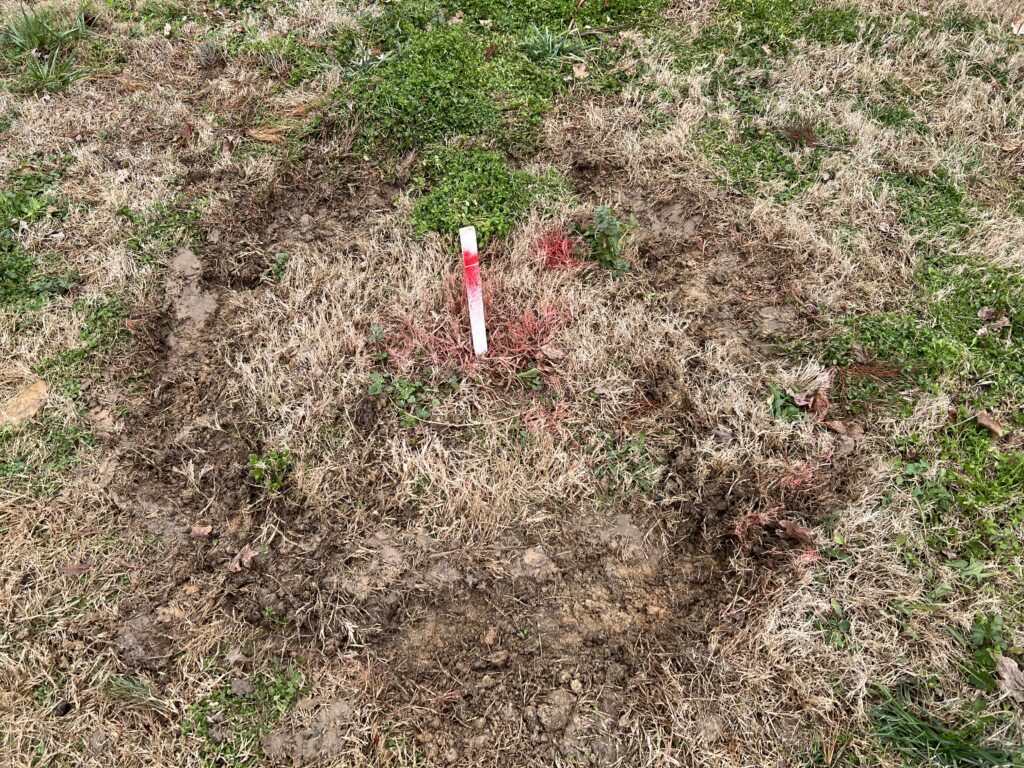
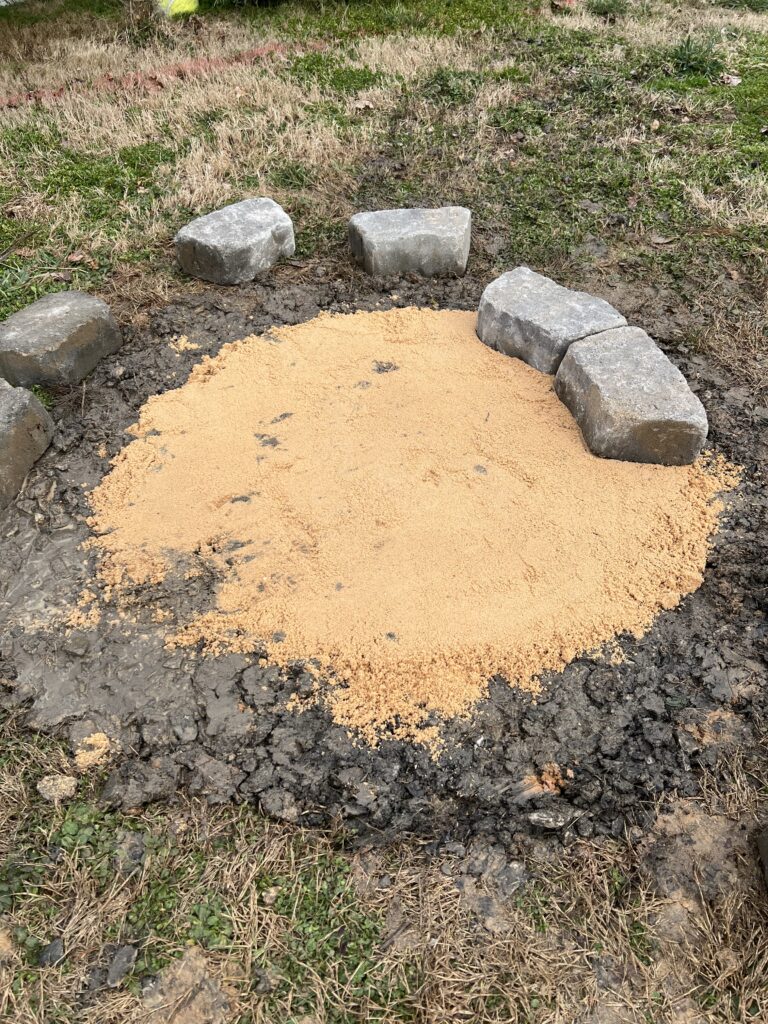
- Prepare the Base:
- Start by clearing a 3.5′ circle area where your firepit will sit and remove grass, weeds, or any debris. The finished size of the fire pit will be about 3′ wide on the outermost edge of the stone.
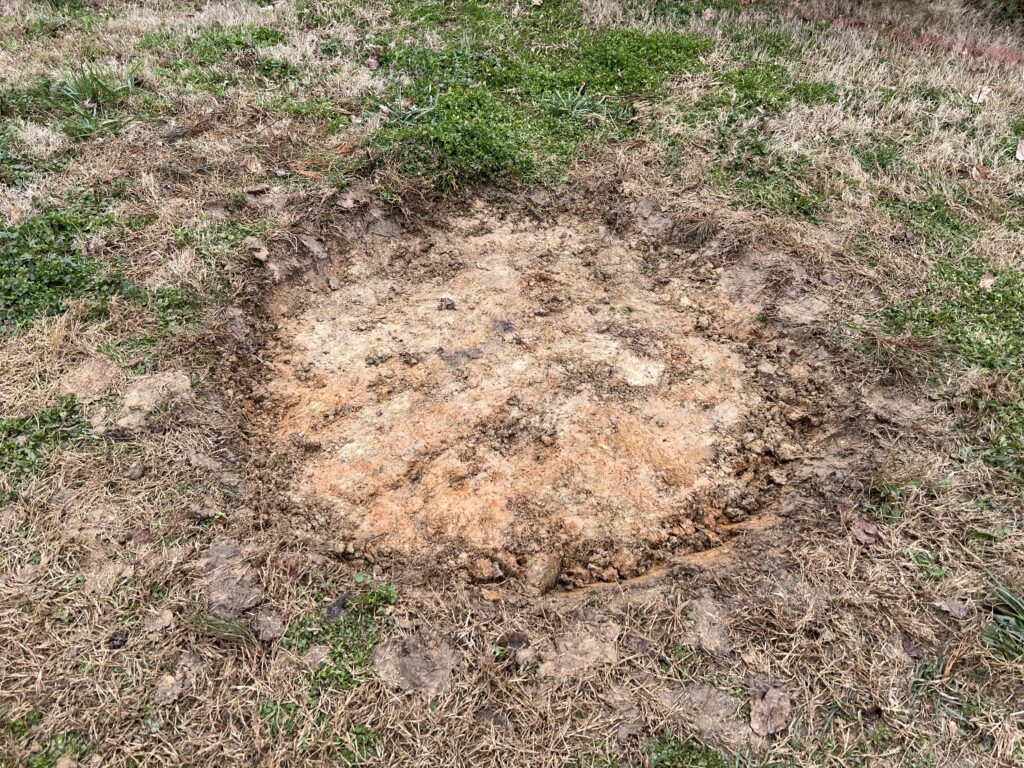
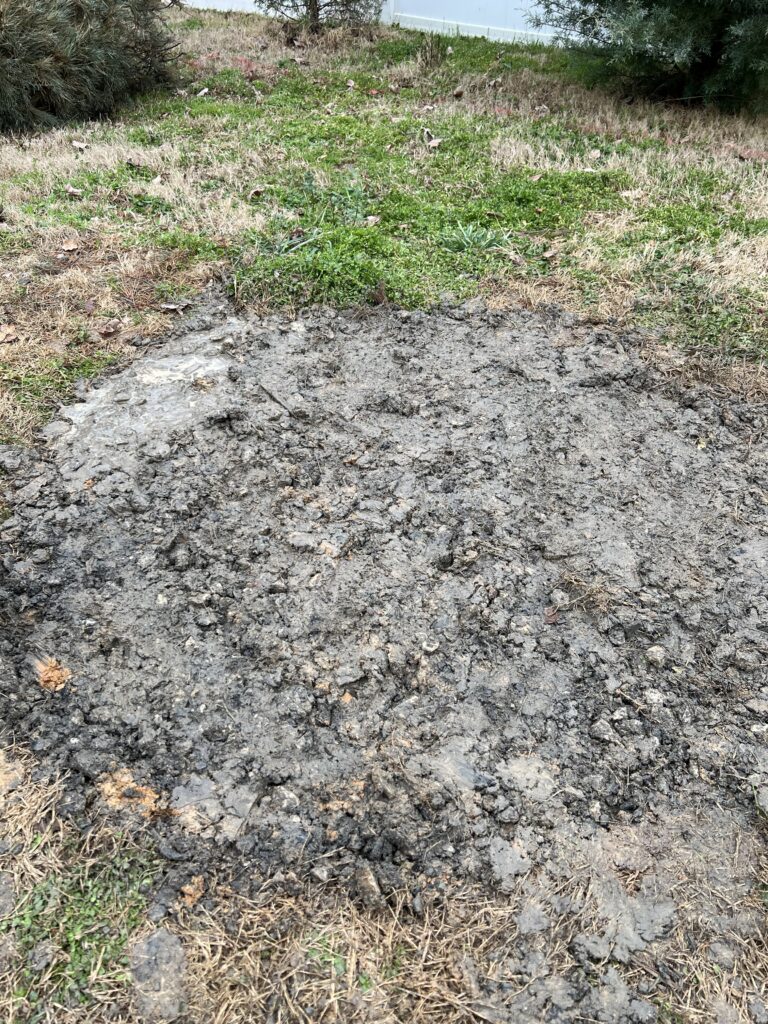
- Use a shovel to create a flat surface 2-4” deep. Compact the soil and add a 1-2” layer of paver base for extra stability. Rake it evenly and use a level to ensure it has a level base.
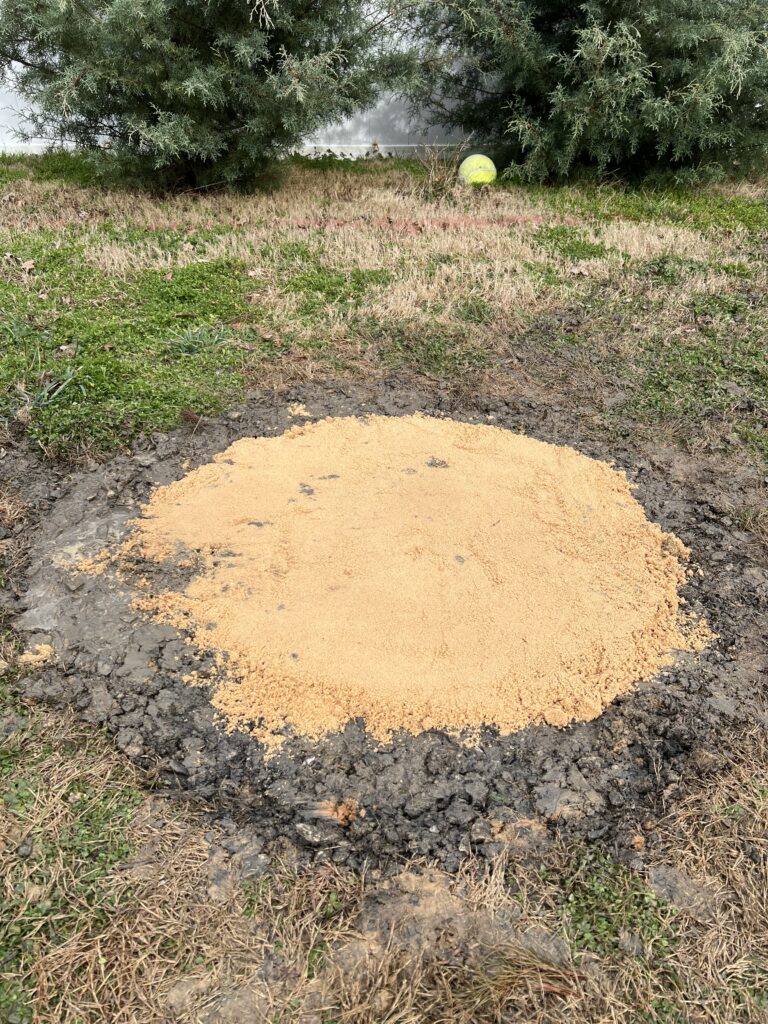
- Then add a 1-2” layer of paver sand and pack down with tamper or flat piece of material you can stand on. Make sure your sand layer is also level before moving on.
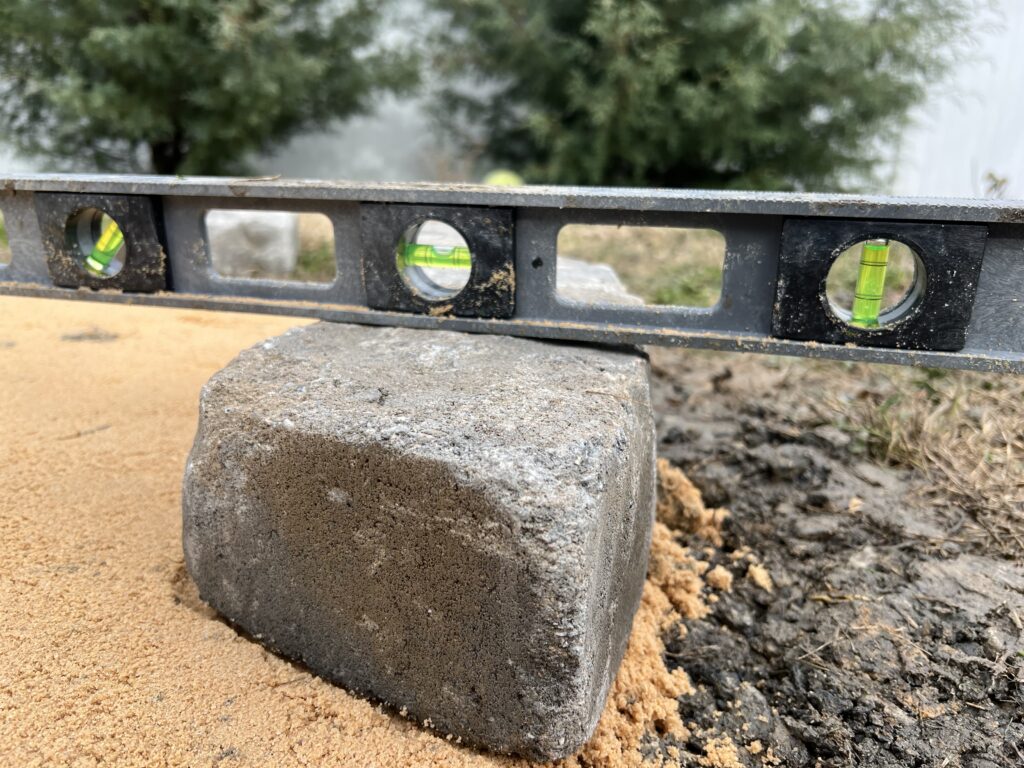
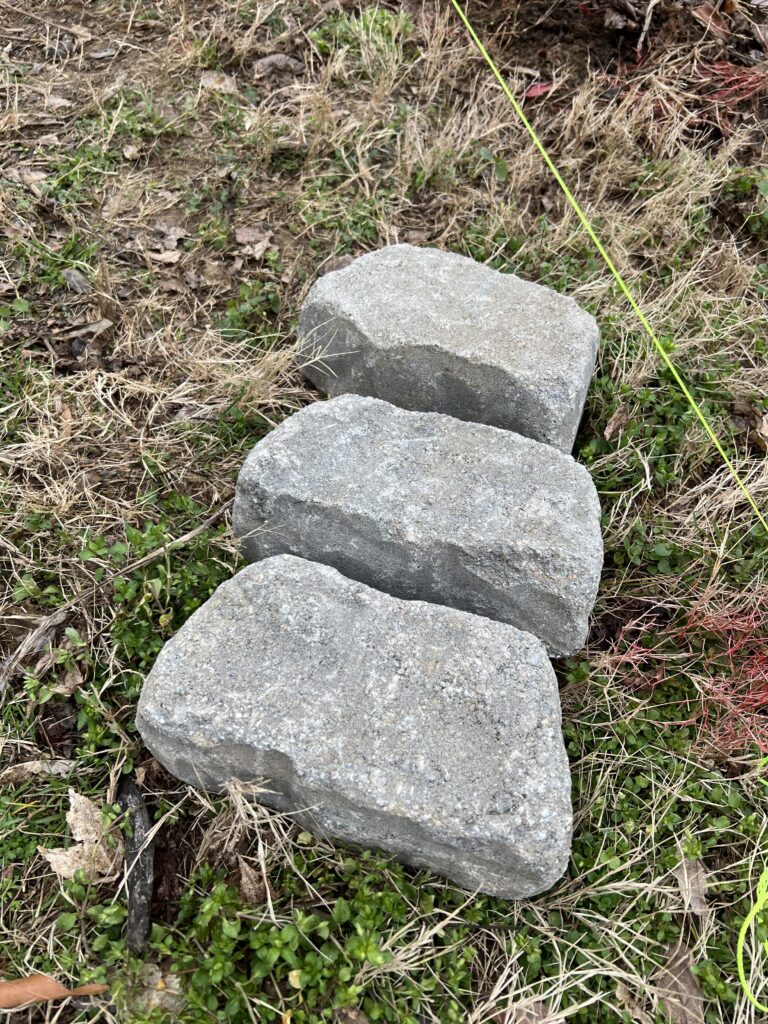
- Lay the First Layer of Blocks:
- Arrange the concrete blocks in a circular shape end to end. The first layer sets the foundation, so take your time to ensure this layer is perfectly level before moving onto the next layer.
- Use a rubber mallet to adjust the blocks as needed and check levelness. Using a 2’ small level make sure the stones are level front to back and end to end.
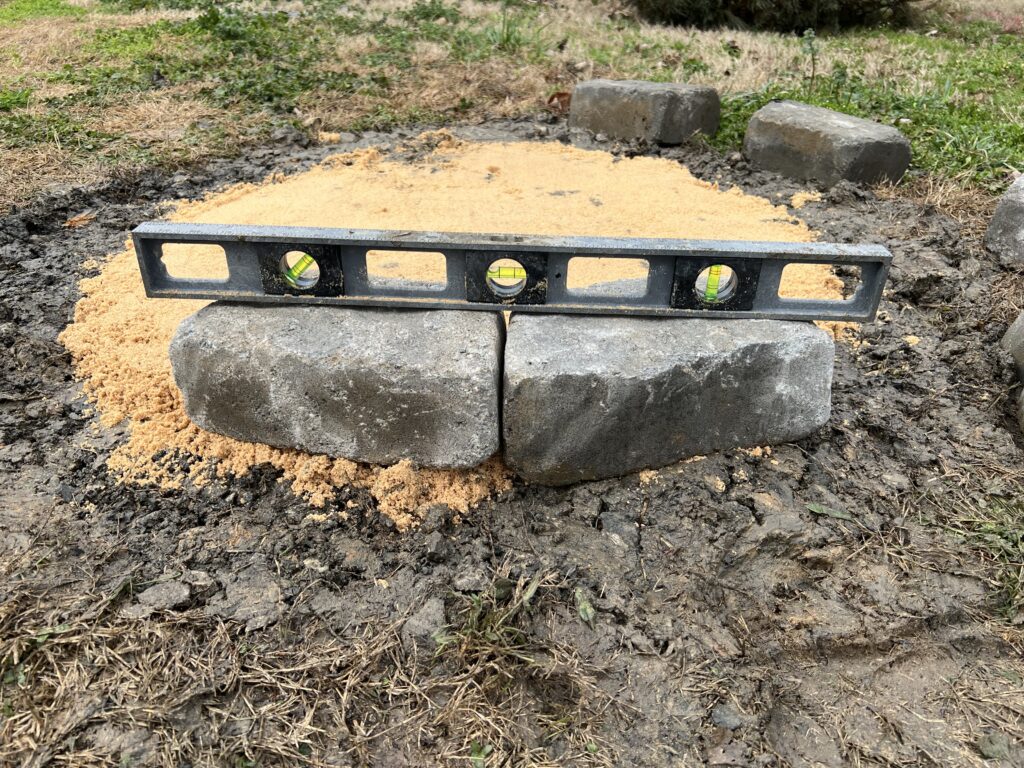
- Build Up the Walls:
- This would be a great time to grab your 4’ level to check the overall levelness of the entire firepit before you move onto the second row of blocks.
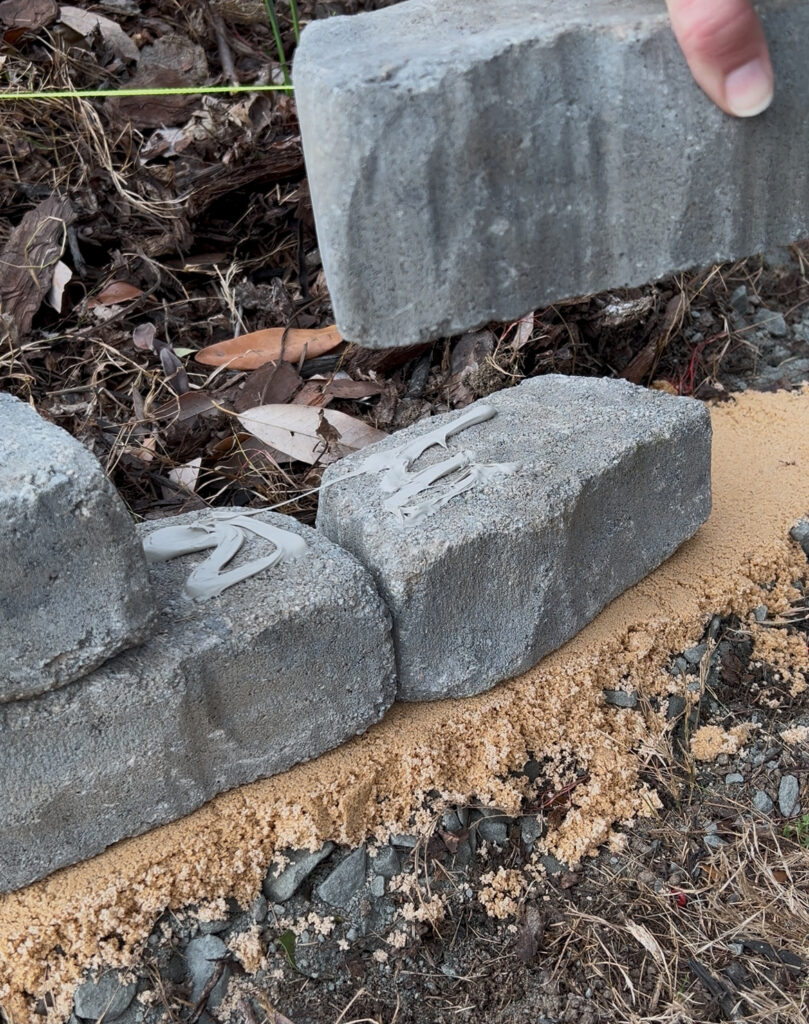
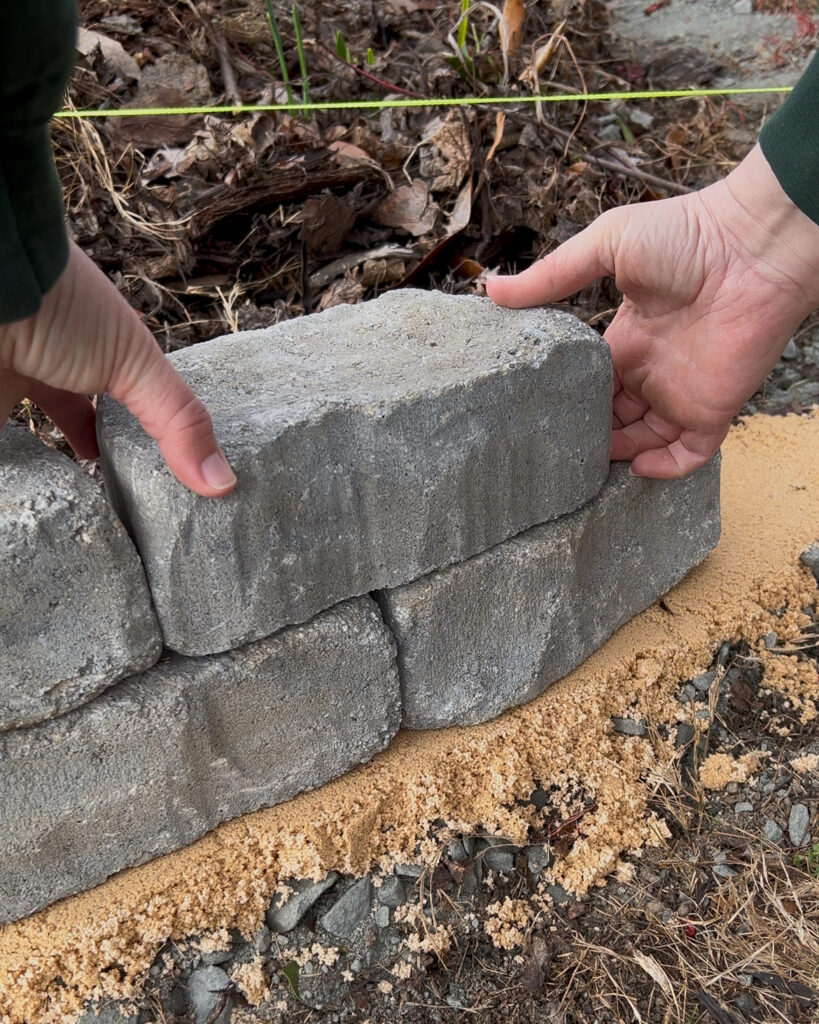
- Use construction adhesive between each layer to help secure the wall blocks in place. Apply a generous bead of construction adhesive between each of the layers of stone. Continue stacking the concrete blocks second layer and third row of blocks offsetting them halfway overlapping the previous block layer.
- Regularly check that the blocks remain level as you build up.
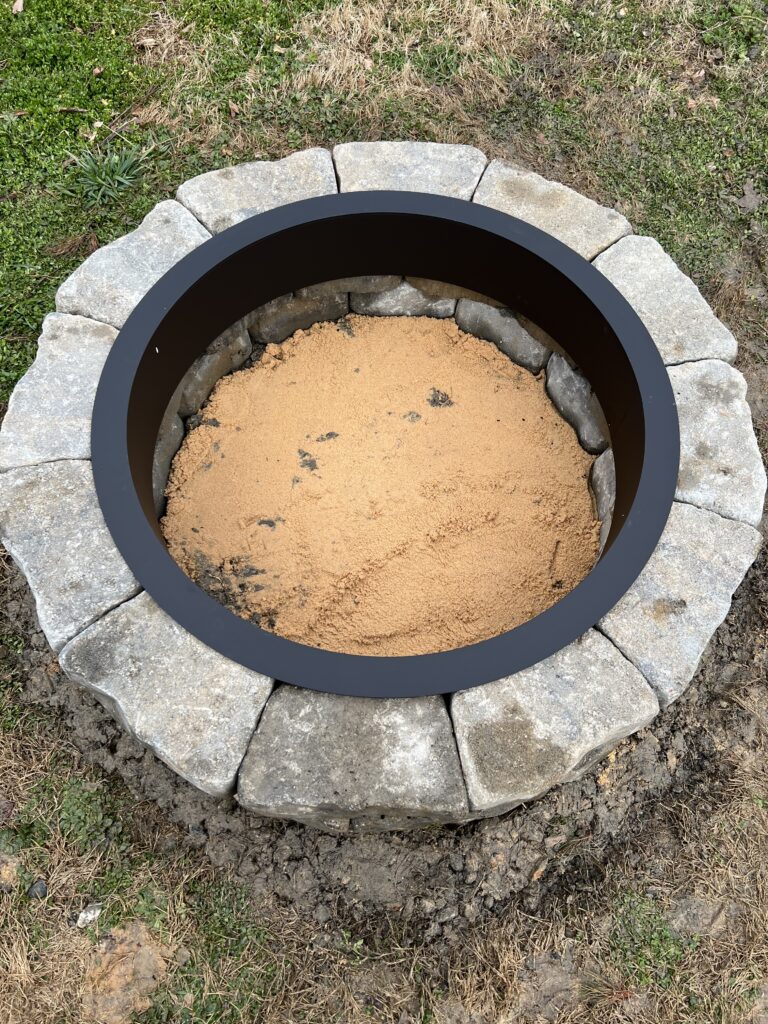
- Install the Steel Ring:
- Once the wall stones are in place and complete, place the included fire pit ring on the inside of the circle resting on top of the fire pit stones. The metal ring protects the concrete fire pit walls from high temperatures and extends the life of your firepit.
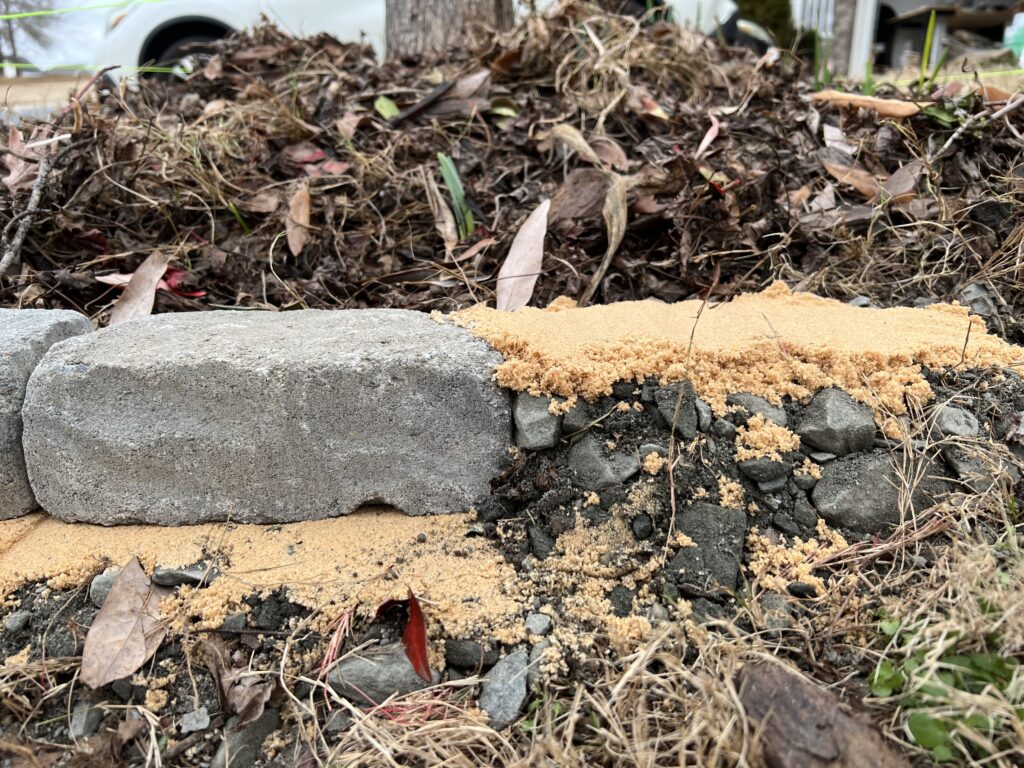
- Last Step to Finish the Firepit:
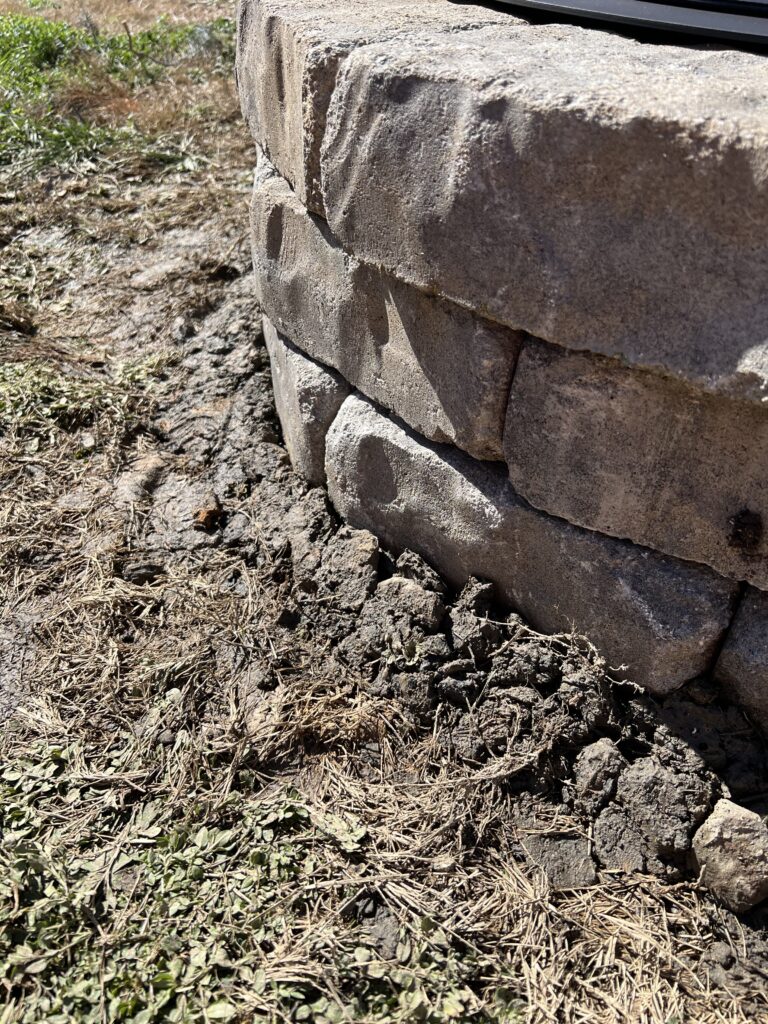
- Fill any gaps between the firepit and the ground with gravel or sand to prevent shifting over time.
- We added a layer of concrete around the outside edge to help keep the blocks from shifting over time. We will be adding dirt over the concrete and grass seed to help reinforce the structure long term.(optional)
- Clean up the area, and your firepit is ready for use!
Tips for Maintaining Your Firepit
Now that your firepit is complete, maintenance is key to keeping it in top condition. Here are some practical tips to ensure your firepit stays in great shape:
- Regular Cleaning:
- After each use, remove ashes and debris to prevent buildup. Ashes can retain moisture and cause damage over time if not cleared out. Use a metal ash shovel and a fireproof container for safe disposal.
- Inspect for Wear and Tear:
- Periodically check the firepit for cracks, loose blocks, or signs of wear. Addressing these issues early can prevent more significant damage down the line.
- Protect Against the Elements:
- Invest in a weather-resistant cover to shield your firepit from rain, snow, and harsh sunlight when it’s not in use. This simple step can significantly extend its lifespan.
- Use the Right Fuel:
- Avoid using materials like pressure-treated wood or trash that can release harmful chemicals when burned. Stick to seasoned hardwoods or firepit-safe fuel options.
- Seasonal Maintenance:
- At the start and end of each season, give your firepit a deep clean and inspect the fire ring for any rust or damage. Touch up with heat-resistant paint if necessary.
By following these tips, you can ensure your firepit remains a safe and enjoyable feature in your outdoor space for years to come.
Before you go…
Congratulations on building your very own outdoor fire pit using the Veranda Concrete Firepit Kit! With proper planning and our Stone firepit DIY step-by-step approach, you’ve transformed your outdoor space into a warm and inviting gathering spot. From cozy family nights to lively outdoor parties, your wood-burning fire pit will undoubtedly become a focal point of many cherished memories.
Remember, the key to a successful DIY project is taking the time to prepare and follow instructions carefully. With this guide, you now have all the tools and knowledge needed to tackle this project with confidence.
Wanna see a visual of this process in action? CLICK HERE to watch our DIY video and go ahead and give us a follow while you’re there!
Ready to tackle your next DIY project? Check out our blog for more outdoor projects DIY ideas, or follow us on Instagram at @buildacozyhome for inspiration and tips. Don’t forget to share your firepit creations with us using #BuildACozyHome—we’d love to see your masterpiece! Looking for your next project? Explore our post on creating a backyard splash pad or custom office desk for more DIY inspiration.
If or when you do make your own DIY Stone Firepit: Easy One Weekend Outdoor Project. I’d love for you to follow us and tag us on Instagram so I can see your really DIY projects finished results! Happy crafting!
COZY HOME, COZY RECIPES:
Every cozy home deserves amazing recipes, and it’s even better when those recipes are both delicious and healthy. Our goal is to provide tasty meals that are easy to make, regardless of your skill level.
Fast, easy meals leave more time for fun activities, making your home a hub of joy and good food.
CONNECT WITH US:
As always, we love hearing about your experiences with our “DIY Stone Firepit: Easy One Weekend Outdoor Project”. Reach out to us through our social channels. Any questions you have, we’re here to answer.
Stay updated by joining our newsletter, offering a monthly dose of new recipes and a first look at upcoming projects.
MORE COZY KITCHEN RECIPES:
If you’re hungry for more, explore our collection of Cozy Kitchen Recipes. Another healthy favorite is the “Sausage Potato Veggie Bake.” Find these recipes and more here.
DIY RESOURCES:
For additional resources, check out our DIY Tutorials, offering a wealth of information to enhance your home improvement skills.

