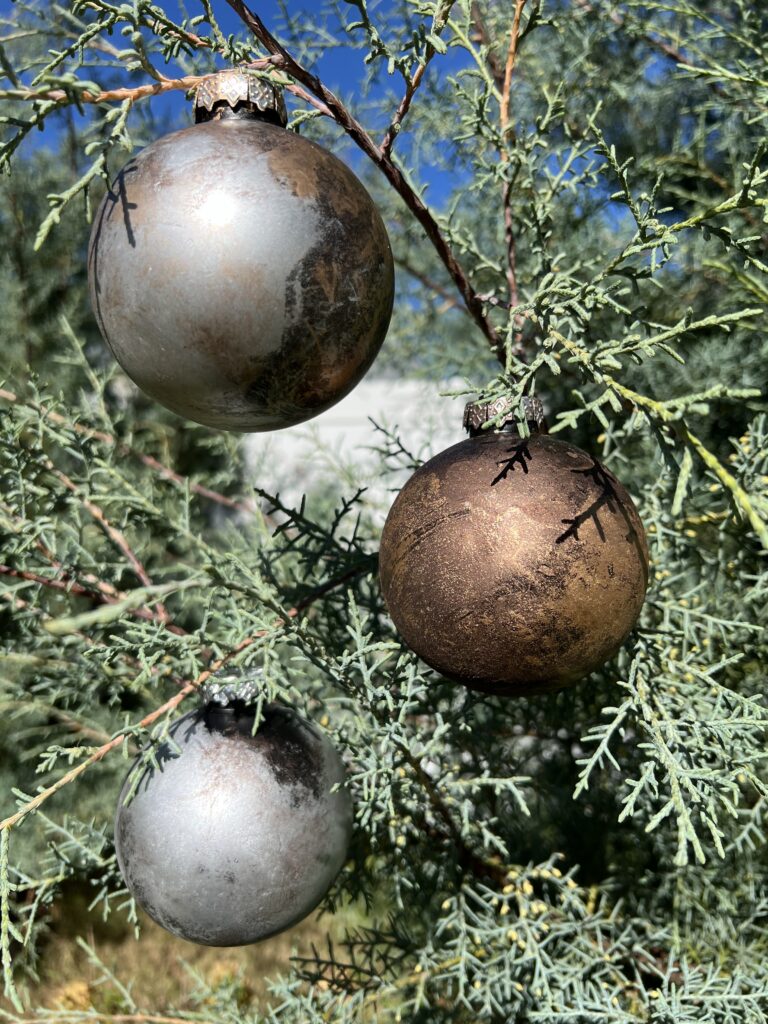
Rub n Buff DIY Christmas Ornaments Tutorial
The holiday season is a time for decorating, and nothing adds a personal touch like your own custom ornaments. If you’ve been looking for a way to refresh your Christmas tree without buying new decorations, you’re not alone. Many of us have ornaments that no longer match our evolving holiday aesthetic. But what if you didn’t have to throw them out or buy brand new ones? What if there was an affordable, DIY solution to give your old ornaments a fresh, elegant look?
That’s where Rub n Buff comes in! This unique metallic wax is a favorite among DIYers for its ability to transform almost any surface into a high-end, vintage-inspired masterpiece. Imagine turning those dusty, old ornaments at the bottom of your holiday bin into show-stopping decor that looks like it came straight from a designer store. Whether you’re going for a classic gold theme or want to mix in silver and copper accents, this project is not only simple but incredibly satisfying.
In this tutorial, I’ll guide you through the entire process of using Rub n Buff to breathe new life into your ornaments. By the end, you’ll have stunning, personalized decorations that add a touch of luxury to your Christmas tree. Ready to get started?
What Is Rub n Buff and Why Use It?
Rub n Buff is a metallic wax paste that can be applied to almost any surface to create a beautiful luster, antique finish. Unlike traditional paint, it dries quickly, offers rich pigmentation, and is easy to control. A little goes a long way. With just a small amount, you can cover large areas, making it a cost-effective option for DIY craft home decor projects like ornament makeovers.
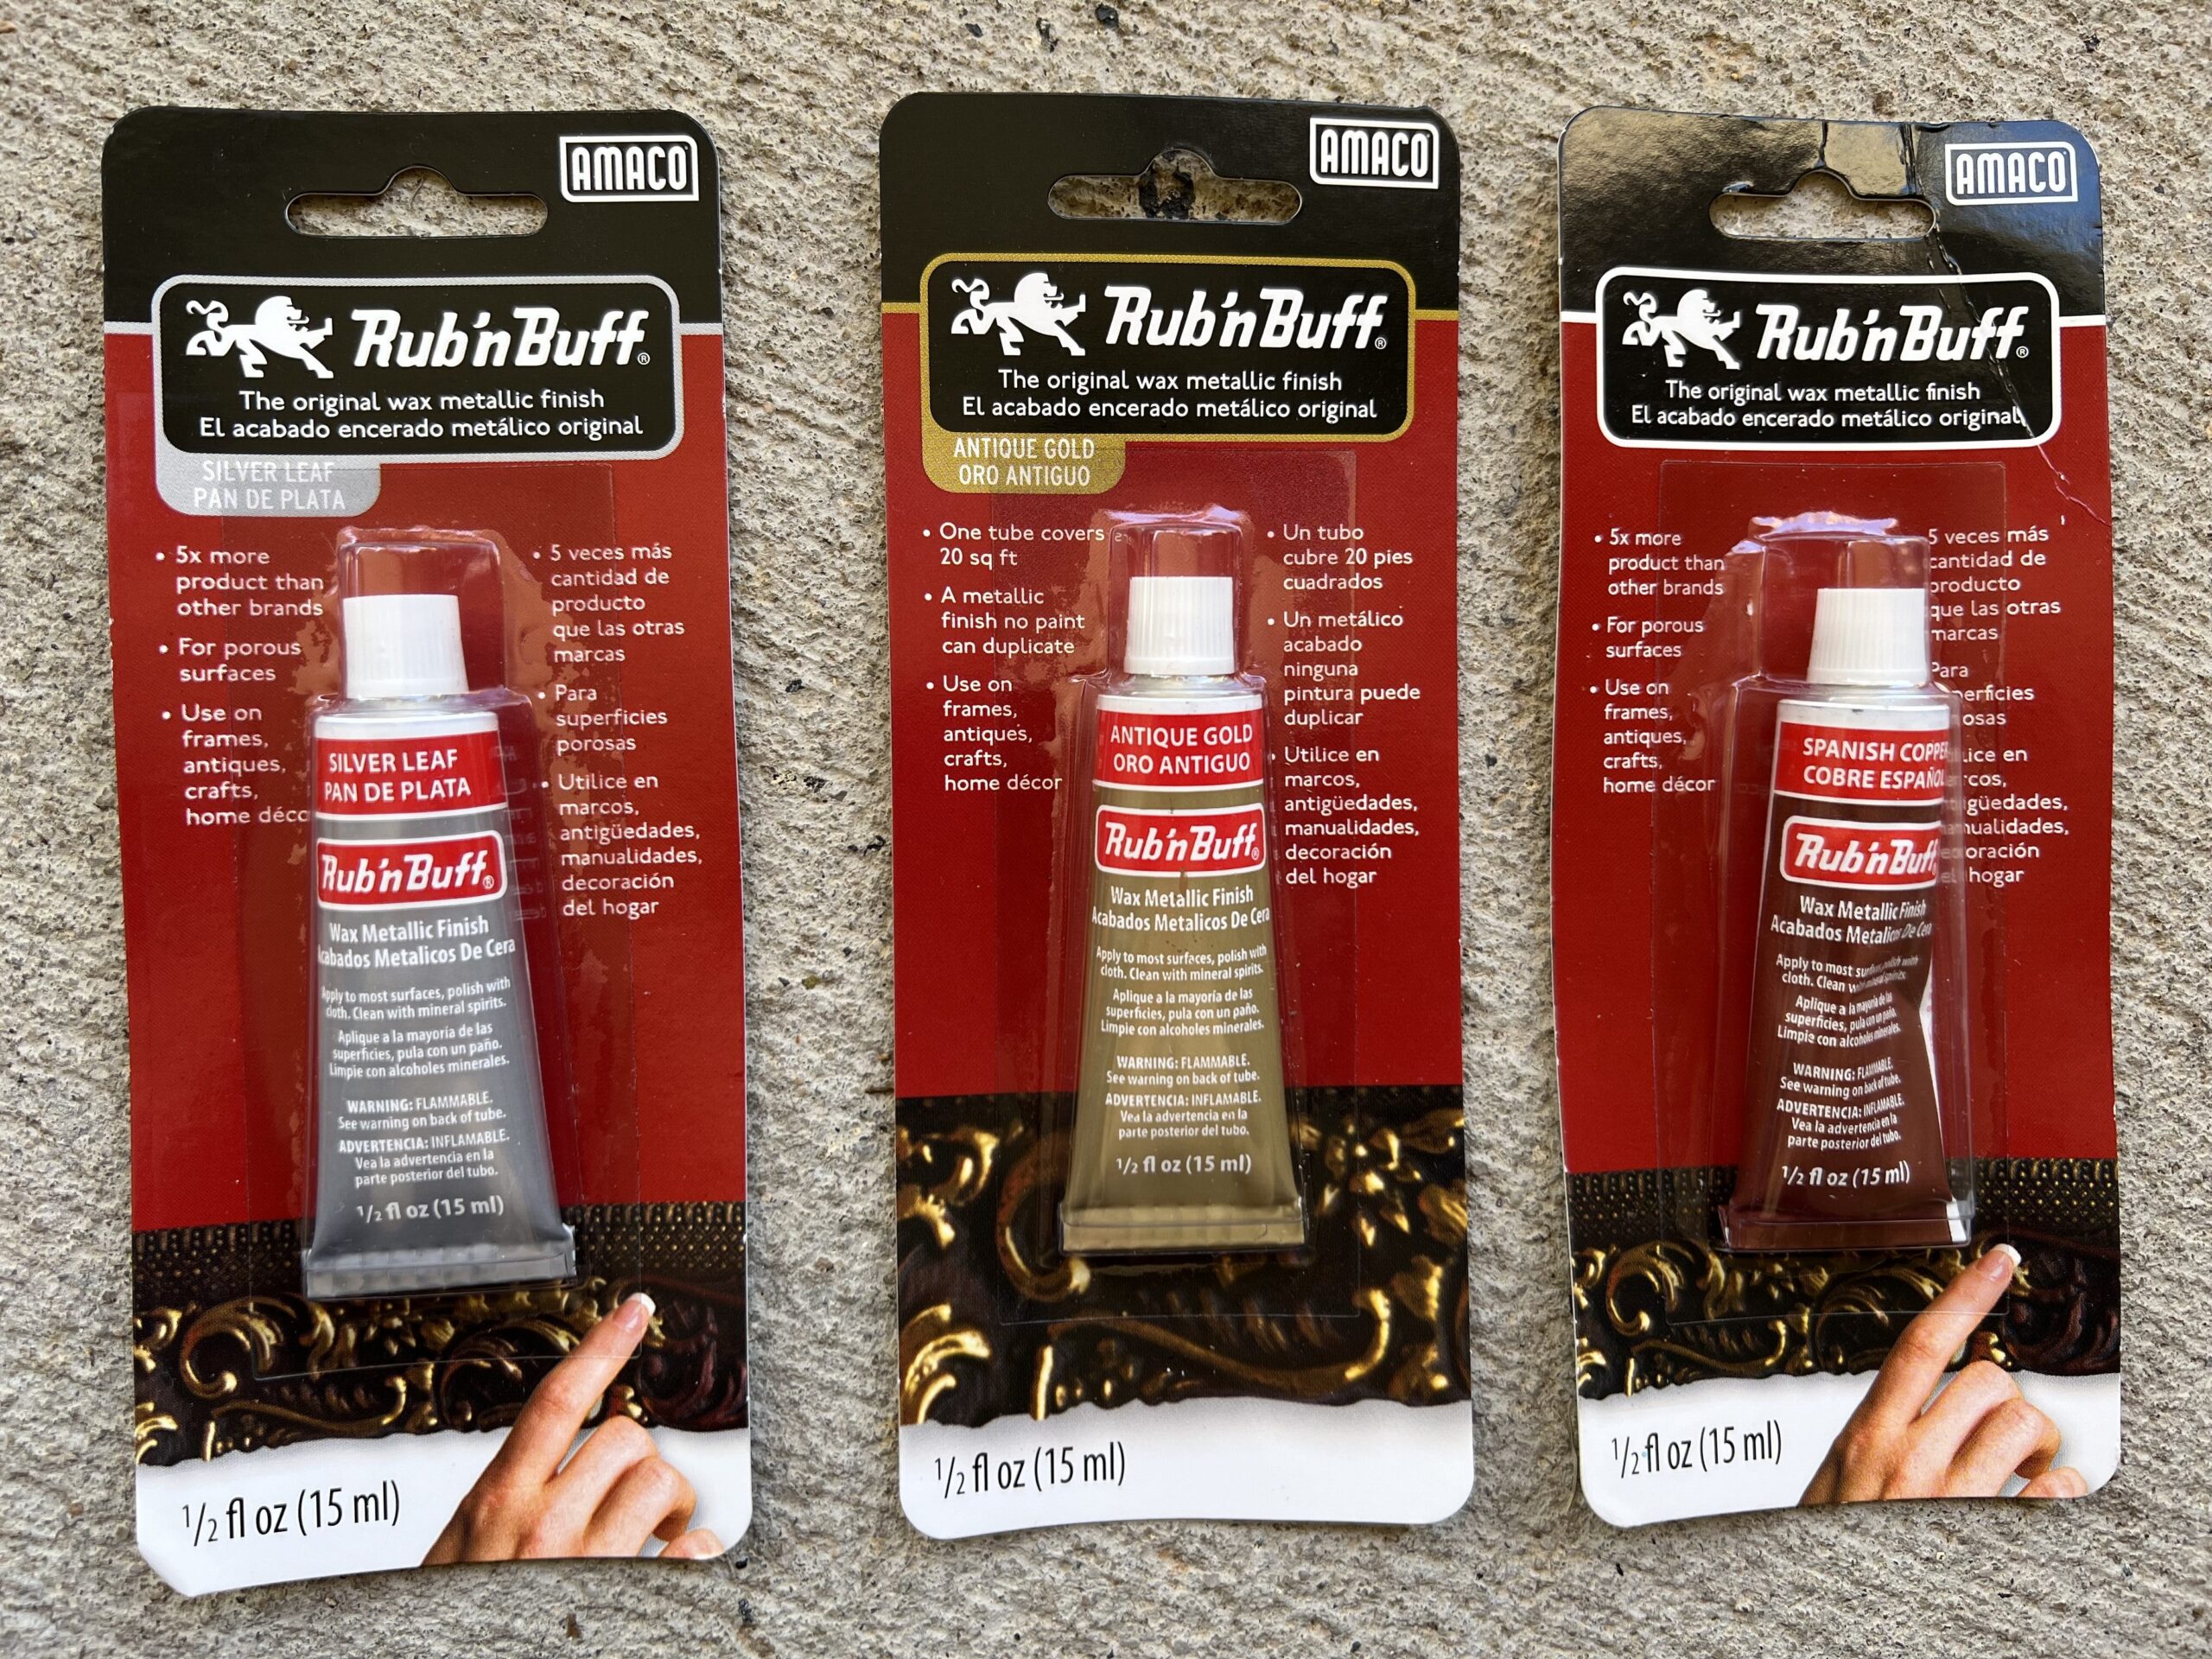
But why use Rub n Buff on your Christmas ornaments? The wax-based formula creates a durable finish that won’t chip or fade, even after years of use. Plus, it comes in a variety of colors like Gold Leaf, Antique Gold, and Silver, allowing you to choose a finish that best complements your existing holiday decor. For those who love a vintage or high-end look without the cost, this product is a game changer. You can easily create luxe-looking ornaments that rival what you’d find in stores!
Step-by-Step Guide to Making Your Vintage Looking Ornaments
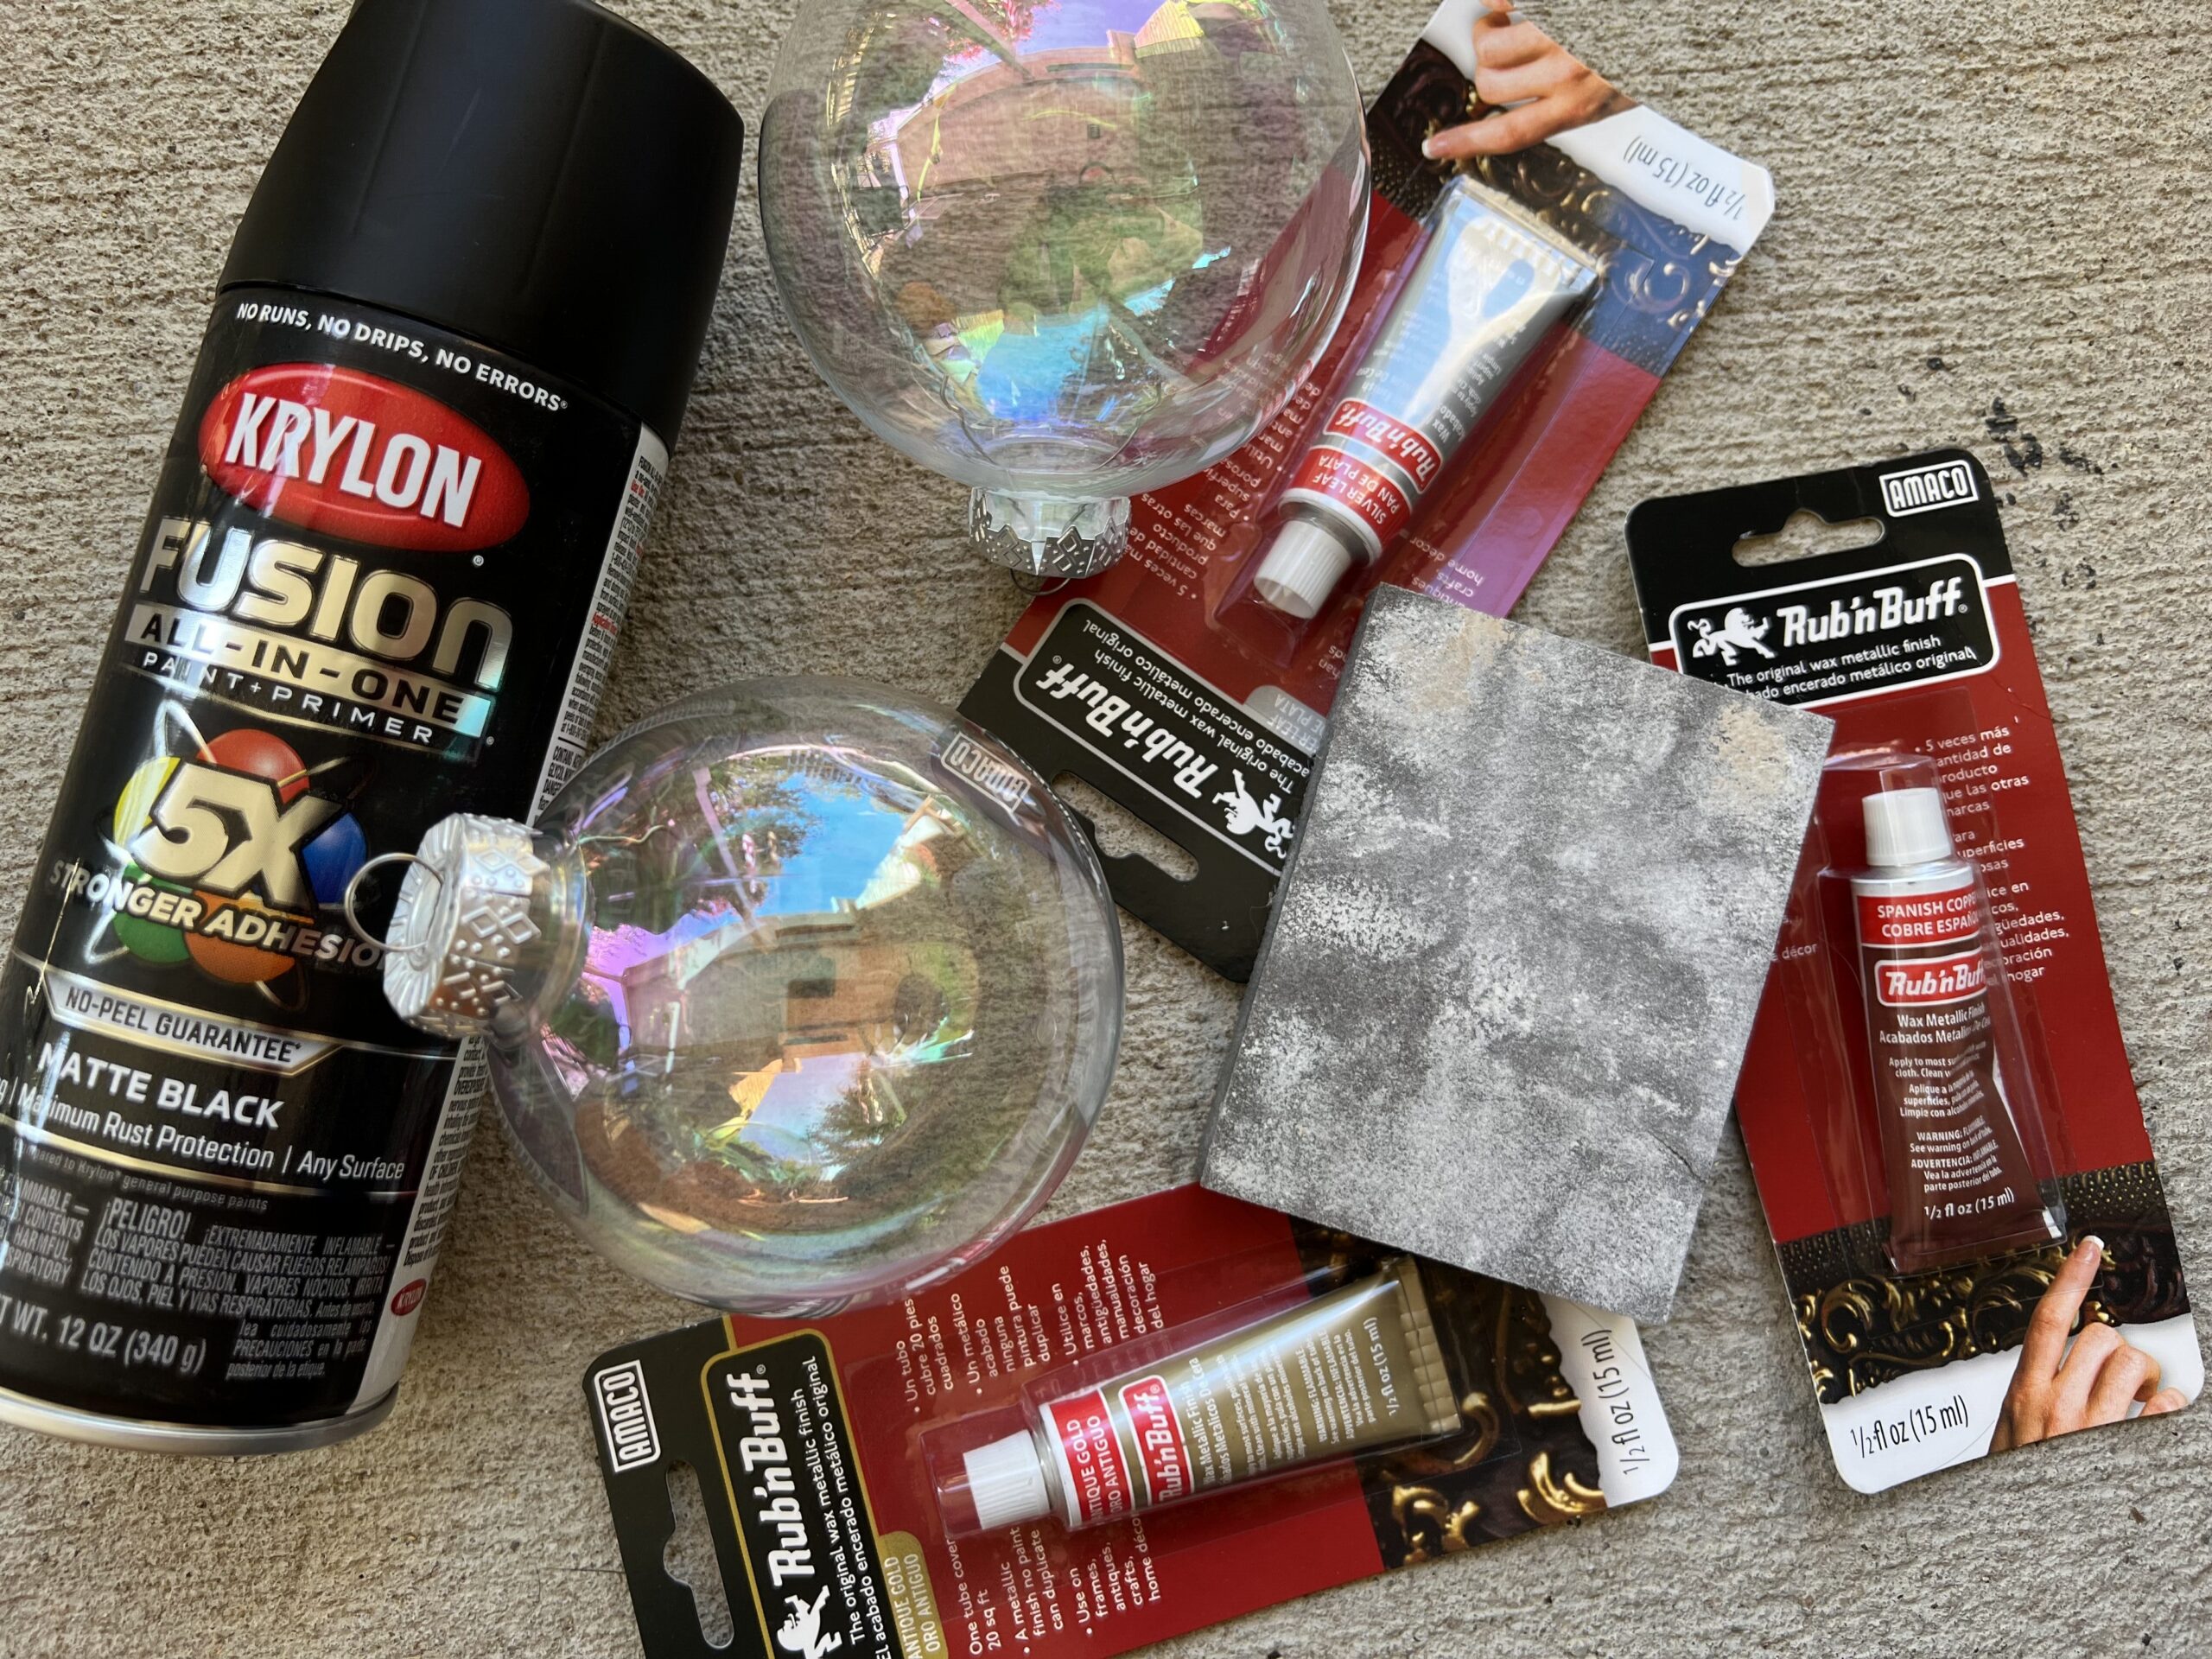
Now that you know why Rub n Buff is the perfect tool for revamping your ornaments, let’s dive into the process. Start by gathering your old ornaments, Rub n Buff in your chosen color, a soft cloth, and some painter’s tape (if you want to create designs).
Shopping List:
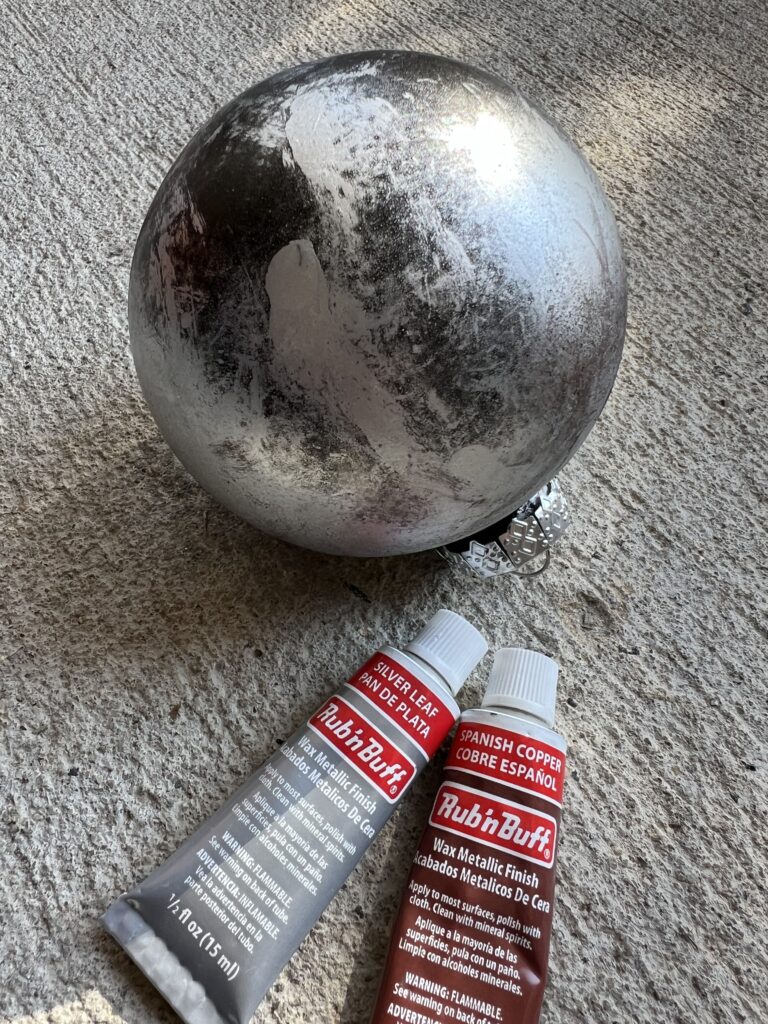
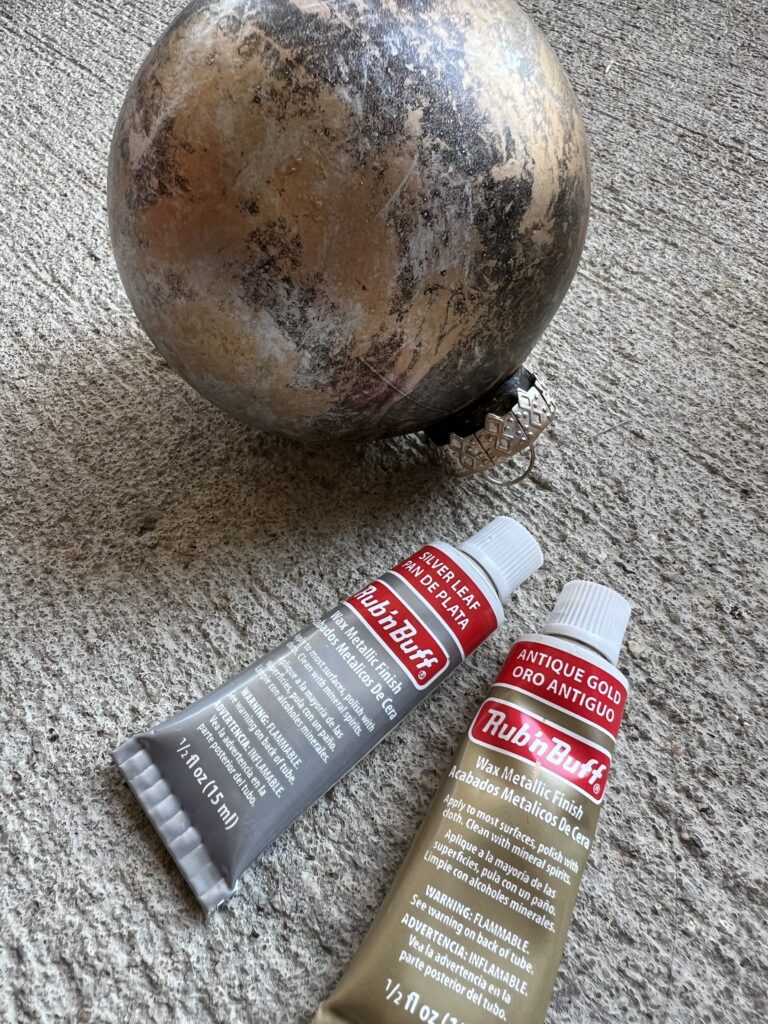
- Rub n Buff Antique Gold, Silver Leaf and Spanish Copper
- Matte/Flat Black Spray Paint
- Sanding Sponge
- Ziploc Gallon Bag
Step-by Step Instructions:
- Prep Your Ornaments: Clean the surface of each ornament with a damp cloth and let it dry completely. If your ornaments have a gloss finish, glitter or other decorations, you may want to sand them lightly to ensure the paint adheres well. Make sure to wipe off all dust as best as possible after sanding or blow off with a hair dryer if you have a odd shaped surface.
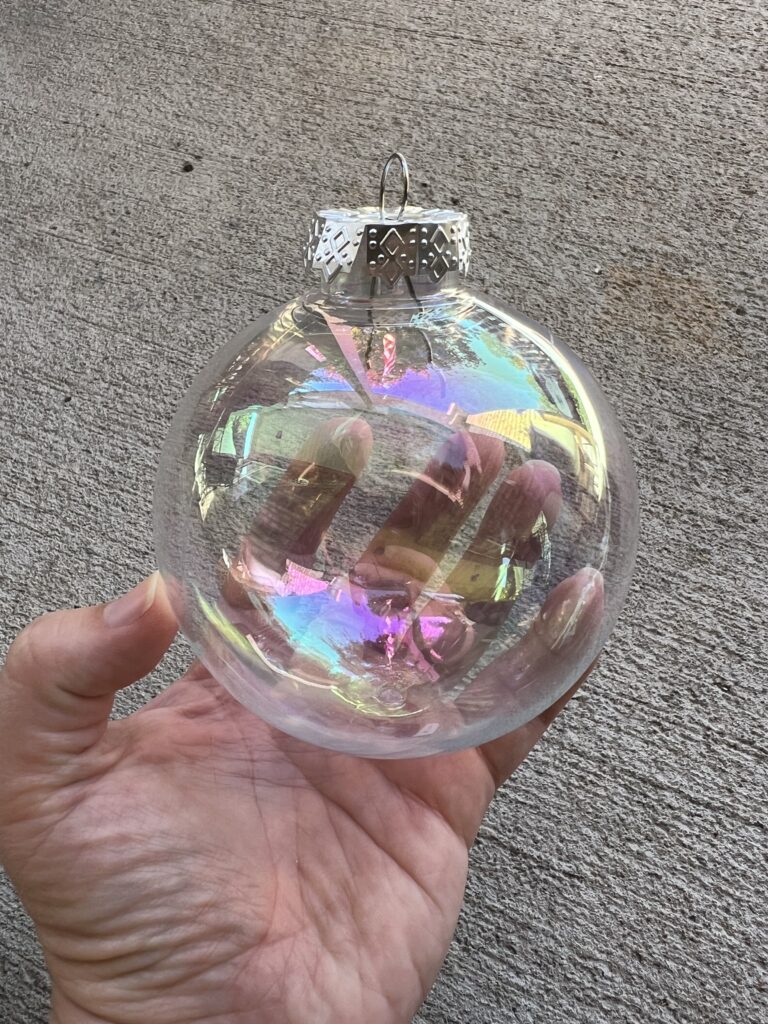
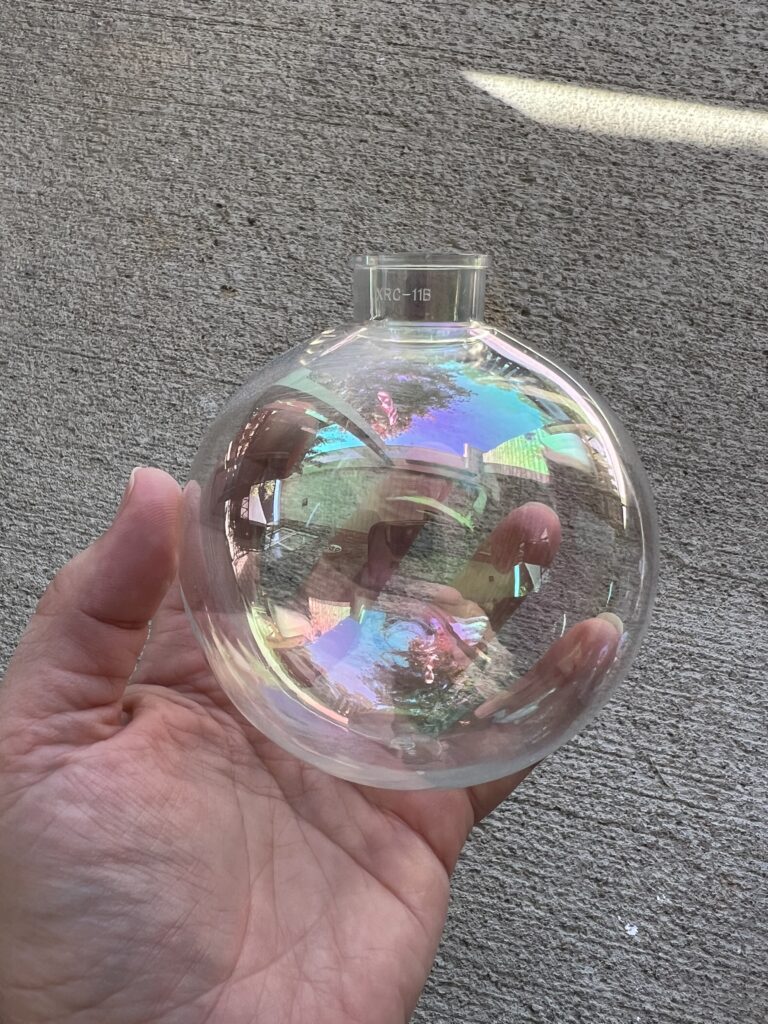
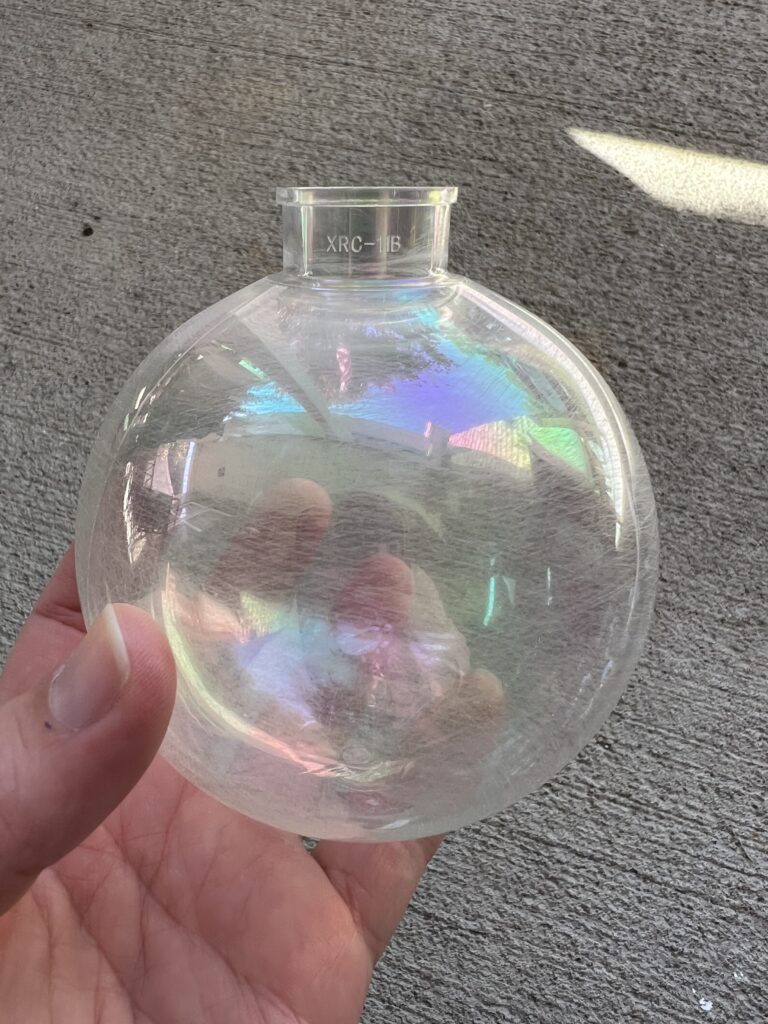
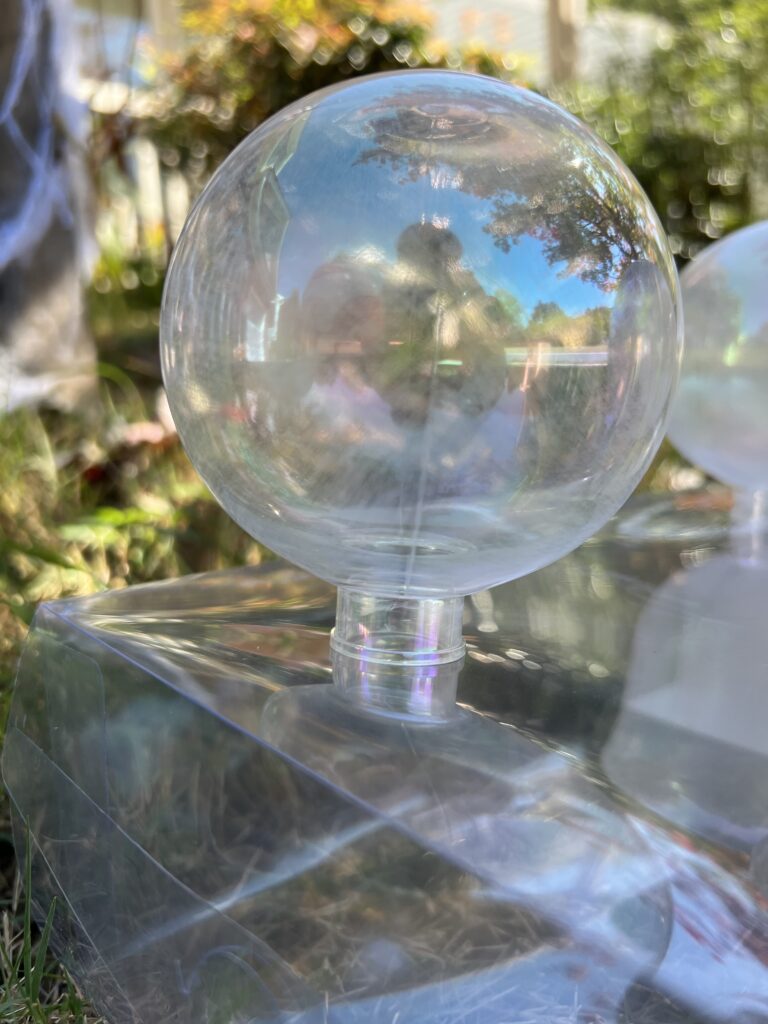
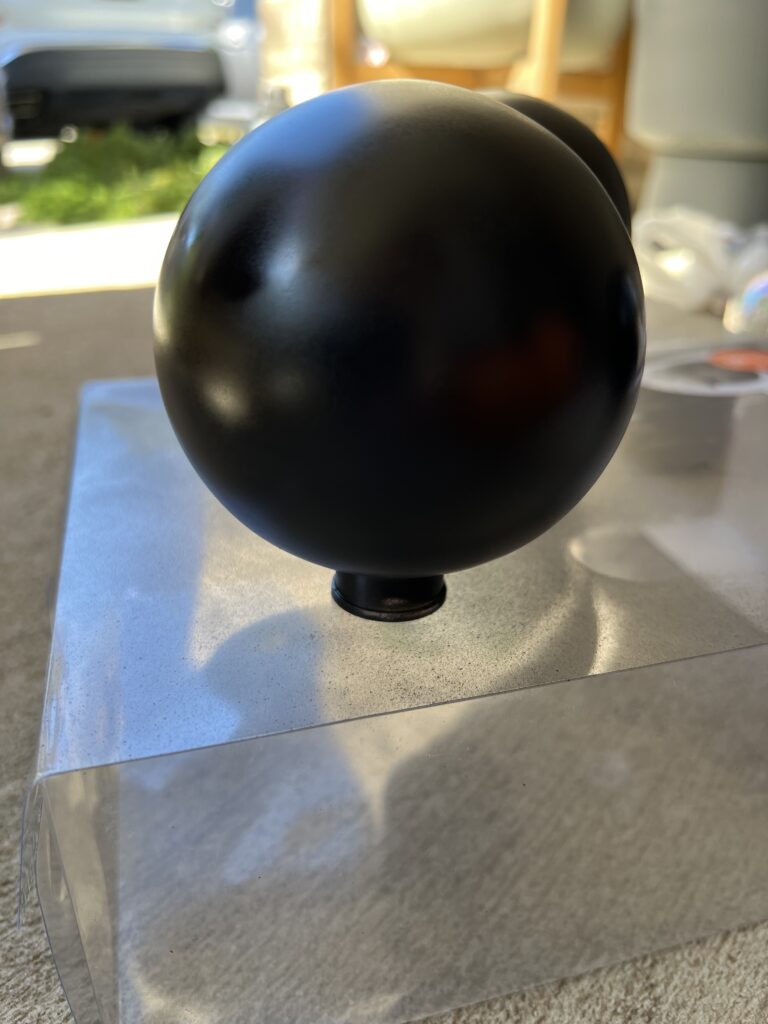
- Spray paint your ornaments: Remove your ornament hanger before you paint. Choose a Matte/Flat Black paint color and spray one light coat all over your ornament. Let dry completely before moving onto the next step.
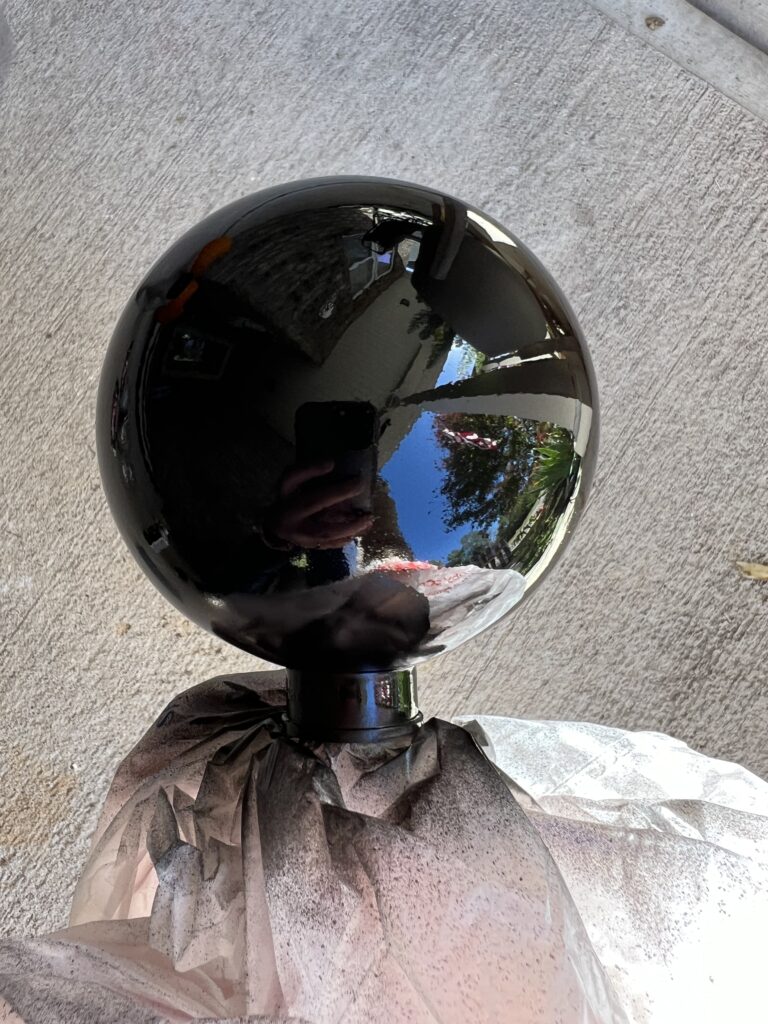
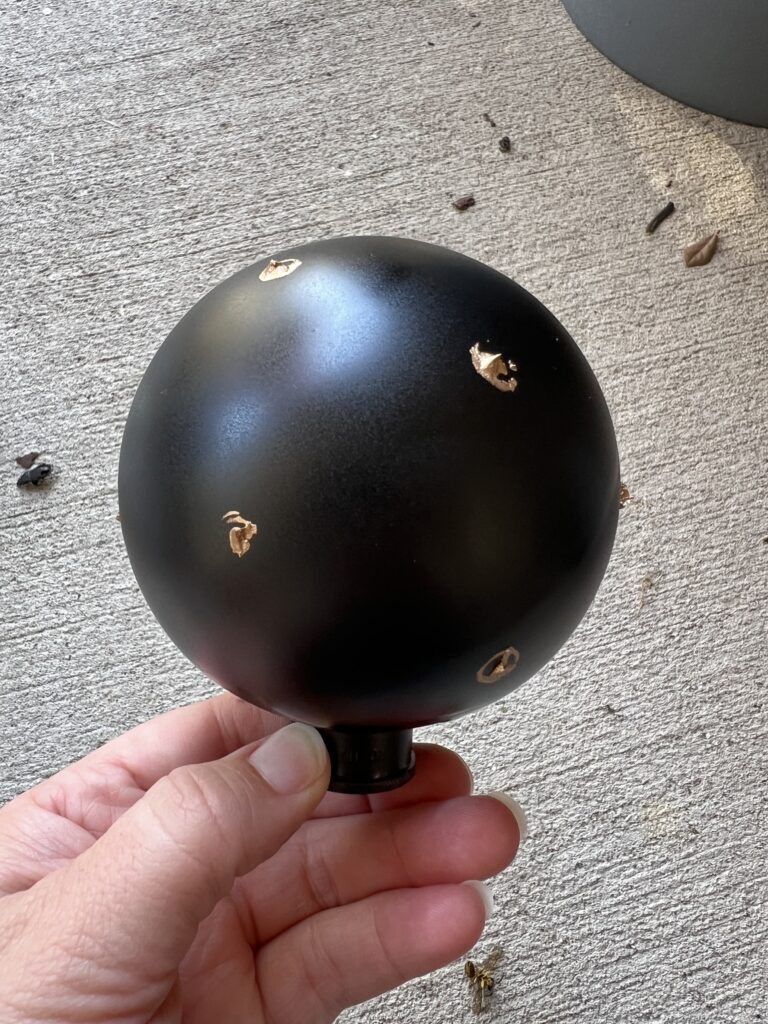
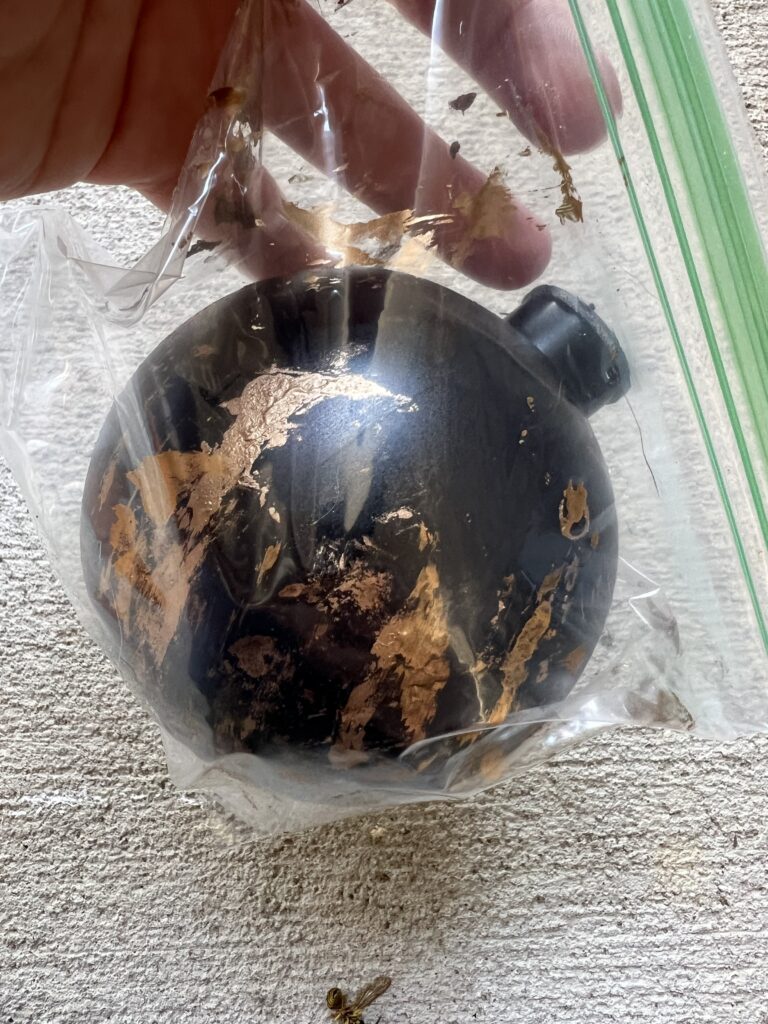
- Apply Rub n Buff: Squeeze a tiny bit of Rub n Buff onto a clean rag or your finger and rub it onto the ornament in a circular motion in multiple spots. Stick your ornament into a ziploc gallon bag and zip close. Start to work your ornament around in the bag to spread out the Rub n Buff. Continue to work the ornament until you get the desired look you want.
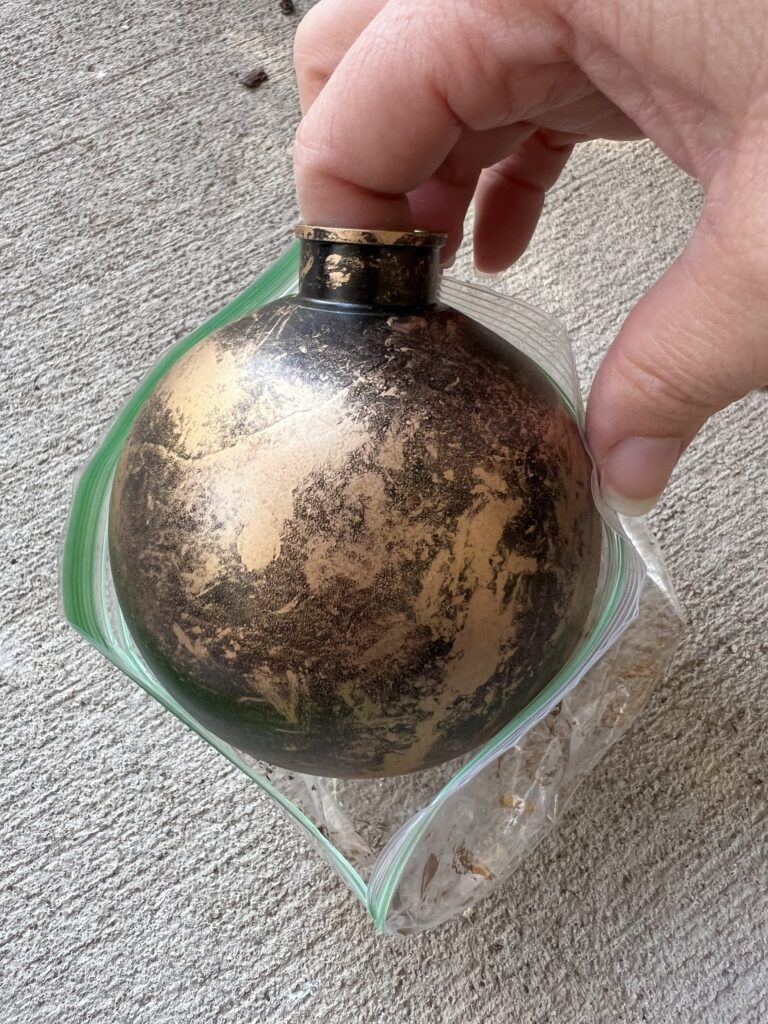
- Buff Metallic Finishes: After applying the wax, buff the ornament with a clean part of your cloth to bring out its shine. If you prefer a more matte look, you can skip this step.
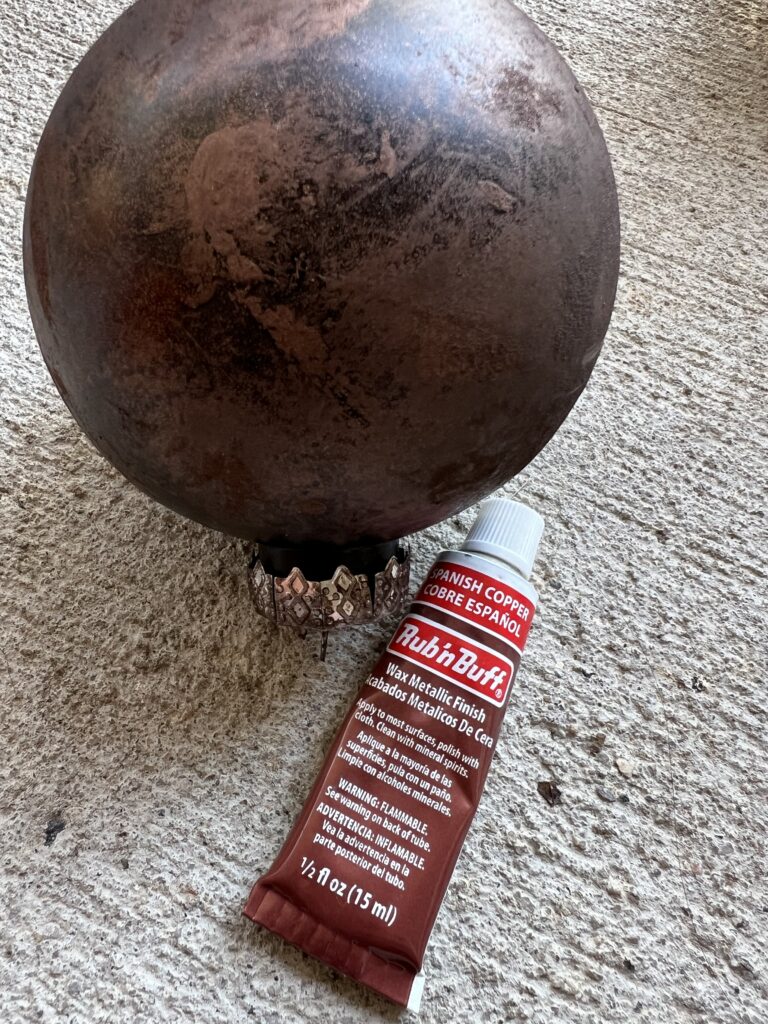
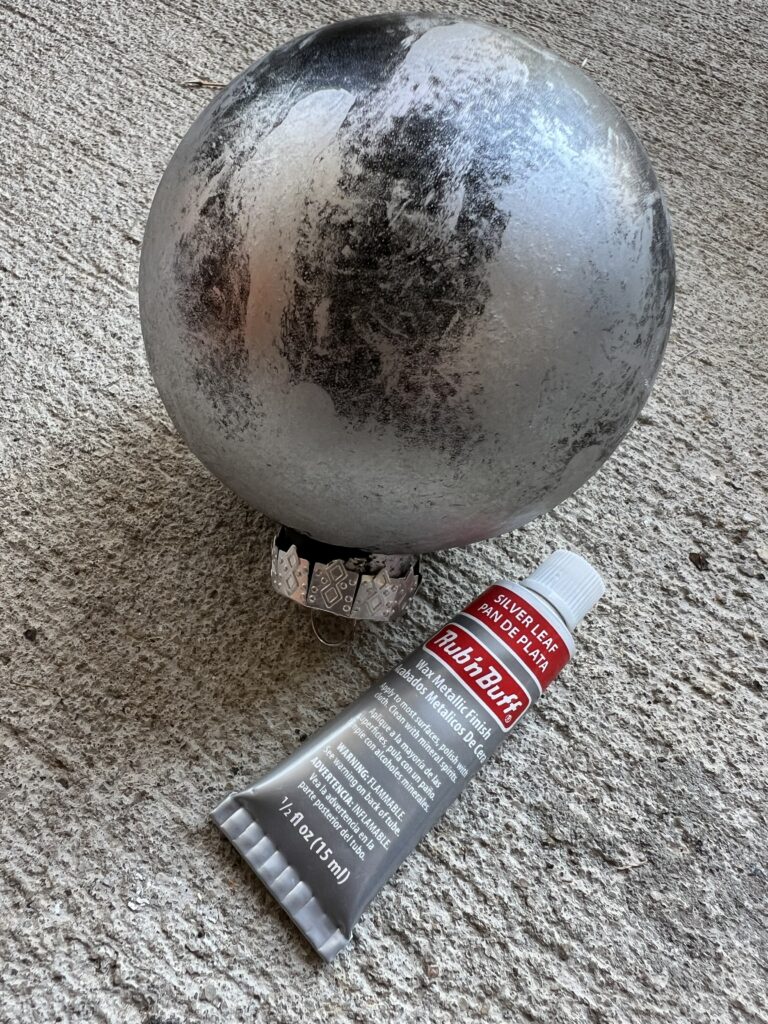
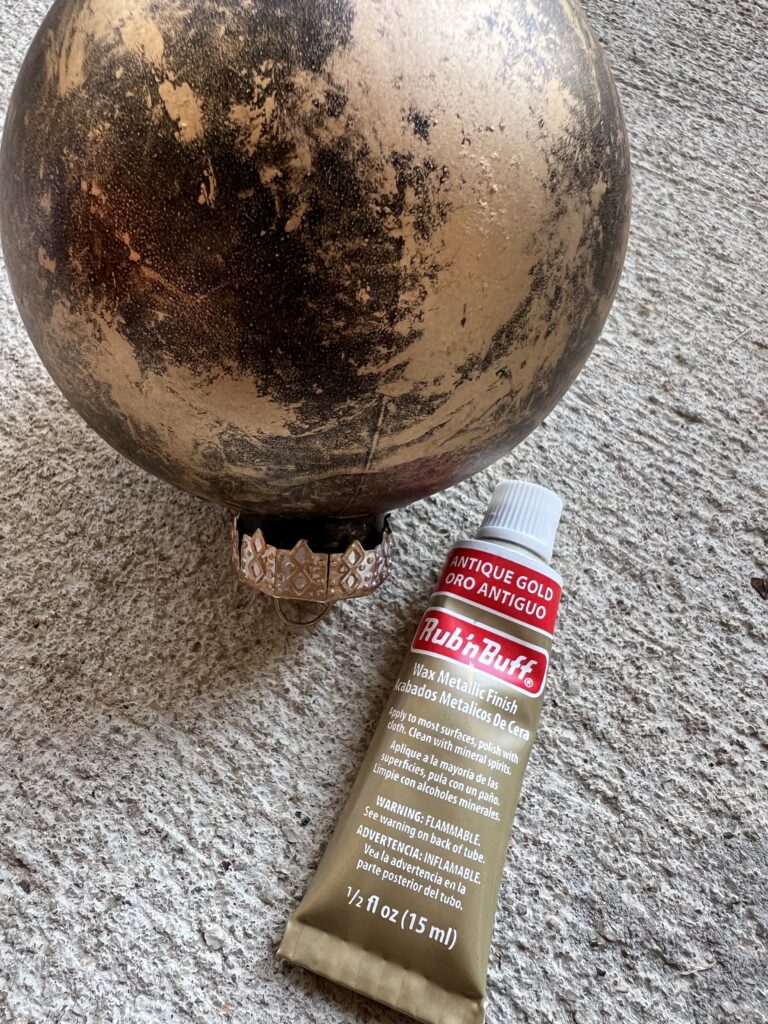
- Let It Dry: Rub n Buff dries quickly, but for best results, let your ornaments sit for 24 hours before hanging them on your tree.
- Clear Coat (optional): This is in no way necessary. But, if you want a certain glossy or flat look you could clear coat the ornaments to finish them to your preferred final look.
This easy-to-follow process takes less than 30 minutes per ornament, making it a perfect weekend craft project! There are a few different Rub n Buff color options to choose from. You can use one color on your ornaments or use multiple to get a really unique look.
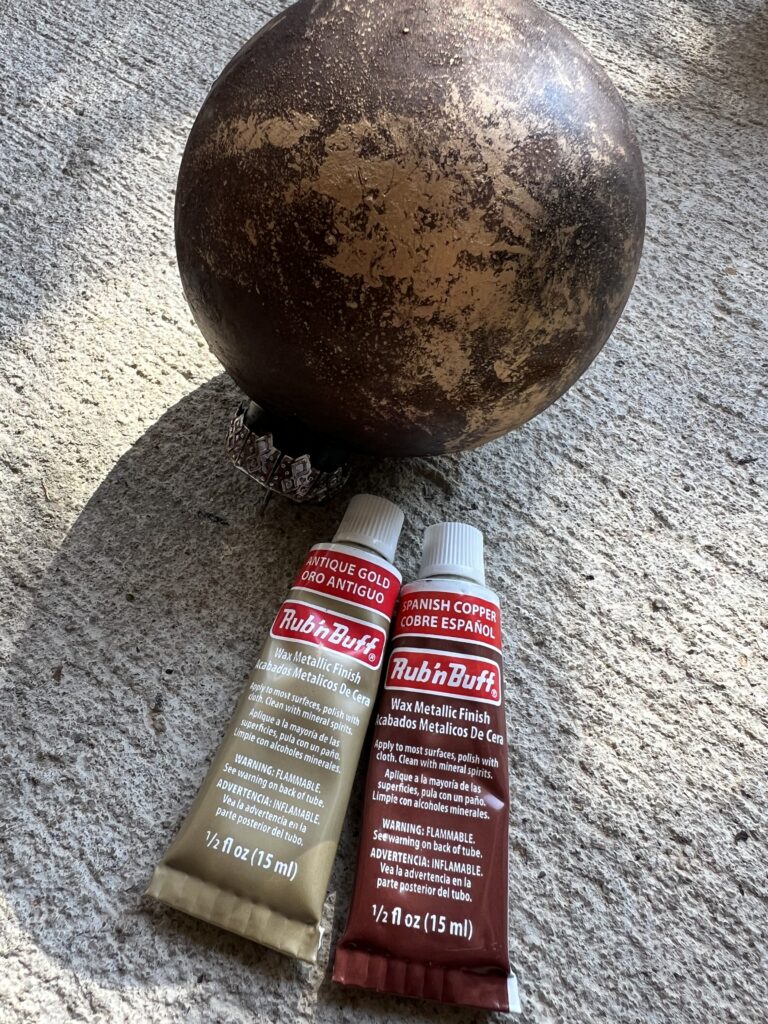
Creative Ways to Customize Your Ornaments
Once you’ve mastered the basic Rub n Buff technique, you can get creative with your designs. For example, use painter’s tape to create stripes, or apply Rub n Buff only to certain areas for a two-tone effect. You can also layer different colors of Rub n Buff for a more textured look. Another fun idea is to pair your Rub n Buff ornaments with complementary DIY decor, such as hand-painted stockings or a garland.
These DIY ornaments also make great gifts. Personalize them with initials, designs, or specific color schemes to match the recipient’s style. Whether you’re giving them away or keeping them for yourself, these custom ornaments will add a unique touch to your holiday celebrations.
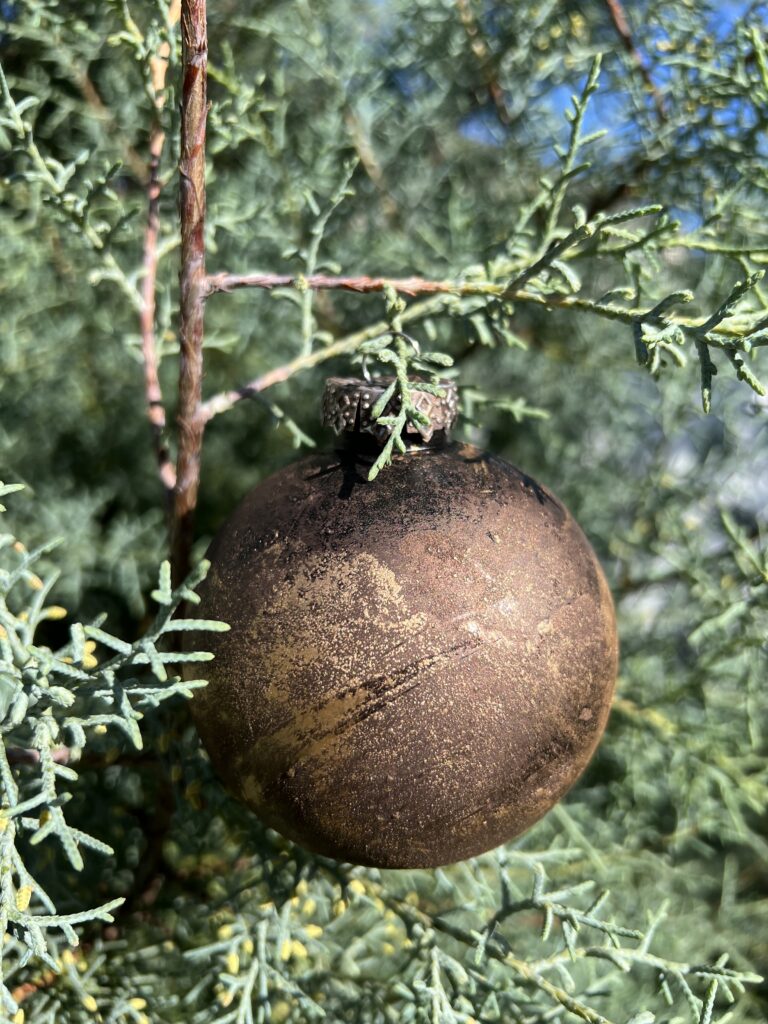
Before you go…
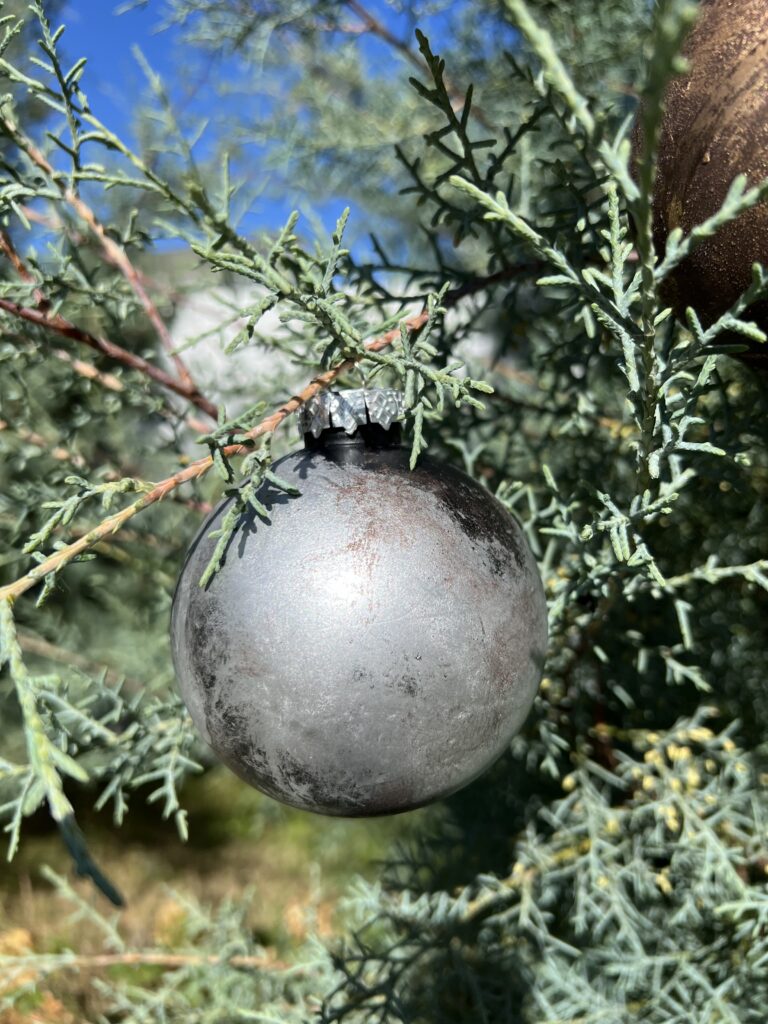
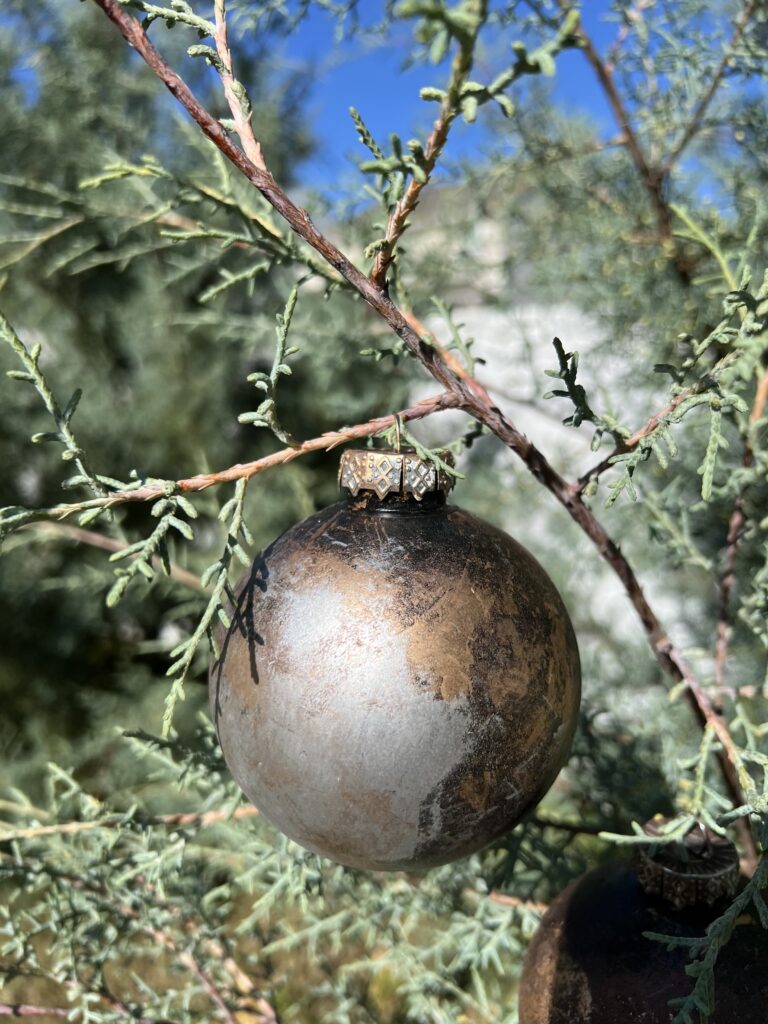
Revamping your old ornaments using Rub n Buff is not only an affordable solution, but it’s also a rewarding DIY project that will leave you with beautiful, personalized decorations for your home. By using this simple technique, you can create everything from a chic, metallic aged look to a more rustic, layered finish, all while spending a fraction of what you’d pay for designer ornaments.
The biggest takeaway? You don’t have to spend a lot to achieve a high-end look for your holiday decor. With just a little effort, your Christmas tree will feel fresh, luxurious, and totally you.
PRO TIP: Rub n Buff can be used on light fixtures, post-fired ceramics, picture frame and any craft projects with a hard surface. Have fun with your leftover Rub n Buff, I can’t wait to see what else you do with it!
Feeling inspired? If you loved this DIY project, don’t forget to explore our other tutorials like the Wood Baby Hand and Footprint Ornament and Faux Brass Nutcrackers for even more festive DIY ideas. And, of course, follow us on Instagram for daily tips and inspiration to make your home holiday-ready!
If or when you do make your DIY Rub n Buff Painted Christmas Ornaments. I’d love for you to tag us on Instagram so I can see your really DIY projects finished results!
COZY HOME, COZY RECIPES:
Every cozy home deserves amazing recipes, and it’s even better when those recipes are both delicious and healthy. Our goal is to provide tasty meals that are easy to make, regardless of your skill level.
Fast, easy meals leave more time for fun activities, making your home a hub of joy and good food.
CONNECT WITH US:
As always, we love hearing about your experiences with our “Rub n Buff Stunning & Simple DIY Christmas Ornaments Tutorial”. Reach out to us through our social channels. Any questions you have, we’re here to answer.
Stay updated by joining our newsletter, offering a monthly dose of new recipes and a first look at upcoming projects.
MORE COZY KITCHEN RECIPES:
If you’re hungry for more, explore our collection of Cozy Kitchen Recipes. Another healthy favorite is the “Sausage Potato Veggie Bake.” Find these recipes and more here.
DIY RESOURCES:
For additional resources, check out our DIY Tutorials, offering a wealth of information to enhance your home improvement skills.
