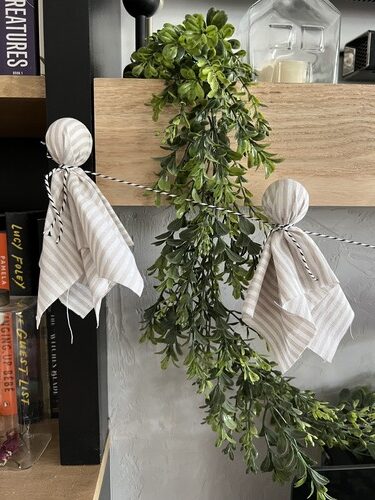
Have you struggled finding something easy, budget-friendly and aesthetically pleasing to add to your spooky decor on your mantle or stair banister? It seems like the cute decor every year gets more expensive and if you’re anything like me, you like to decorate on a budget!
That’s why this year I decided to create DIY Ghost Garland. Fabric spooky ghost garland is an adorable and easy way to add a spooky touch to your Halloween decorations.
This DIY project is perfect for creating a whimsical and festive atmosphere in your home. Whether you’re hosting a Halloween party or just want to add some seasonal charm. Here’s how you can make your own ghost garland.
Let’s make some cute and spooky Halloween ghost garland decoration for your home with these simple materials!
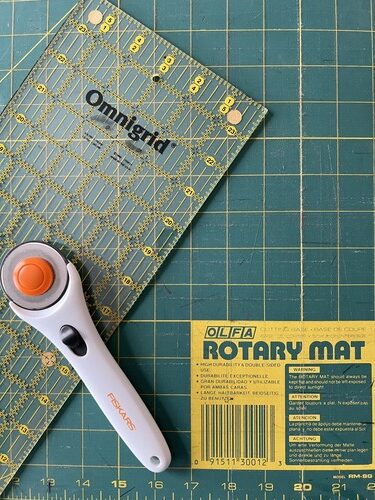
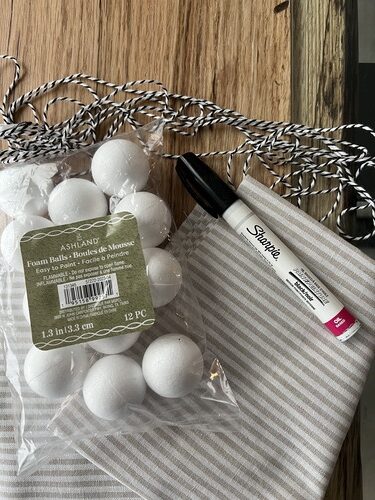
Materials You’ll Need to make your DIY Ghost Garland:
- Fabric: such as cotton, muslin, squares of cheesecloth or even an old sheet in fun fall colors
- Yarn or String: for hanging the garland)
- 1” Styrofoam Balls: (for the ghost heads)
- Eyes: Googly Eyes, Black Felt or Black Fabric paint (for the eyes)
- Scissors: fabric scissors will work best
- Hot glue gun
- Needle and thread (optional for extra security)
Step-by-Step instructions on how to make your DIY Ghost Garland:
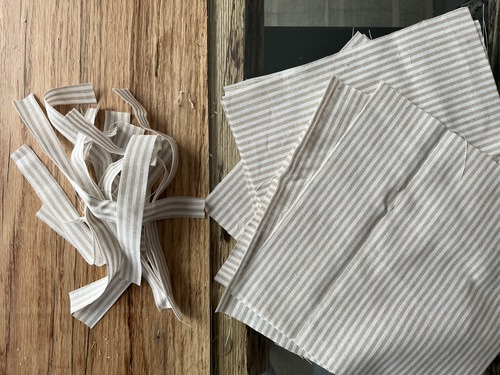
Step 1: Cut the Fabric ✂️
Start by cutting your striped fabric into squares. The size of the squares will determine the size of your little ghosts. A 10×10 inch square is a good starting point, but you can adjust based on how large or small you want your ghosts to be.
PRO TIP: Cut a couple different size squares to try from scrap fabric first.
Step 2: Create the Ghost’s Head 👻
Place a foam 1” ball in the center of each fabric square. Gather the fabric around the foam ball to form the head of the ghost. Wrap yarn around the base of the head and secure by tying a small piece of yarn or string around it, creating a small neck. Trim yarn close to the double knot so you can’t see it.
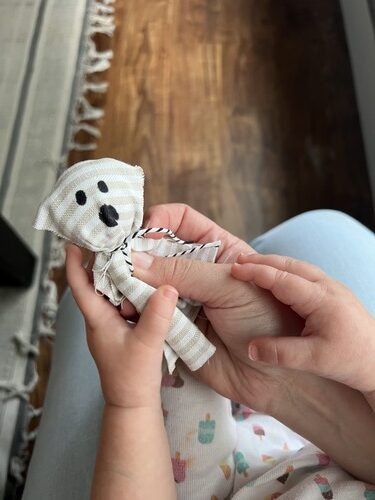
Step 3: Add the Eye Details 👀
Make cute little faces a couple different ways. Cut out small circles from the black felt and a dab hot glue on the ghost head to create eyes for your ghosts. Alternatively, you can use googly eyes and attach with a dab of hot glue or draw on black eyes with fabric paint pens.
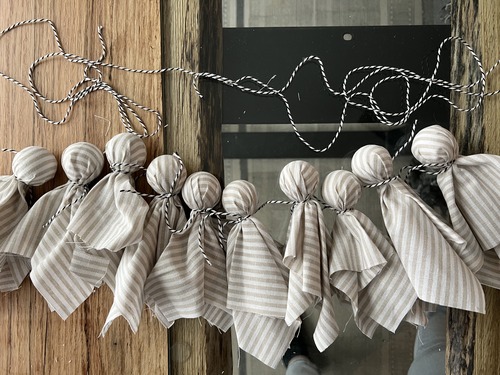
Step 4: Prepare the Garland String 🧶
Cut a long strand of yarn, decorative string or long piece of twine to the desired length you want your garland. The length will depend on where you plan to hang your garland. Make sure to leave some extra string at the end of the yarn for hanging.
Step 5: Attach the Ghosts to the Garland 🪡
Using your hot glue gun or string/thread, attach the top of each ghost to the decorative yarn/string you chose. Space the ghosts evenly along the string, leaving about 6-8 inches between each one.
Step 6: Hang Your Cute Ghost Garland 👏🏼
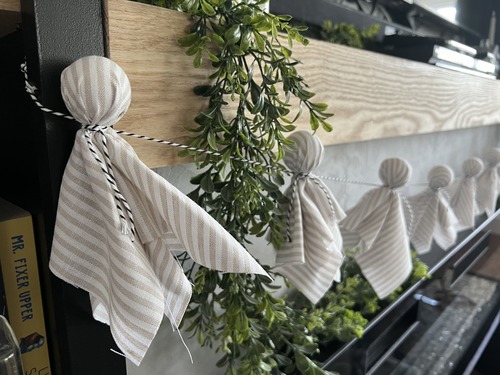
Once all the ghosts are securely attached, your garland is ready to hang! Drape it across your mantel, along a stair railing, or above a doorway to add a spooky touch to your Halloween decor.
Tips for Customizing Your DIY Ghost Garland
- Add a Face: For extra detail, you can draw or glue on a mouth to give your ghosts different expressions.
- Use Different Fabrics: Experiment with different fabrics like tulle or cheesecloth to give your ghosts a unique look.
- Add Lights: String some fairy lights along with your ghost garland for a glowing effect.
- Personalize It: Write names on the ghosts or add small accessories like hats or bows to make each ghost unique.
Before you go…
This Halloween DIY ghost garland project is a fun and easy way to get into the Halloween spirit. With just a few materials, you can create a charming decoration that’s sure to impress. Plus, it’s a great activity craft to do with kids or friends as you prepare for the spookiest season of the year.
Let’s not forget that this craft may be a great way to utilize some supplies you already have in your craft stash to make these cute little DIY Ghost Garland. Who doesn’t love a good DIY project that you already have everything you need?
If you need more Halloween crafts to go along with your fun garland. Check out our other seasonal crafts for more crafting fun!
Happy crafting!
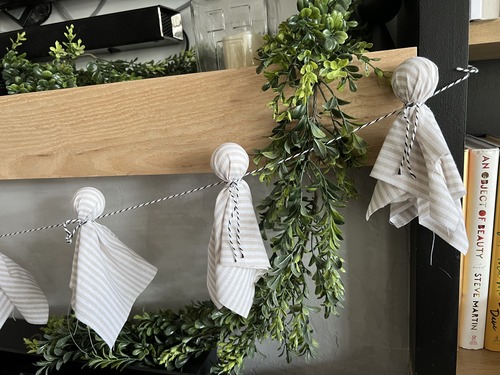
If or when you choose to make your DIY Ghost Garland. I’d love for you to tag us on Instagram so I can see your really DIY projects finished results!
COZY HOME, COZY RECIPES:
Every cozy home deserves amazing recipes, and it’s even better when those recipes are both delicious and healthy. Our goal is to provide tasty meals that are easy to make, regardless of your skill level.
Fast, easy meals leave more time for fun activities, making your home a hub of joy and good food.
CONNECT WITH US:
As always, we love hearing about your experiences with our “DIY Ghost Garland: Make An Easy Halloween Fabric Version”. Reach out to us through our social channels. Any questions you have, we’re here to answer.
Make sure to check out our “Fall Wreaths for Front Door” and “Winter Wreaths for Front Door” and our other Seasonal Blog Posts!!!!
Stay updated by joining our newsletter, offering a monthly dose of new recipes and a first look at upcoming projects.
MORE COZY KITCHEN RECIPES:
If you’re hungry for more, explore our collection of Cozy Kitchen Recipes. Another healthy favorite is the “Sausage Potato Veggie Bake.” Find these recipes and more here.
DIY RESOURCES:
For additional resources, check out our DIY Tutorials, offering a wealth of information to enhance your home improvement skills.
