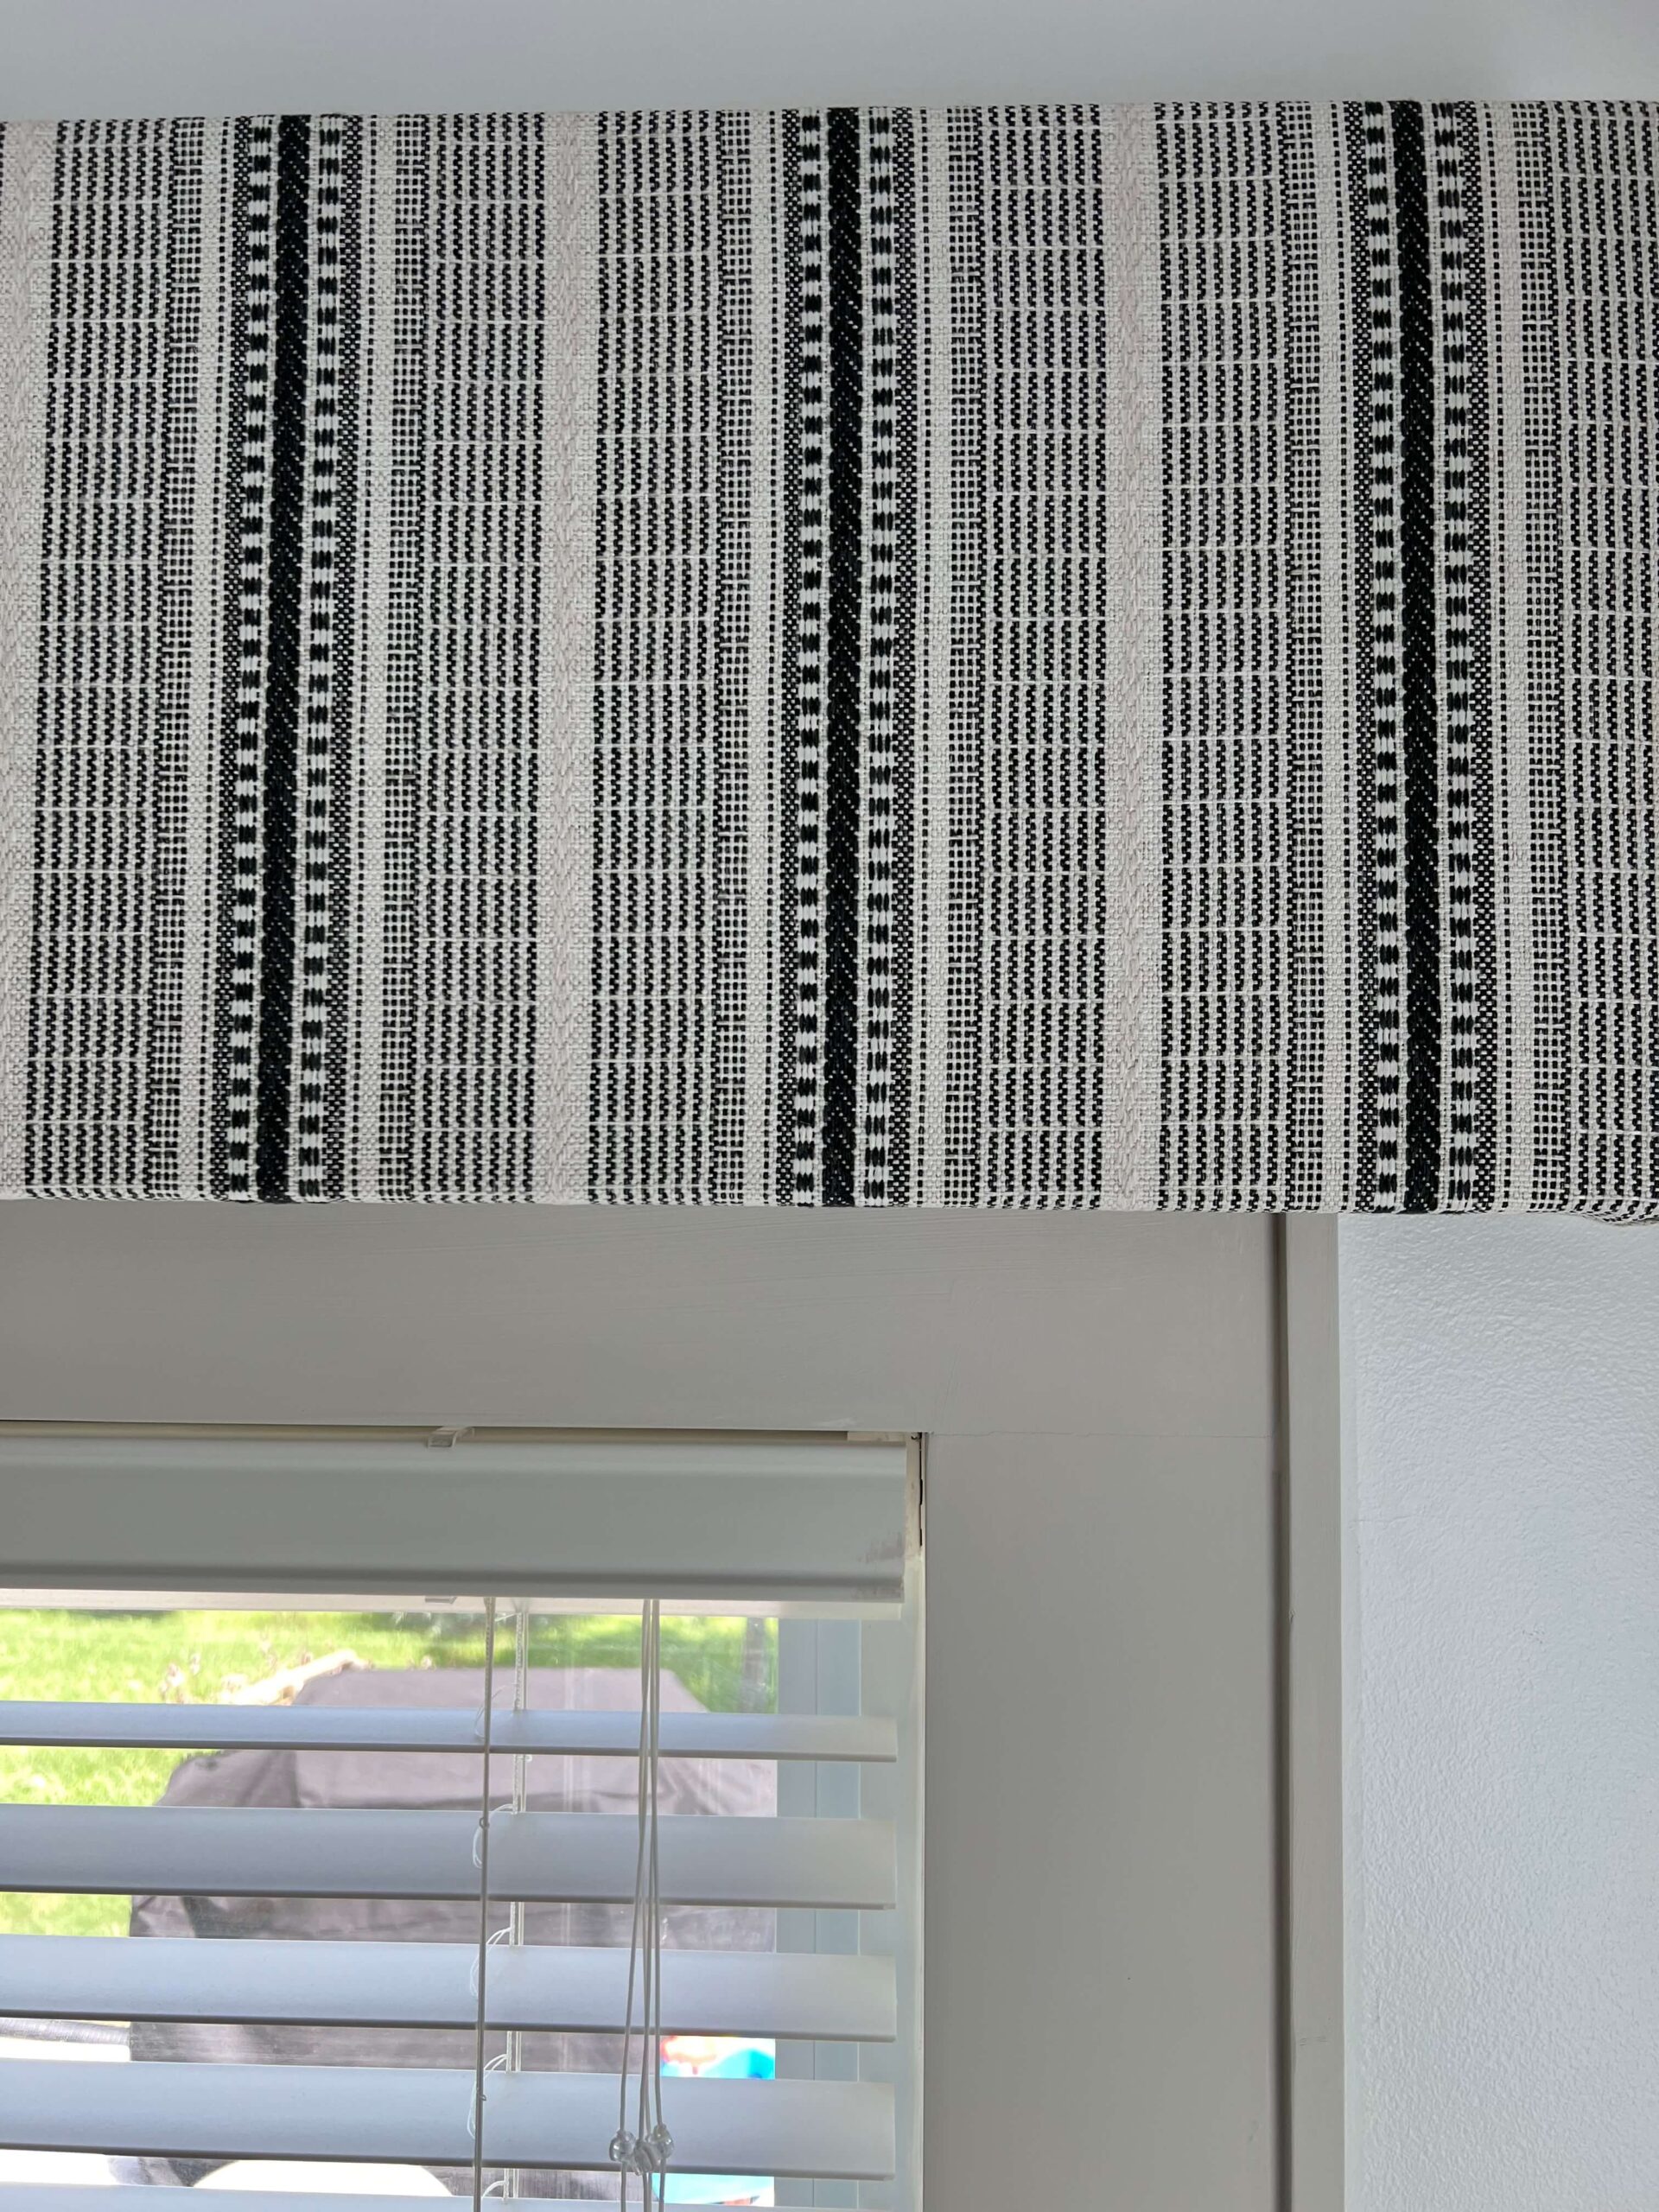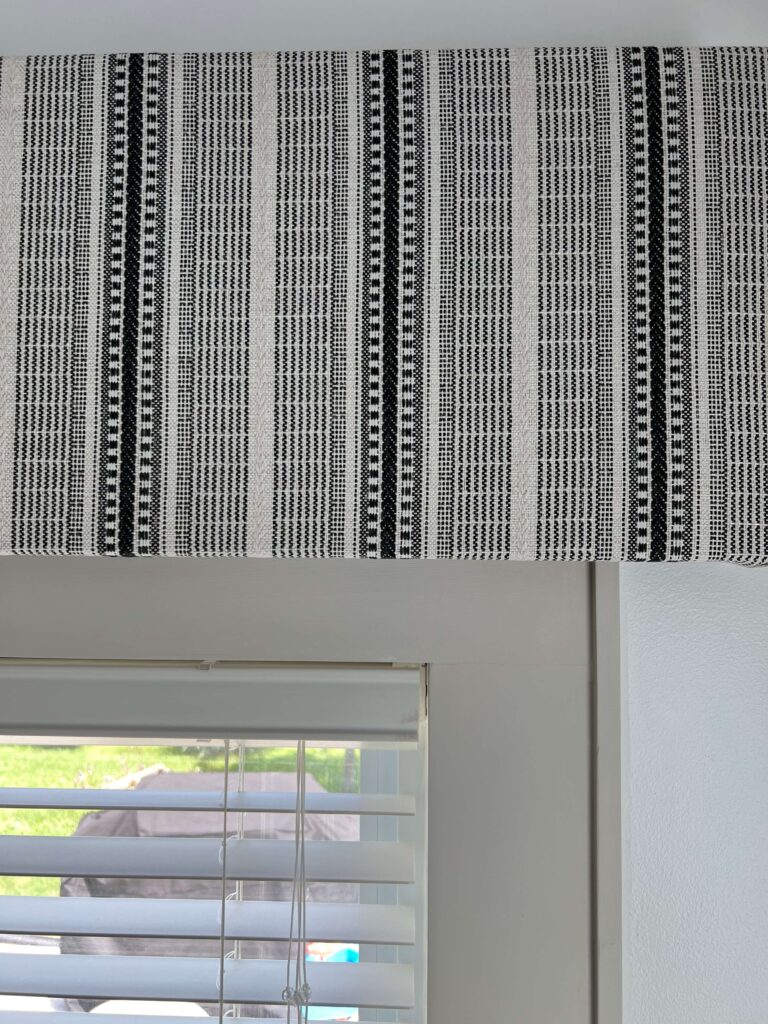
Are you looking to give your windows a designer touch without breaking the bank? A custom cornice board might be the solution you’re after! Cornice boards are stylish, versatile, and can instantly elevate any room’s aesthetic.
But, here’s the best part: you don’t need to hire a professional to install them. With just a few materials and a free afternoon, you can make a DIY cornice board that will add elegance and warmth to your home. Have you ever noticed how plain windows can make a room feel incomplete? Or maybe you’ve priced out custom window treatments, only to be discouraged by the cost.
This tutorial will guide you through creating a custom cornice board from scratch in just one day. Not only will this project add a personal touch to your décor, but it’s also beginner-friendly, budget-friendly, and fully customizable.
By the end of this DIY tutorial, even if you have no prior experience with this kind of project. You’ll have beautiful custom cornices that reflect your style and make your home feel more finished. So, let’s dive in and transform those windows with this simple, stylish project!
Step 1: Gather Your Materials for the Cornice Board
What You’ll Need to Create Your Custom Cornice Board: One of the most important steps in any DIY project is gathering the right materials. For this cornice board, you’ll need a few essentials:
- Base Material: Plywood is a very durable and affordable option to make your window cornice out of. You can have large plywood sheets cut to the width you need right at the home improvement store. This saves you a step at home and makes them easier to transport than one large piece of plywood.
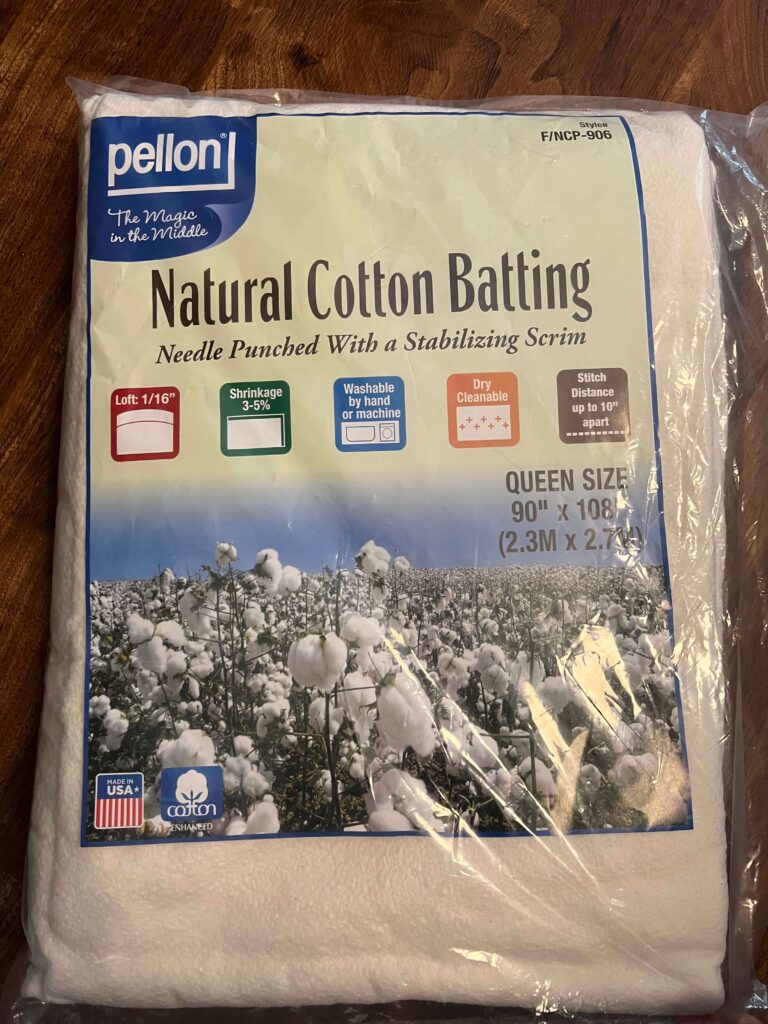
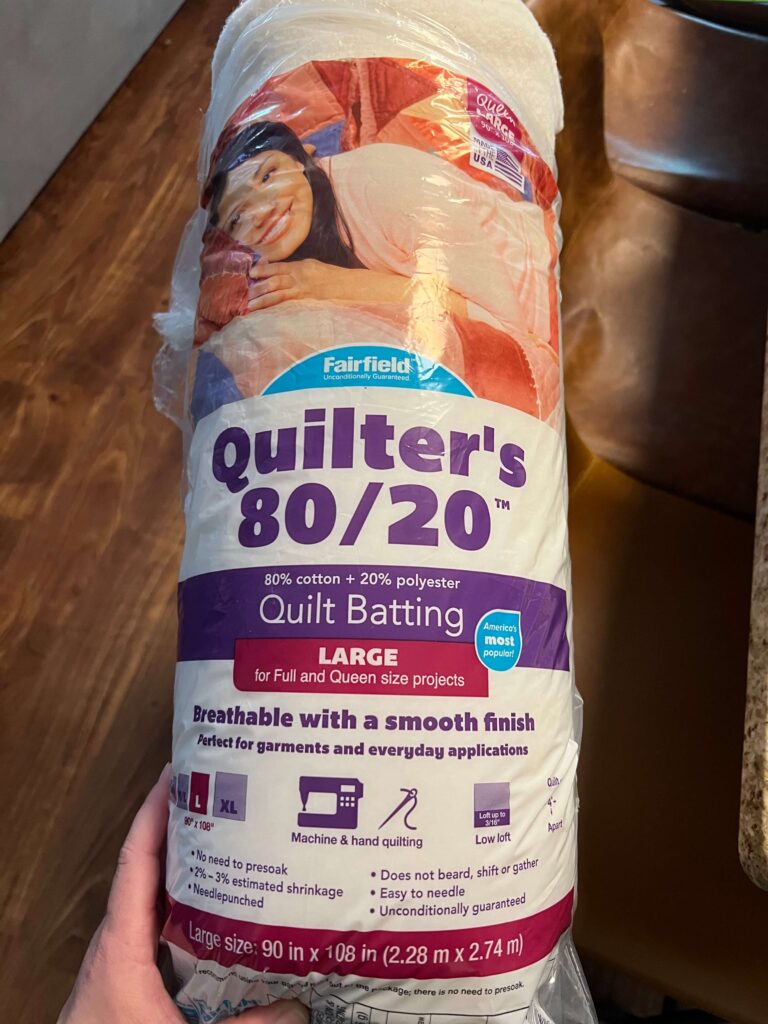
- Batting: This padding will give the cornice board a softer, fuller look. Batting is optional but recommended for a polished, upholstered effect.
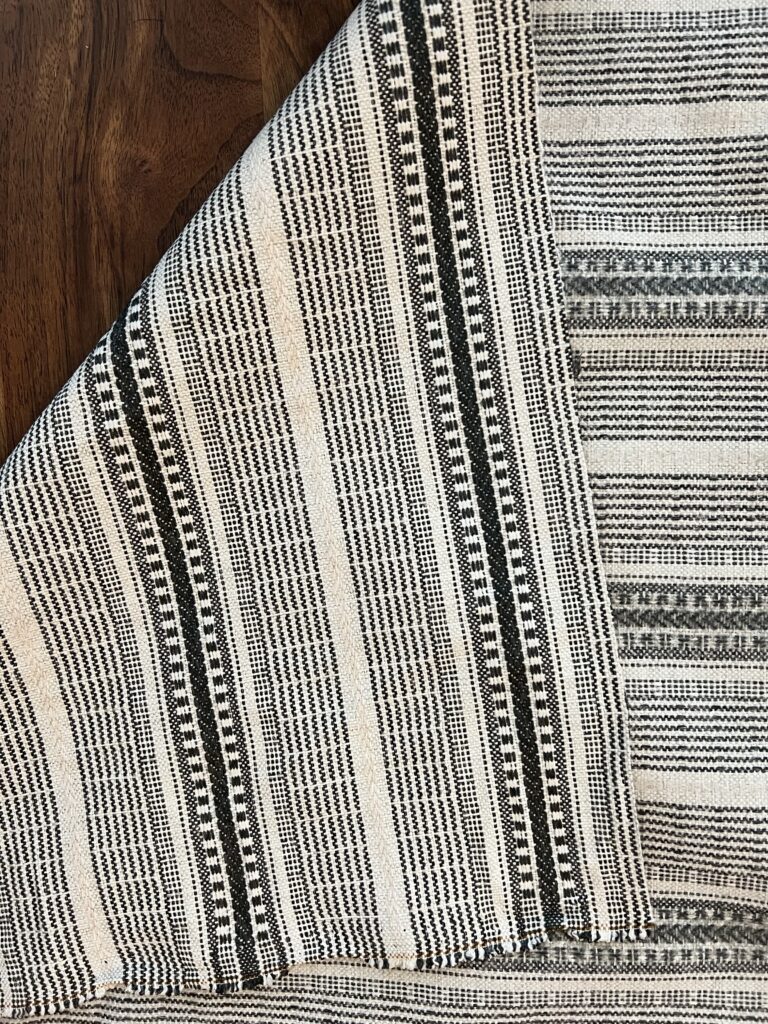
- Fabric: Choose a fabric that compliments your room’s design—whether it’s bold patterns or neutral tones, the fabric will be the focal point of your cornice board.
- Staple Gun and Scissors: An electric staple gun will secure the batting and fabric to the board, while scissors will be needed to trim any excess.
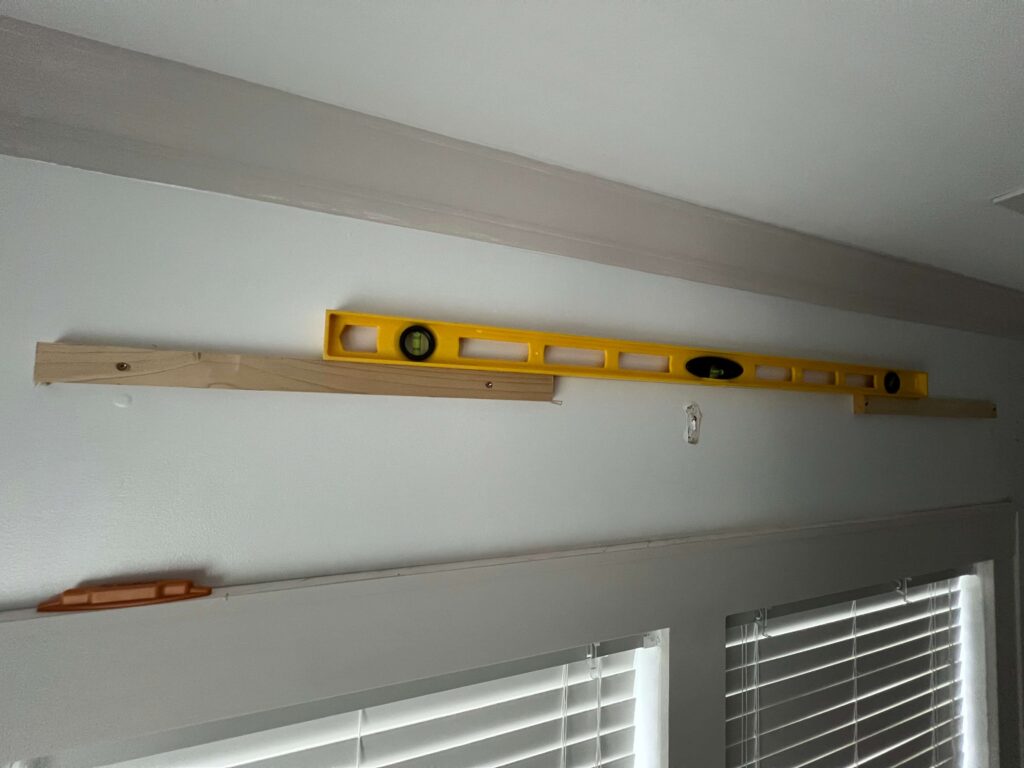
- Mounting Brackets: Depending on the size and weight of your cornice board, simple L-brackets or picture-hanging hardware should work. You can also use scrap pieces of wood and mount them right to the studs and your cornice board will rest right one them for support almost like a french cleat style bracket.
- Measuring & Cutting tools: Tape Measure, Saw for cutting base pieces and 4′ level for install.
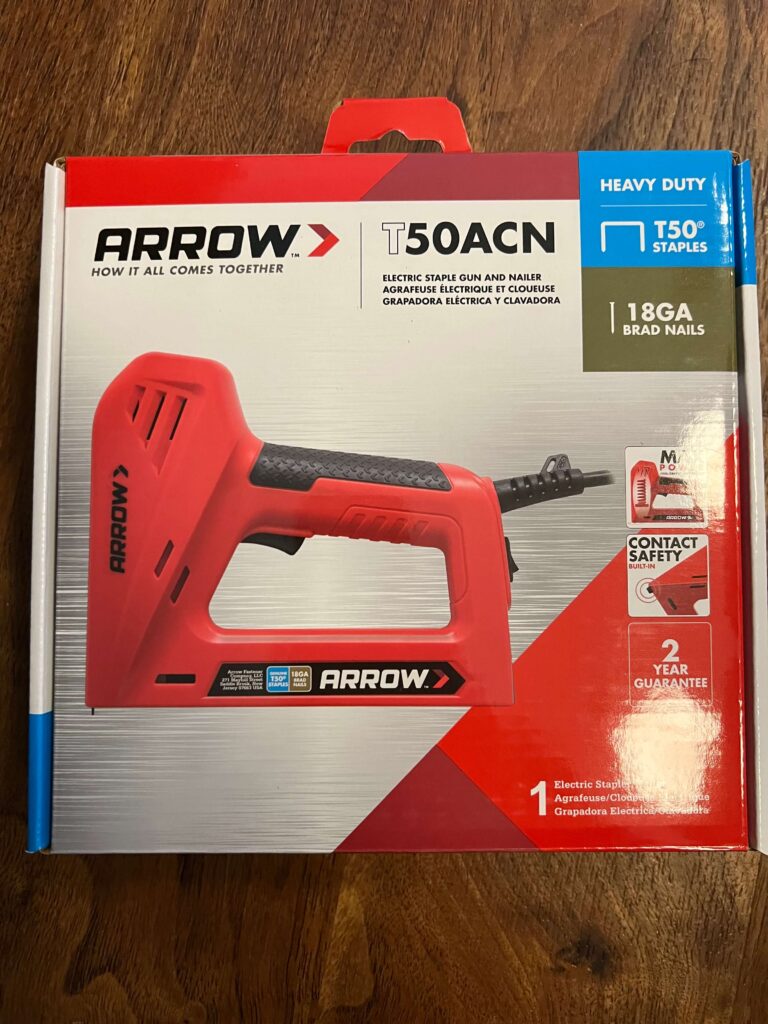
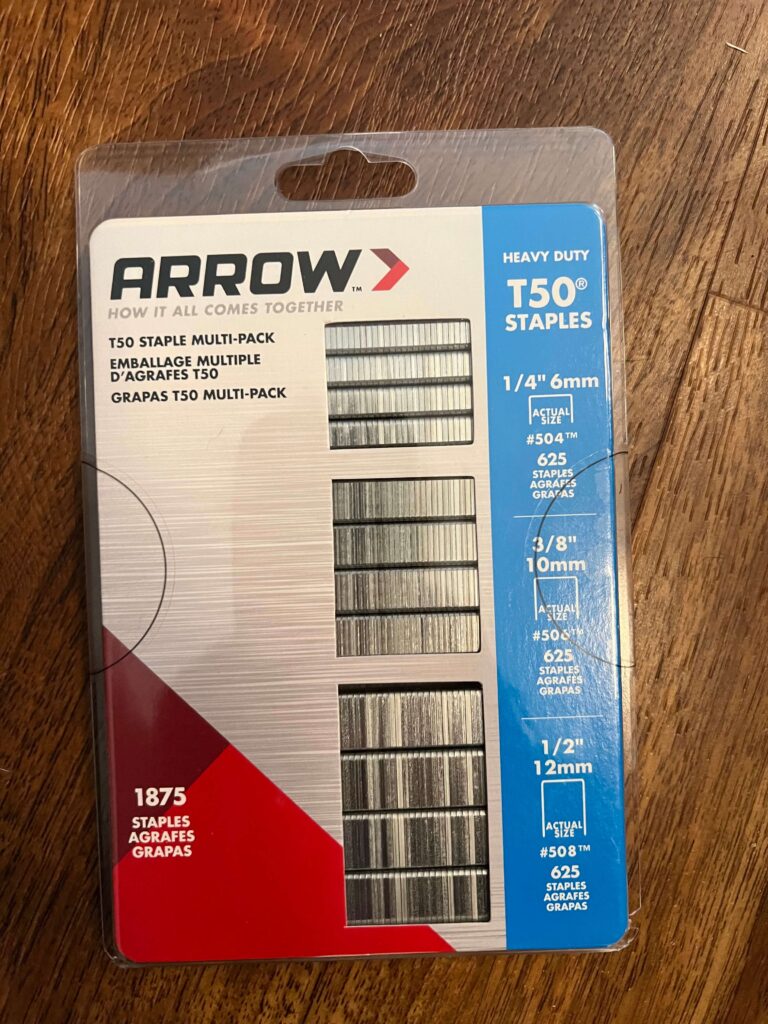
Tips for Choosing the Right Fabric: Select a fabric that not only matches the décor but is also durable enough for a lasting window treatment. For example, thick cotton or upholstery fabric works well, as they hold up against sunlight and add a professional finish. Fabric Cornices can fit so many different styles!
Quick Checklist for Smooth Assembly: Before starting, lay out all materials to make sure everything is within reach. Having these essentials prepped will streamline the project and help you move quickly through the steps.
Step 2: Cutting and Constructing the Cornice Board Frame
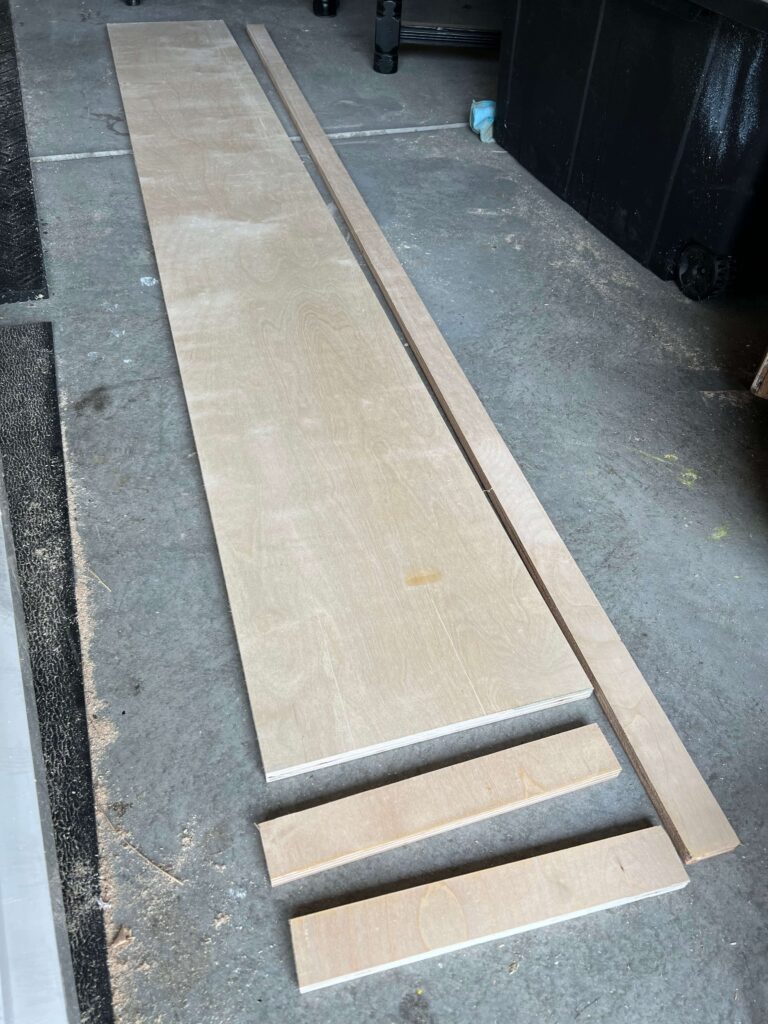
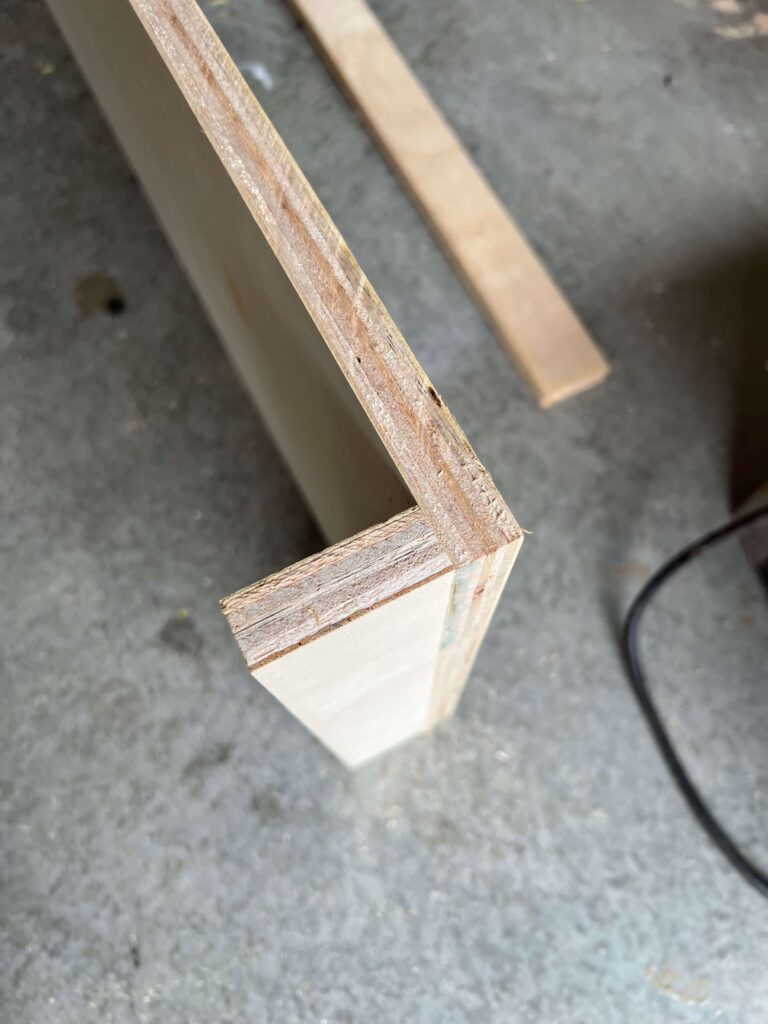
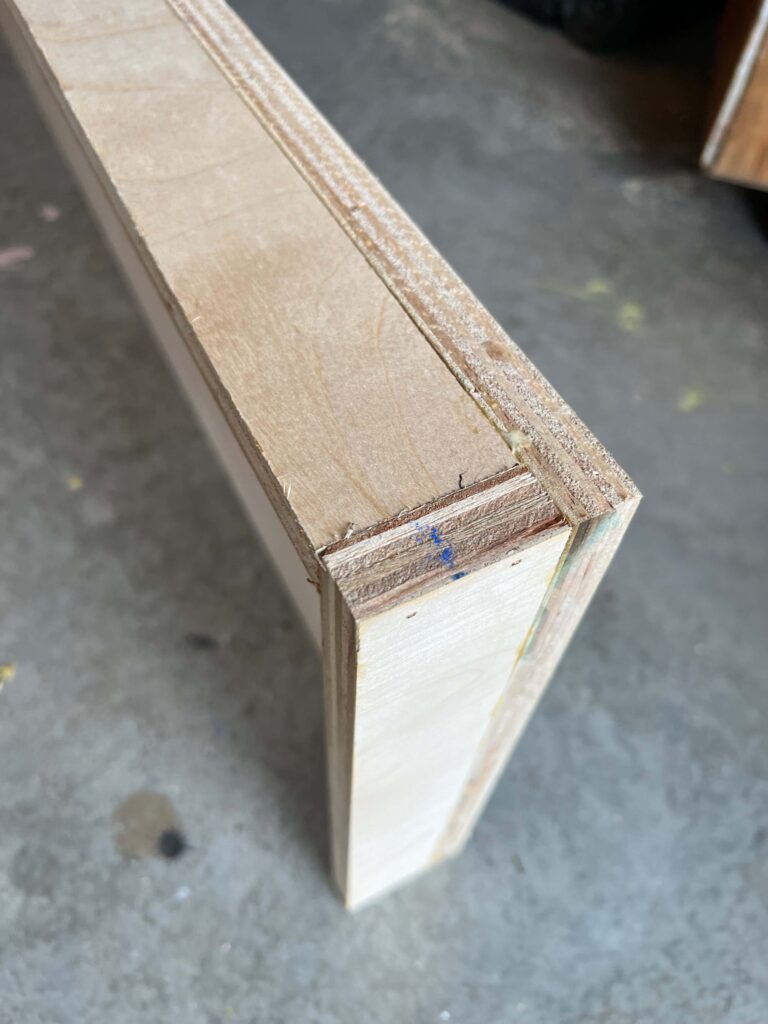
How to Build Your Cornice Box Board Frame: Begin by measuring from one side of the window to the other, adding a few inches on either side for an overhang. This extra length makes the cornice board look more substantial and allows it to frame the window nicely. Once you have your measurements, mark them on the plywood.
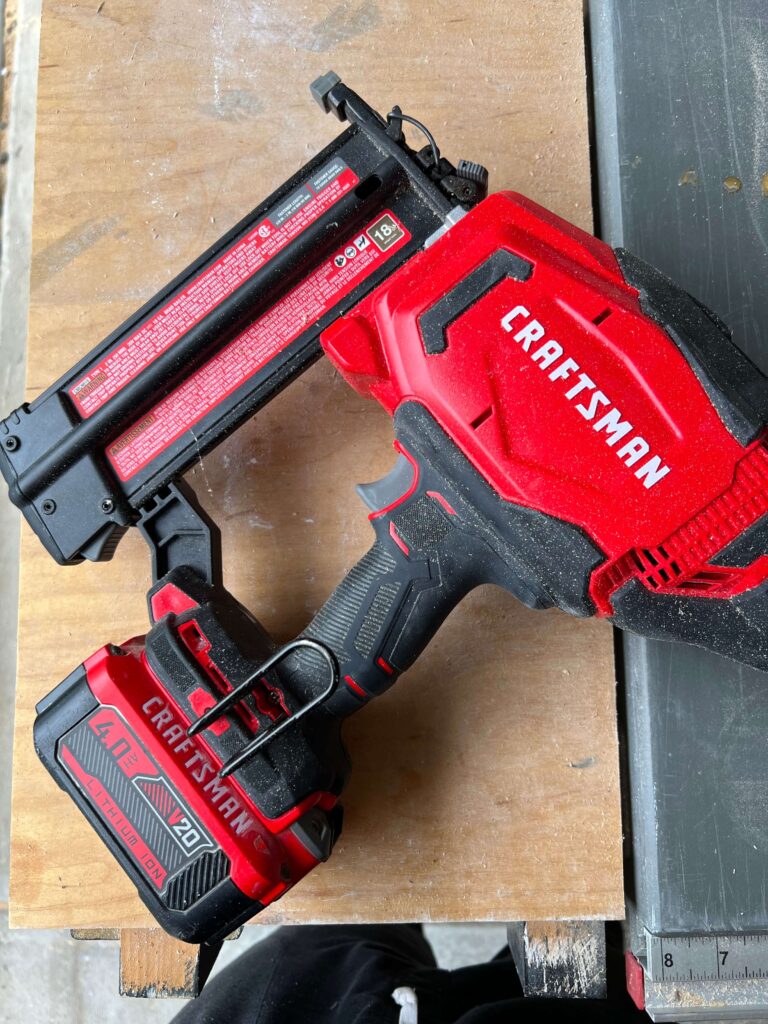
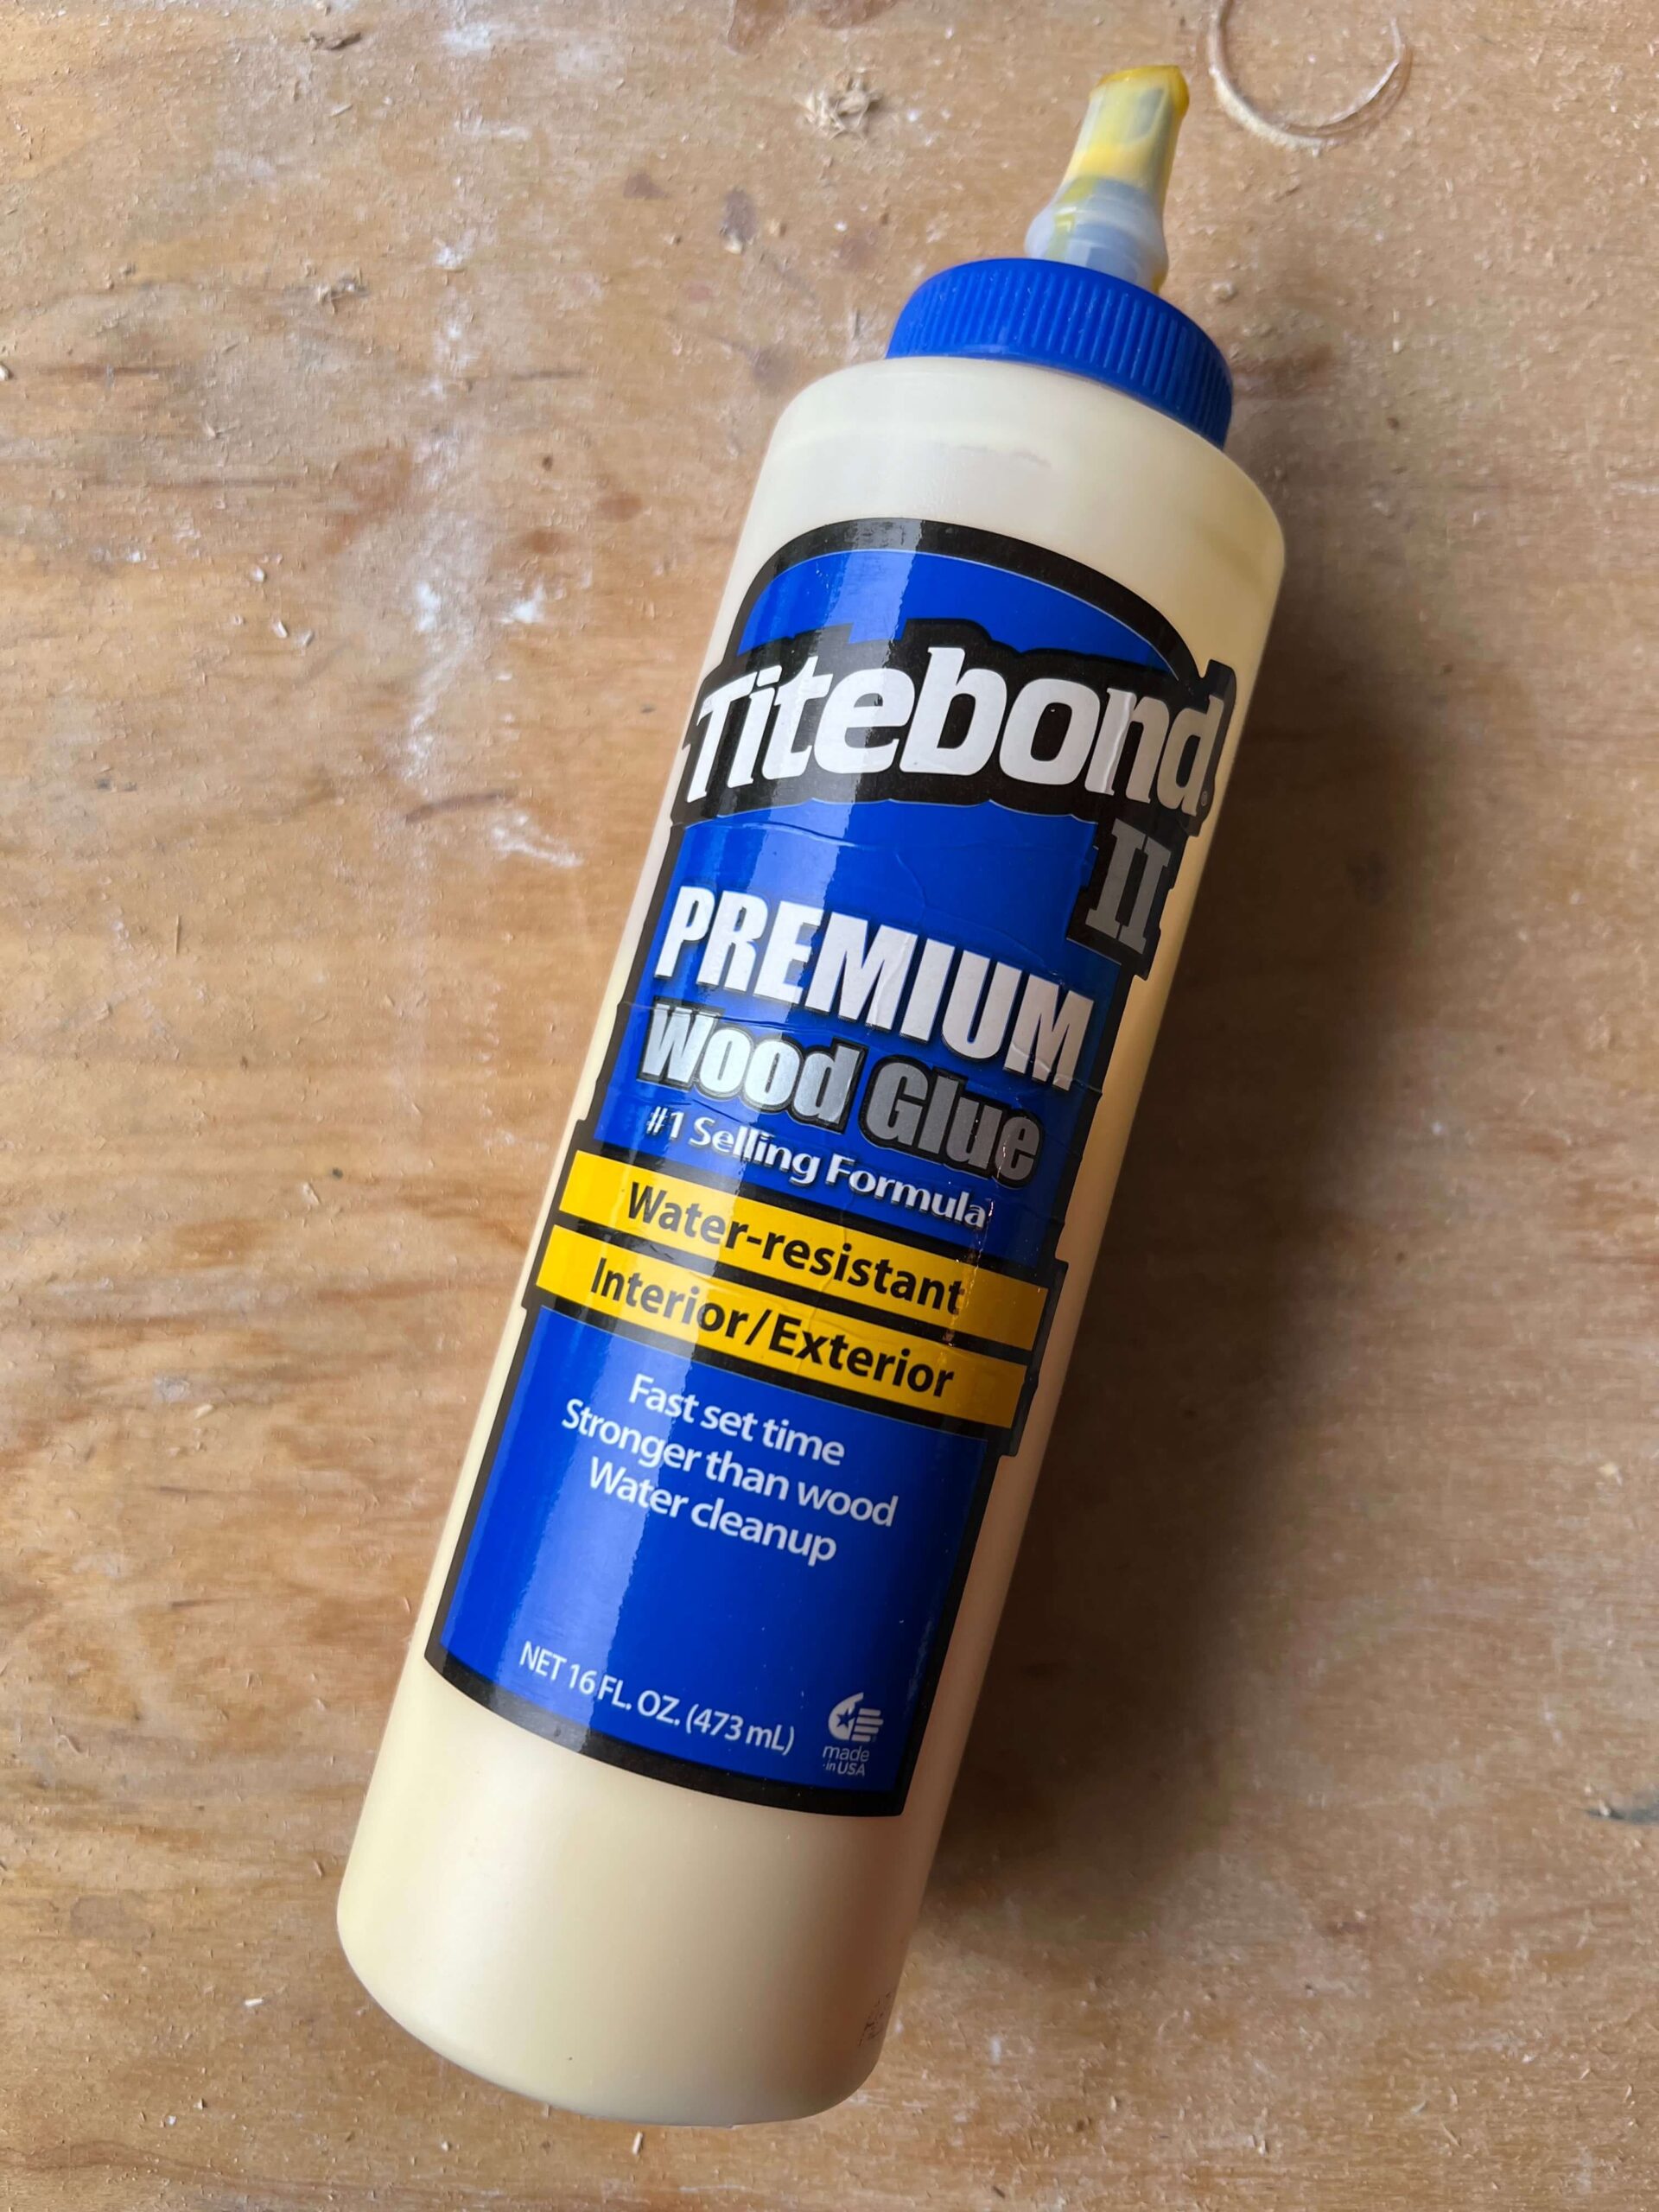
Use a circular saw to provide clean precise cuts: For added depth, you can use side panels (approximately 3–4 inches wide) to frame the cornice board, creating a three sided box-like structure. This allows some space between the wall and cornice board so you can hang a curtain rod behind if that is your plan or help avoid the cornice from hitting any existing trim.
We made our side pieces 2” wide plus the ¾” plywood thickness makes the full depth of the cornice board around 3” with all the batting and fabric added.
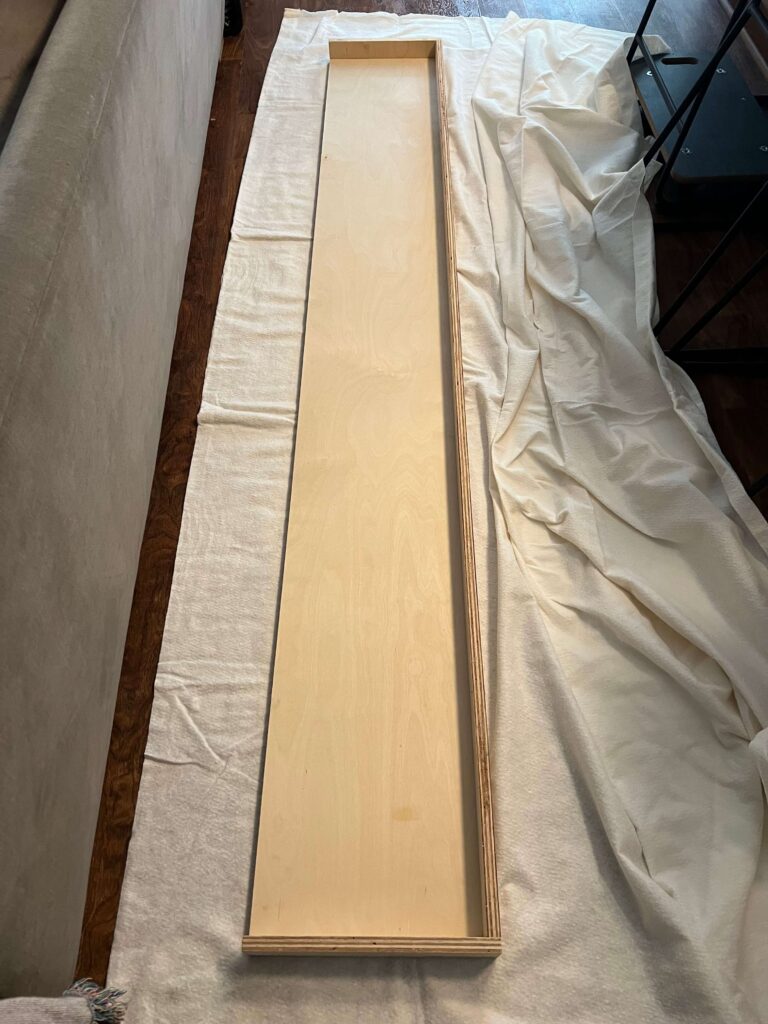
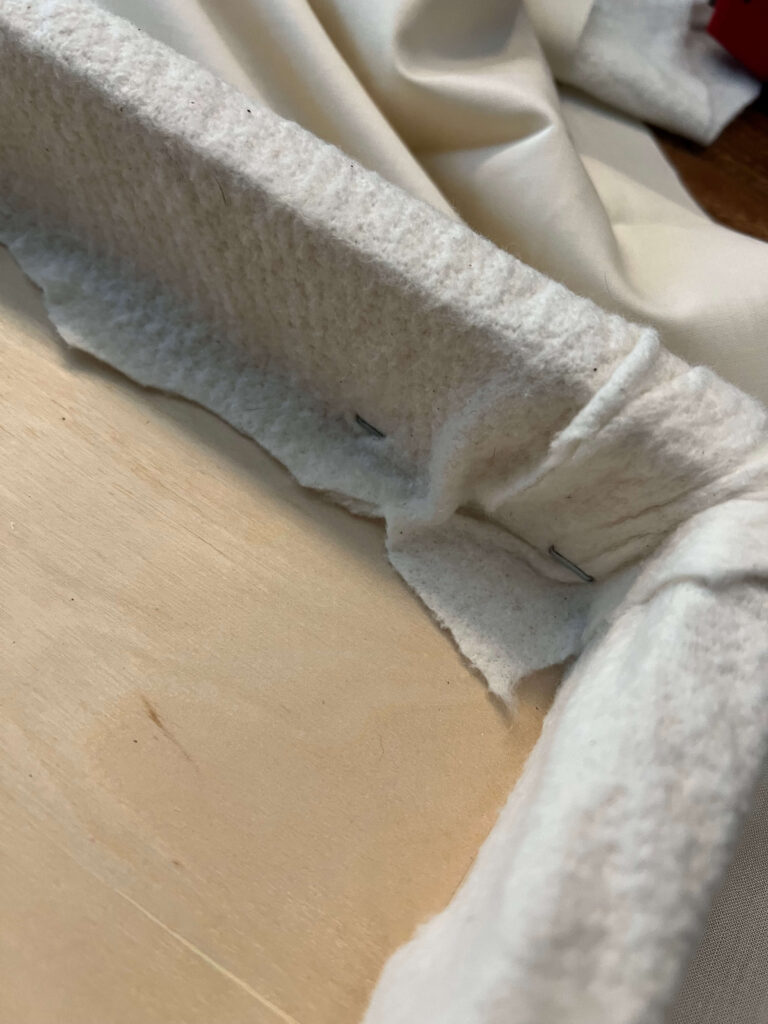
Adding Batting for a Softer Look: Batting is optional, but it adds a cushioned, upholstered effect finished look. Wrap the batting around the board, pulling it tightly to avoid lumps or wrinkles, and staple it to the inside of the cornice board. This layer will create a soft, elevated look, and the fabric will drape more evenly over the board.
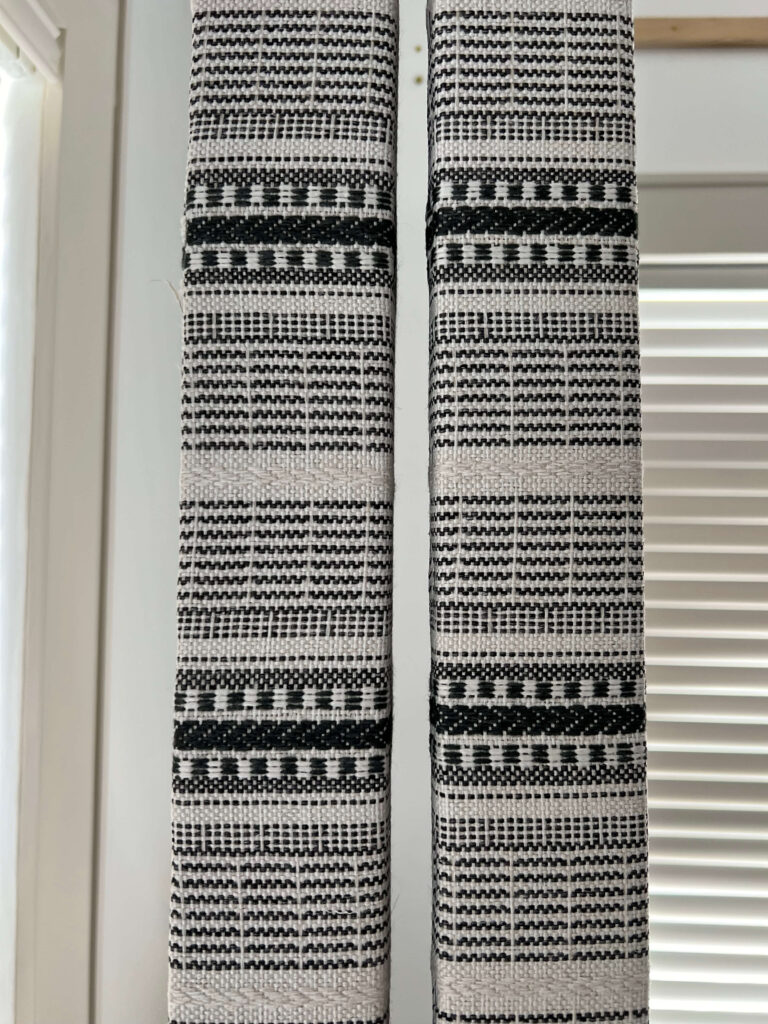
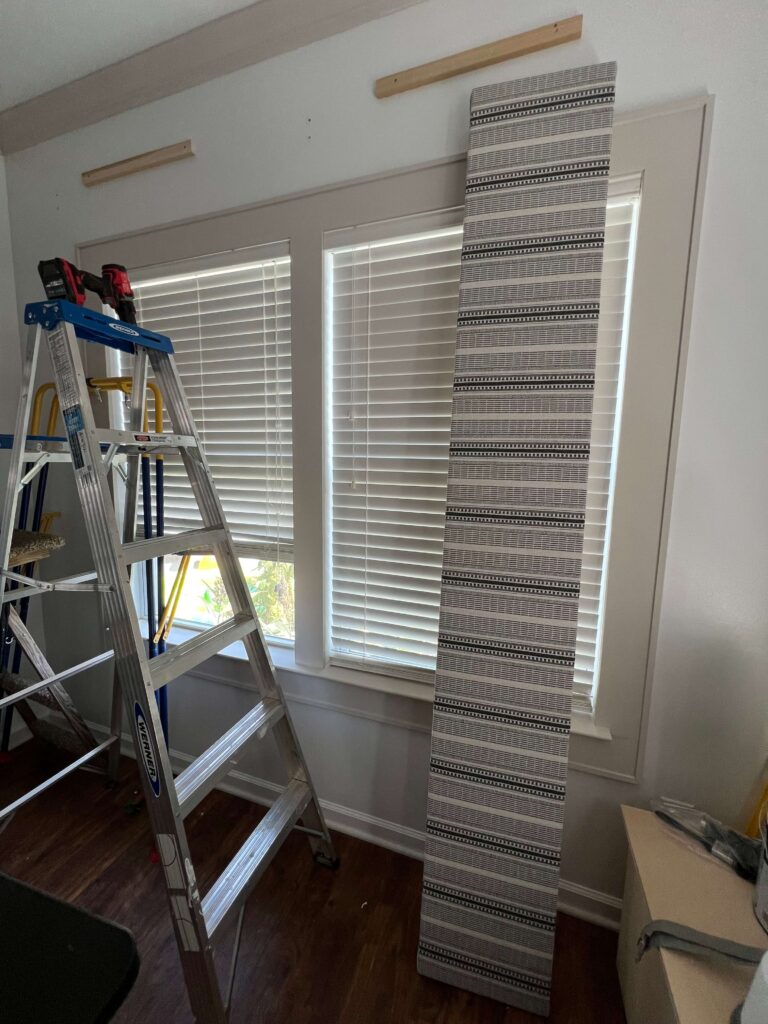
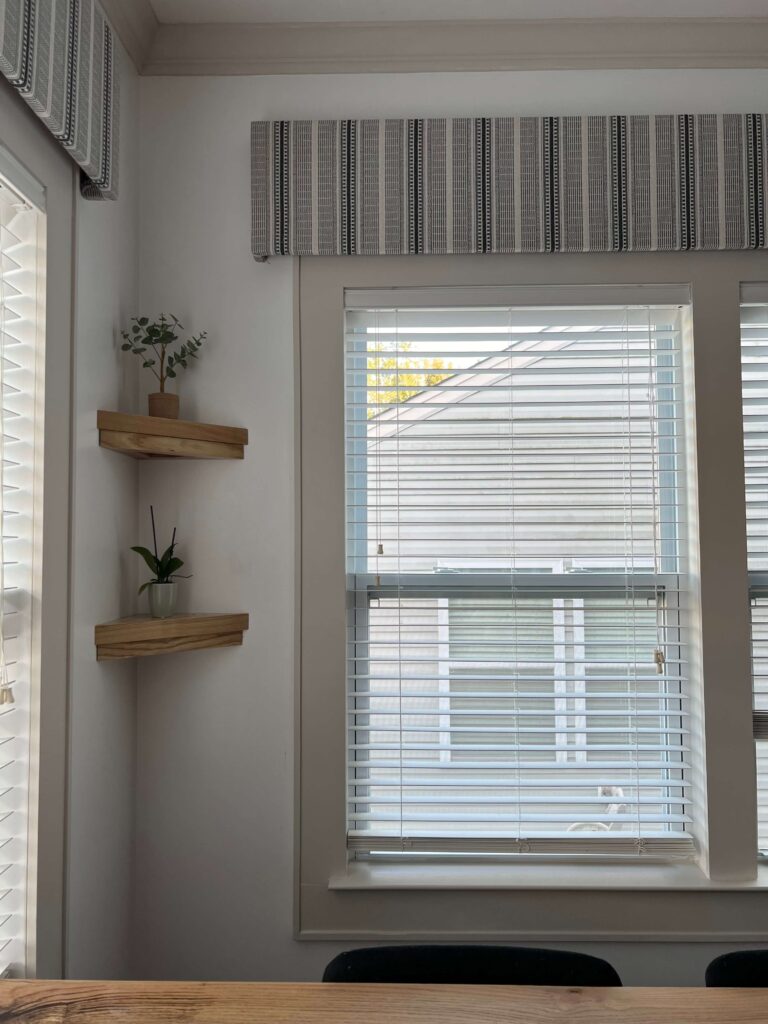
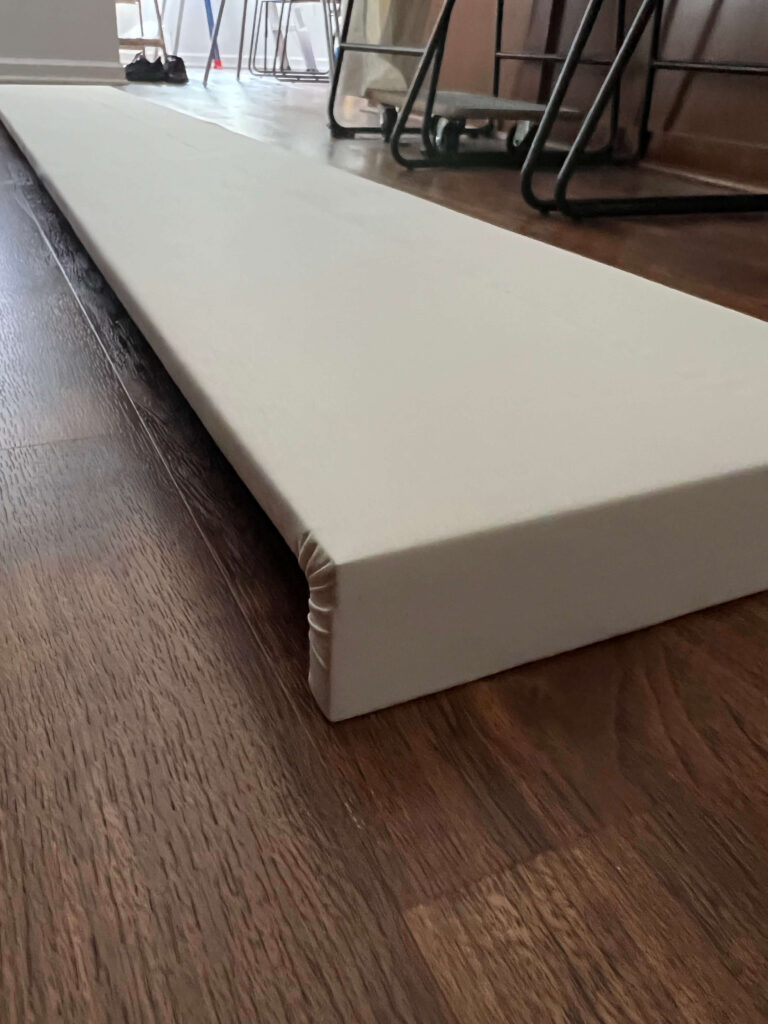
Wrapping the Board with Fabric: Lay your fabric out on a flat work surface, back of the fabric facing up. Place the board front face-down on top, and leave extra fabric to pull around the edges. Smooth out any wrinkles, ensuring a taut finish on the front of the board.
Something to keep in mind with fabrics that have lines or patterns. You want to make sure those are straight up and down and centered on your cornice board. This will make sure to give your window treatments a professional polished look focusing on the small details like this one.
Staple the fabric to the back of the board, spacing staples every few inches for a secure hold. The key to a polished look is no loose fabric but tight even fabric on the face of the cornice board. So, take your time, don’t rush this step!
Step 3: Mounting the Cornice Board Above Your Window
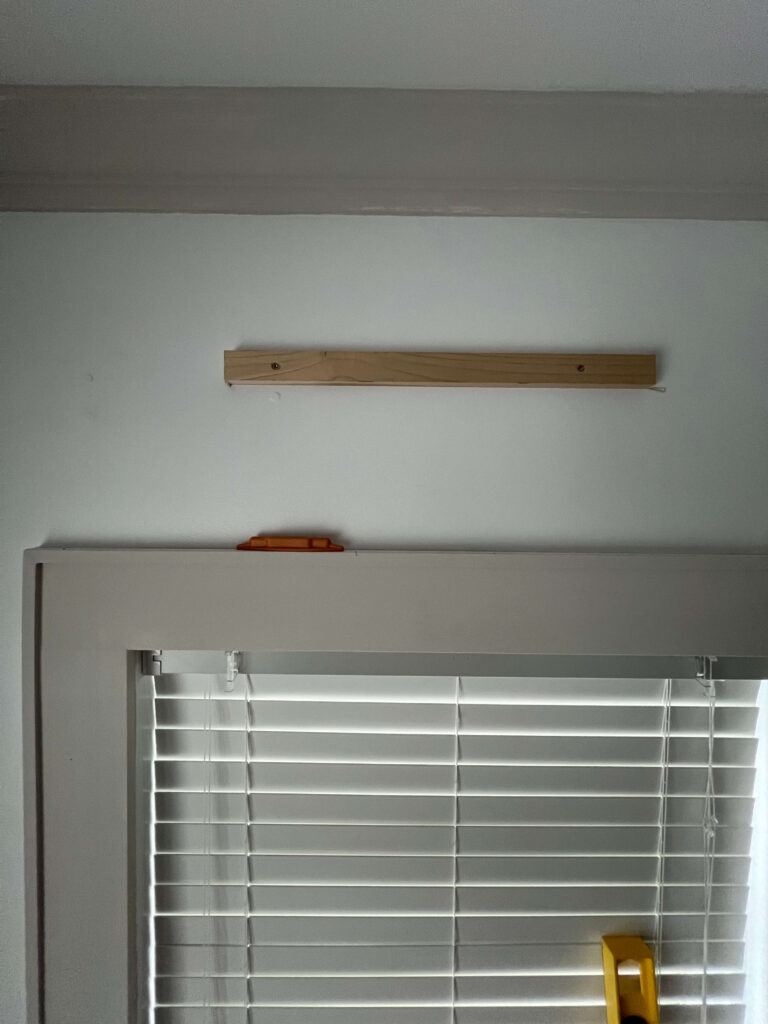

How to Mount Your Fabric Cornice Boards for a Professional Look: Once the board is wrapped and ready, it’s time to mount it. Depending on its weight, you can use simple L-brackets or heavy-duty mounting hardware. We chose to use a scrap piece of wood and mount directly into the studs. Then we capped the top of our cornice board with a 4th side to rest on the piece mounted into the studs.
Hold the board up to your window opening to determine the best height (typically just above the window frame), and mark the wall at top of the cornice board where the brackets should go. Then mark the middle of the board and middle of the window to make sure it is centered when you install.
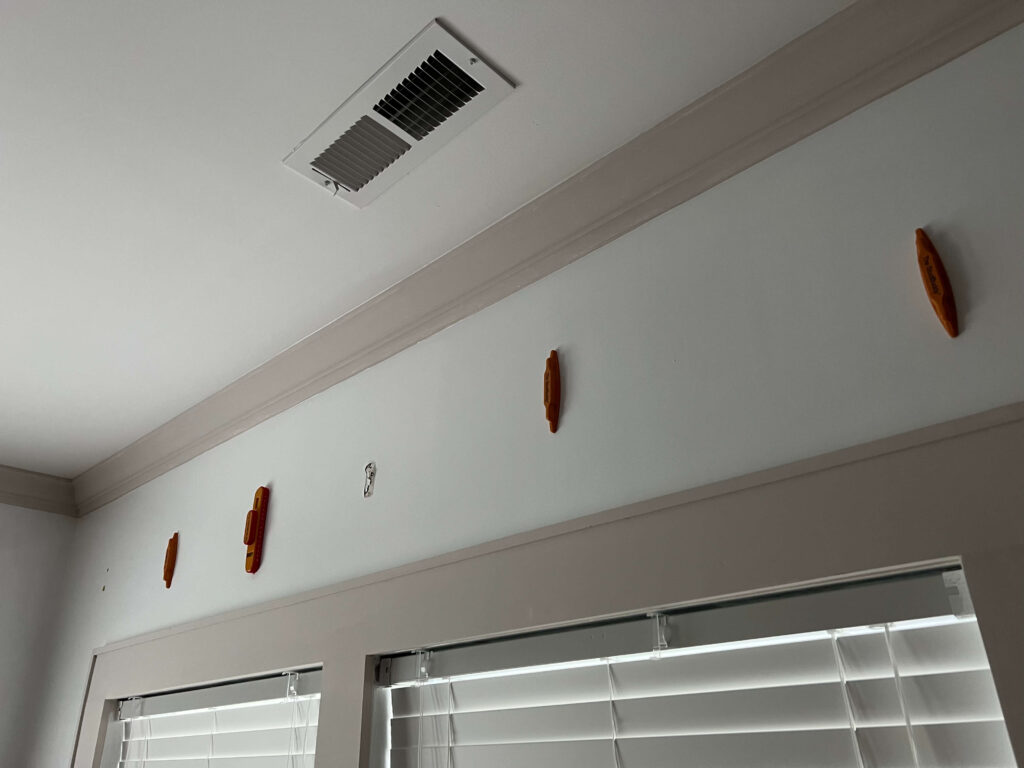
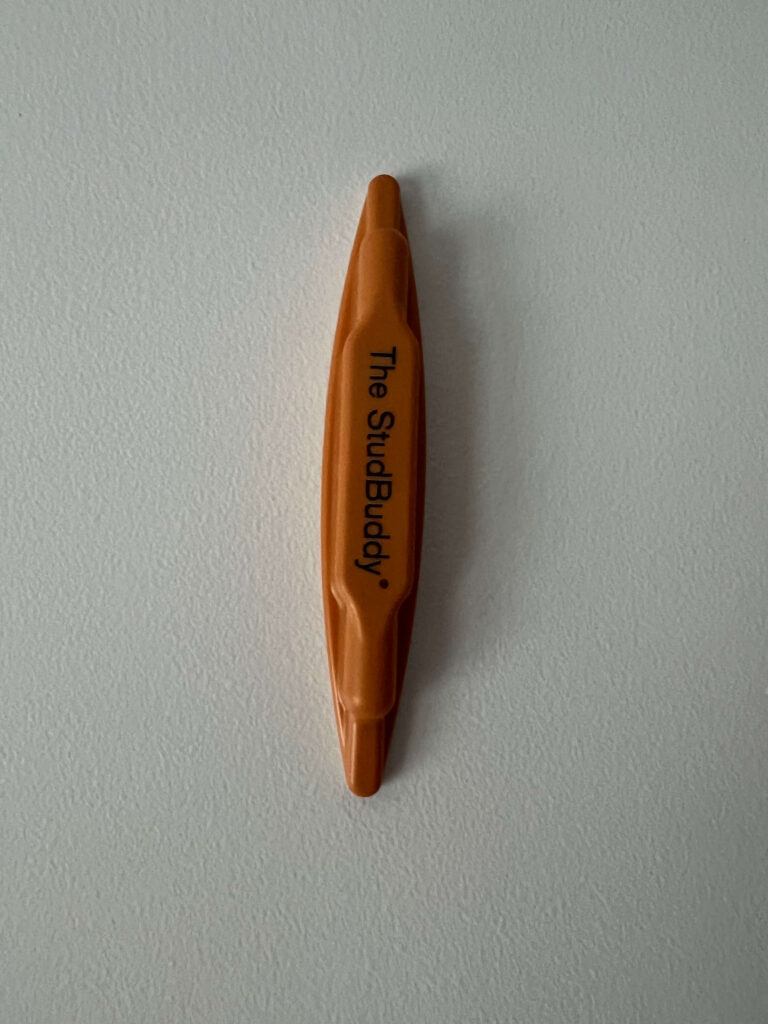
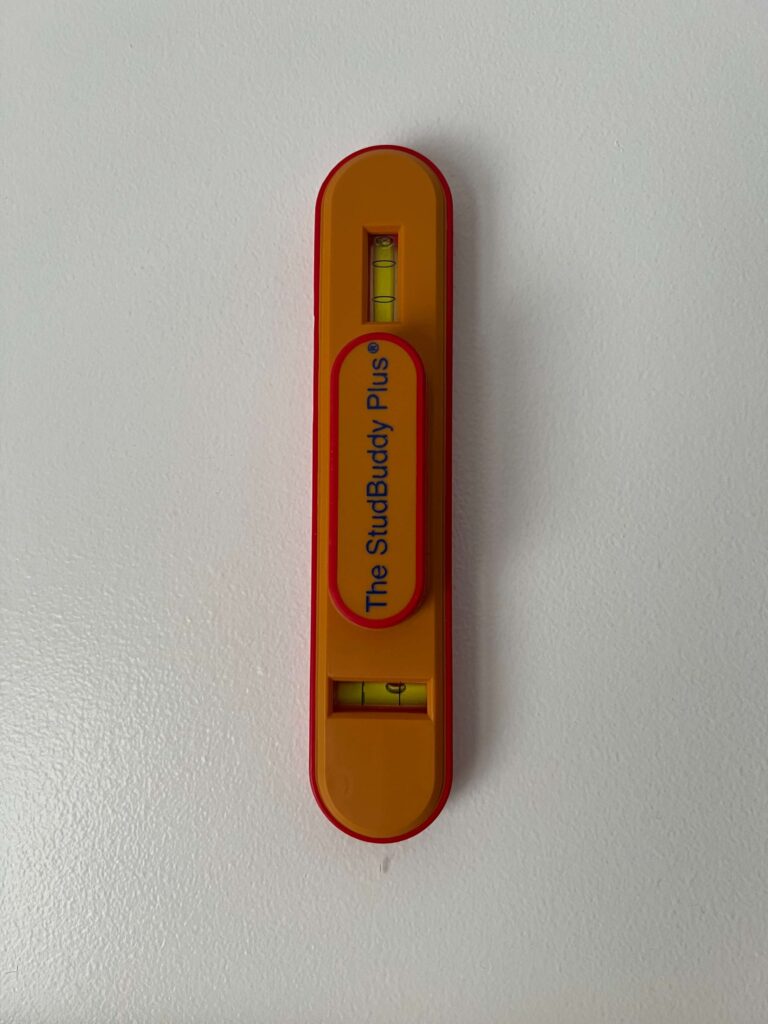
Tips for Secure Installation: Screw the brackets or scrap piece of wood into place and then slide your cornice board onto them. Test the stability of the board by gently pressing down to ensure it’s securely in place. If you’re looking for a quick, removable option, consider using picture-hanging hardware, but make sure the weight of the hook is appropriate for your cornice board.
If you are using scrap pieces of wood like we did anchored directly into the studs, weight won’t be an issue when installing. This approach will be the strongest and most secure in my opinion. Place your cornice board centered on top of the scrap pieces of mounted wood and secure it by using screws from above going through the cornice board and into your mounted wood pieces. Make sure your screws are long enough to go through your plywood thickness and into the mounted pieces at least ¾”-1” for a secure hold.
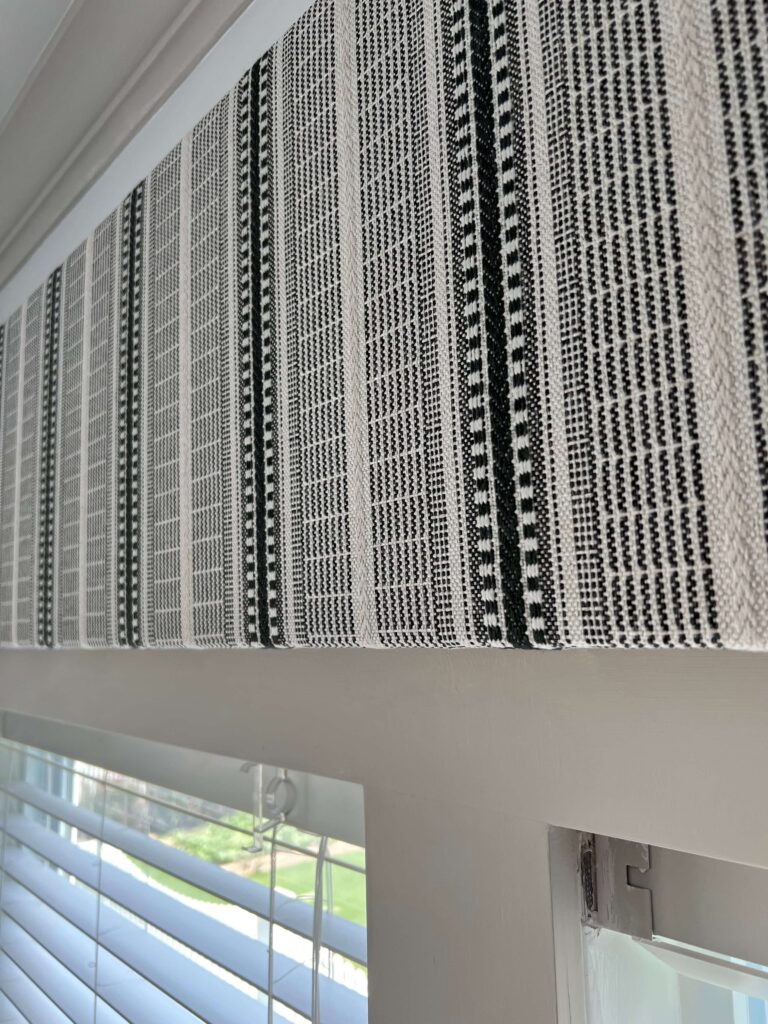
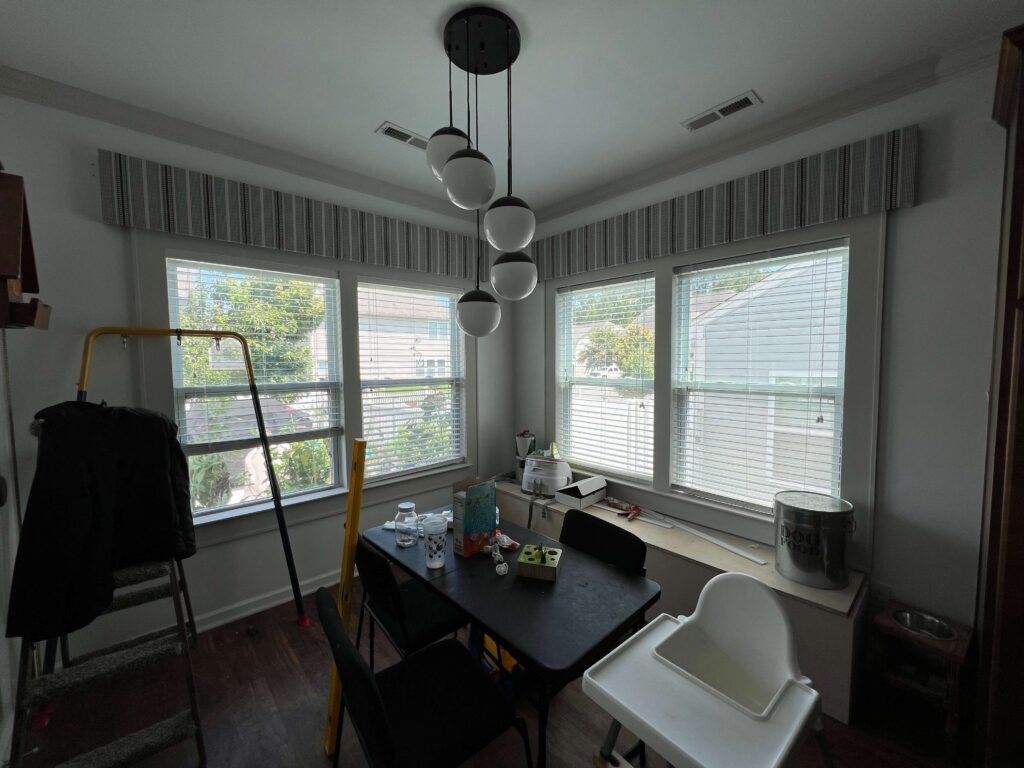
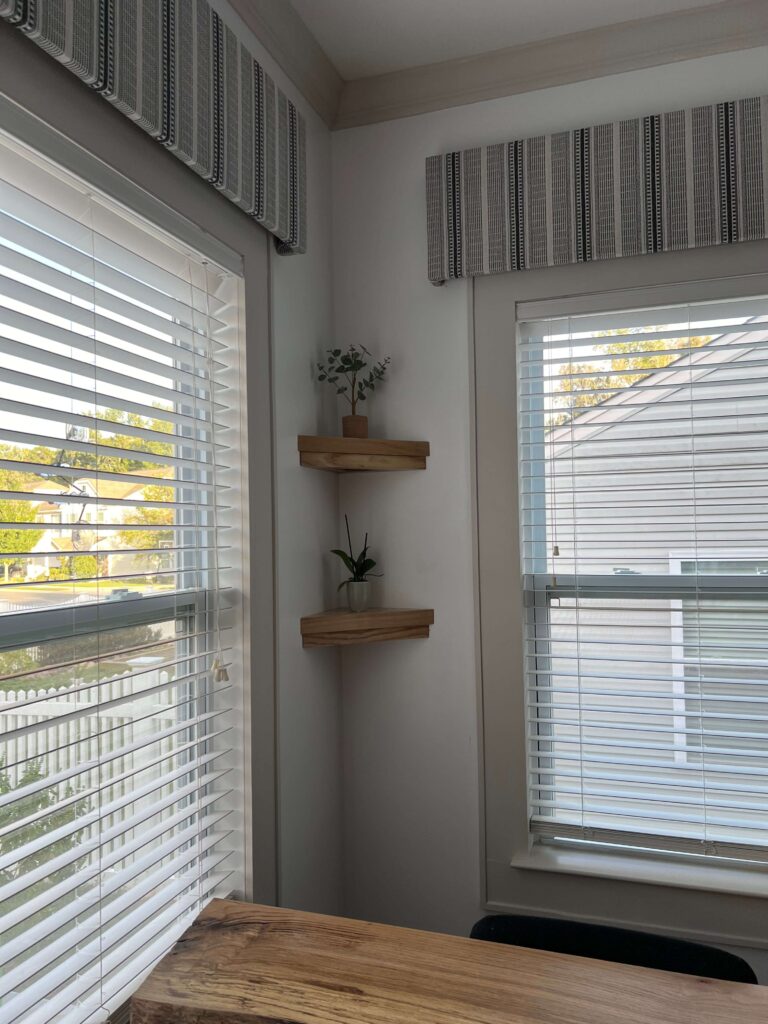
Finishing Touches: Step back to assess your work and make any final adjustments. The end result should look seamless, as if it were a custom-installed piece. A custom cornice board not only hides unsightly curtain rods but also frames the window in a way that makes your room feel professionally decorated.
Before you go….
In just one day, you’ve transformed a simple idea into a beautiful custom cornice board that elevates your window. Whether it’s hiding a curtain rod, adding depth, or simply framing the top of a window with a designer touch. This cornice board achieves a professional, high-end look without a professional price tag.
Choosing your own fabric and materials, you’ve made a unique piece that reflects your style and enhances your space. As you step back and admire your work, consider the possibilities for using this perfect finishing touch in other rooms! Cornice boards are not only stylish but also versatile enough for any space. Like a bedroom, dining room, living room and even an office or laundry room. With this easy method in your DIY toolkit. You can customize your home further and add personality with a range of fabrics, colors, and styles.
If or when you do make your own Gorgeous Cornice Board Custom Window Treatment. I’d love for you to follow and tag us on Instagram so I can see your DIY projects finished results! Happy crafting!
COZY HOME, COZY RECIPES:
Every cozy home deserves amazing recipes, and it’s even better when those recipes are both delicious and healthy. Our goal is to provide tasty meals that are easy to make, regardless of your skill level.
Fast, easy meals leave more time for fun activities, making your home a hub of joy and good food.
CONNECT WITH US:
As always, we love hearing about your experiences with our “Cornice Board Custom Window Treatment: Easy One Day Tutorial”. Reach out to us through our social channels. Any questions you have, we’re here to answer.
Stay updated by joining our newsletter, offering a monthly dose of new recipes and a first look at upcoming projects.
MORE COZY KITCHEN RECIPES:
If you’re hungry for more, explore our collection of Cozy Kitchen Recipes. Another healthy favorite is the “Sausage Potato Veggie Bake.” Find these recipes and more here.
DIY RESOURCES:
For additional resources, check out our DIY Tutorials, offering a wealth of information to enhance your home improvement skills.

