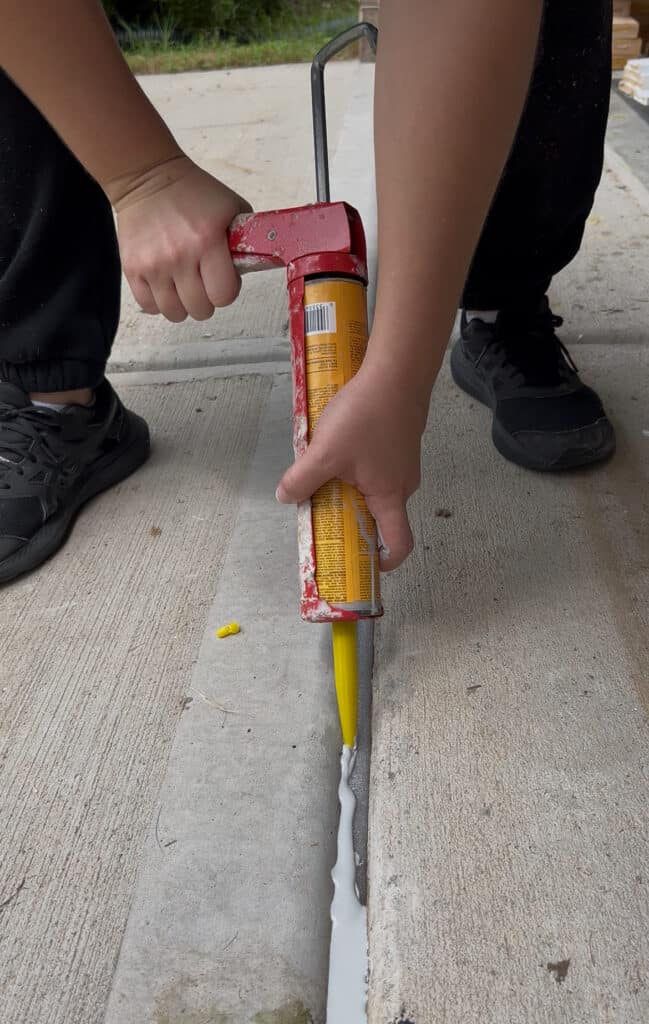
If you’ve noticed a gap between your driveway and garage concrete slabs, you’re not alone—and ignoring it can lead to serious problems. Dirt, debris, water, and even small pests can sneak in, causing damage to your foundation, creating mold or mildew, or making cleaning a chore. Maybe you’ve wondered, “Can I fix this myself without calling a contractor?” or “Will this actually hold up under traffic?”
The good news is this is a simple DIY concrete expansion joints project that almost anyone can tackle with the right tools, materials, and guidance. By sealing the gap, you protect your home, improve curb appeal, and save yourself from a bigger problem that can make for costly repairs in the future.
In this guide, I’ll walk you through prepping the driveway gap for sealant, choosing the right concrete self-leveling sealants for driveway gaps, applying it correctly, and even finishing it so it blends seamlessly with your driveway. Whether you’re a seasoned DIYer or just starting out, you’ll have a durable, professional-looking repair that keeps water and debris out for years to come.
Sealing your driveway-to-garage gap might seem small, but it makes a big difference. Not only does it protect your home from water damage, but it also makes your property look polished and well-maintained—something neighbors and potential buyers will notice. Plus, it’s satisfying to complete a project that’s both functional and visually appealing.
Materials and Tools Needed for Sealing Your Driveway-to-Garage Gap
Before you start your project, gather the following materials and tools. Having everything ready ensures a smooth workflow and avoids interruptions mid-project.
Materials
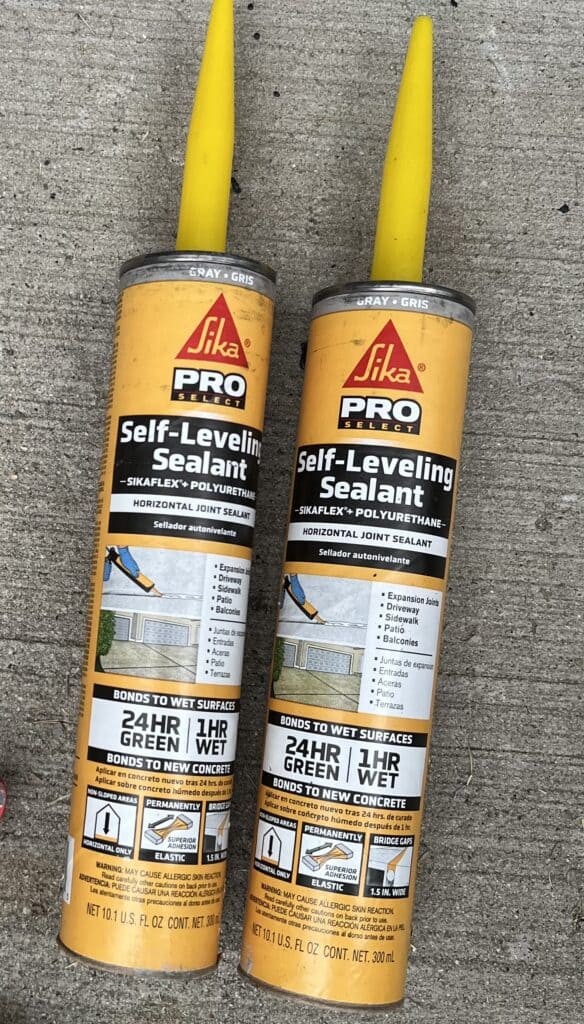
- Gray Sika Self-Leveling Sealant (10.1 oz tubes) – Flexible, fast-setting sealant perfect for horizontal concrete joints. Buy on Lowe’s
- 3/4-inch Backer Rod – Controls sealant depth and prevents bonding to the bottom of the joint. Buy on Lowe’s
- Fine Masonry or Play Sand (optional) – For blending sealant with concrete while tacky.
Tools
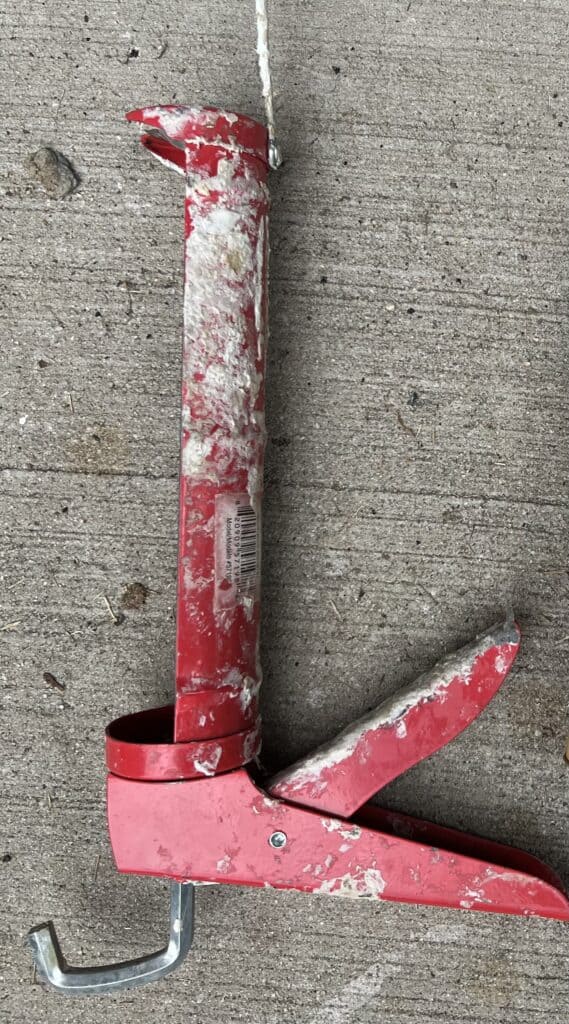
- Caulk Gun – To apply the sealant smoothly.
- Utility Knife or Scissors – For cutting the sealant tube tip.
- Wire Brush or Small Chisel – To remove debris and old sealant.
- Broom or Shop Vacuum – To clean the joint.
- Gloves and Safety Glasses – Protect your hands and eyes.
- Measuring Tape – For determining joint width and sealant depth.
Optional Items for a Perfect Finish
- Concrete Stain or Masonry Paint – To match cured sealant with driveway color.
- Leaf Blower or Compressed Air – To remove dust and sand after curing.
Prepare Your Driveway Gap for Sealing
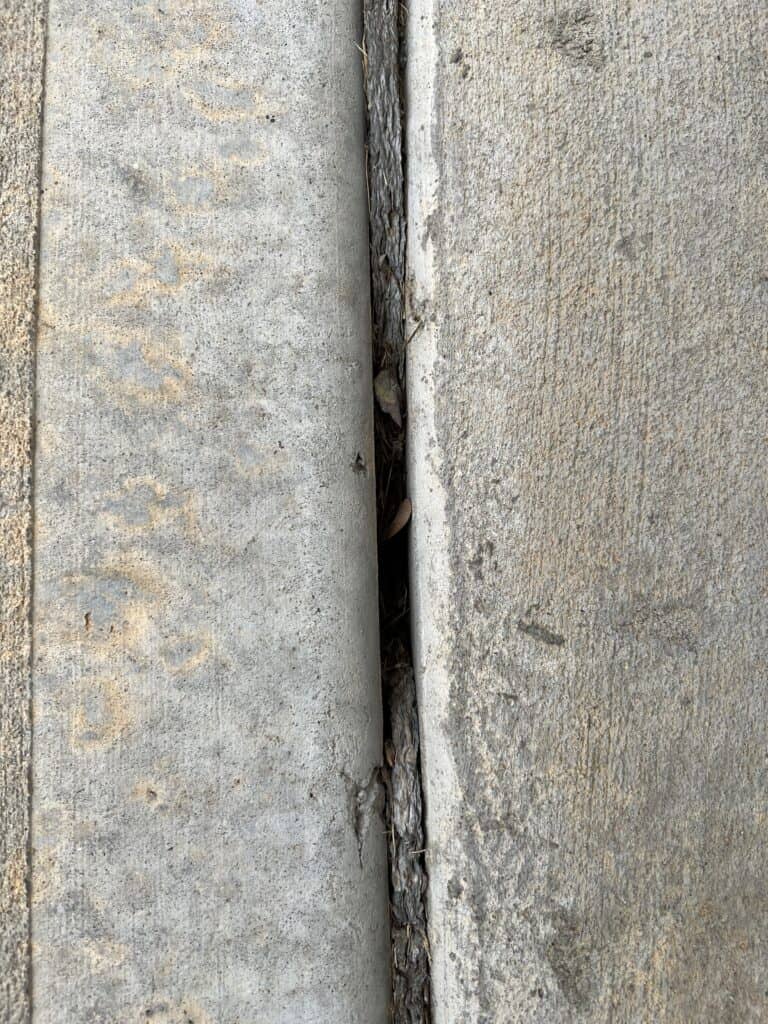
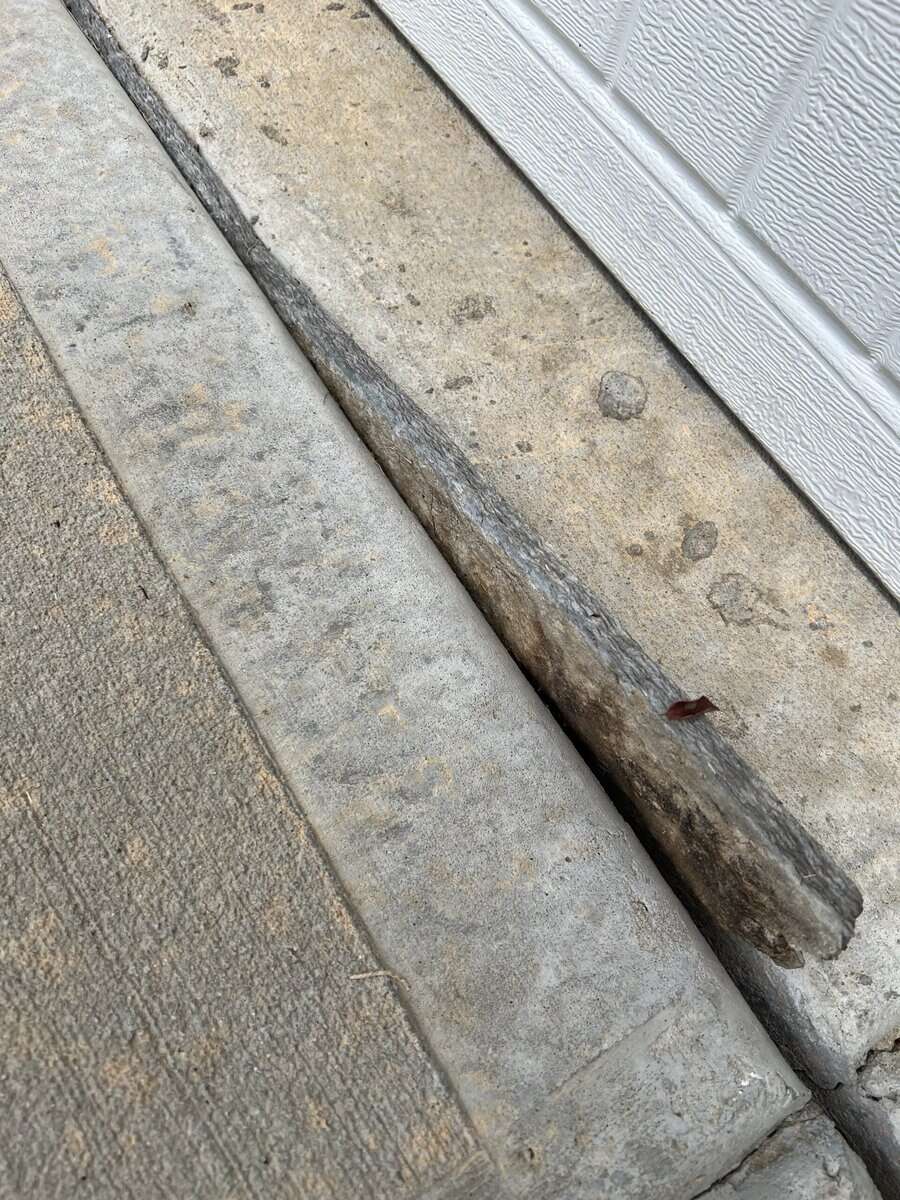
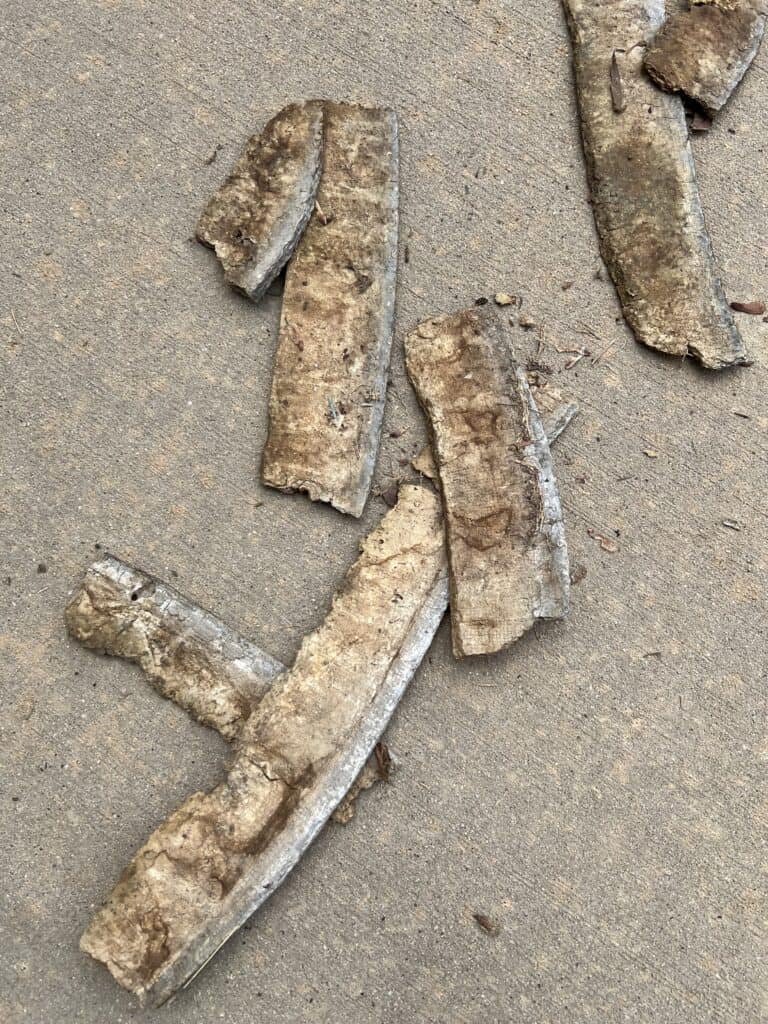
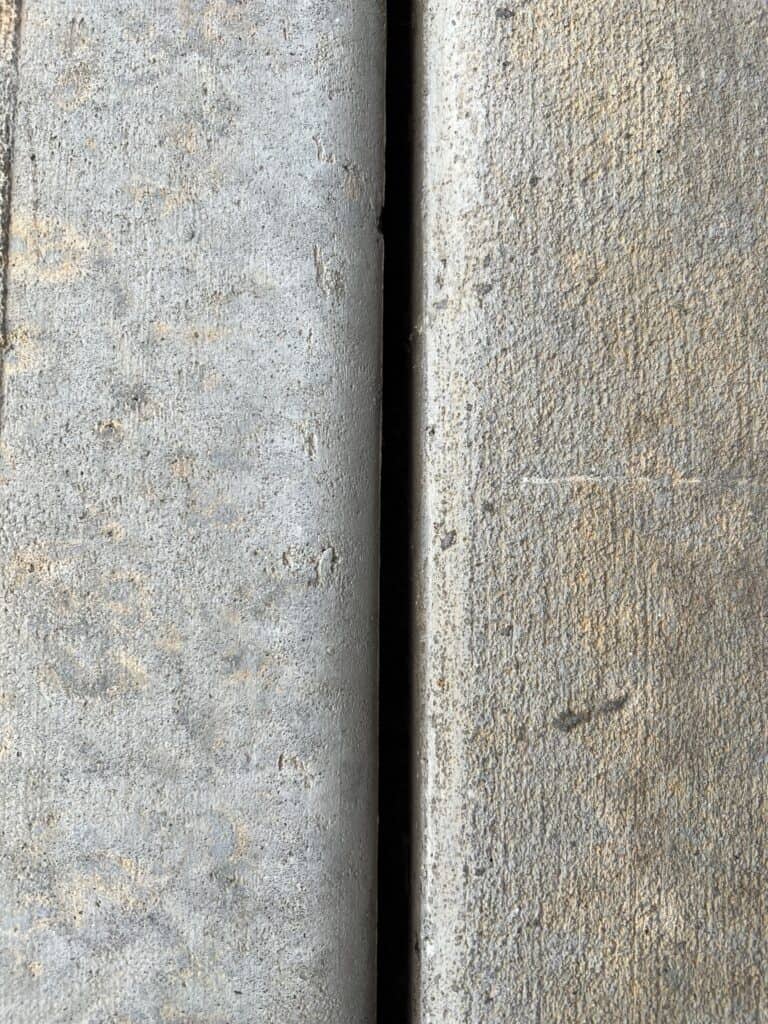
Proper preparation is the foundation of a long-lasting repair. Start by cleaning the joint thoroughly. Remove any loose dirt, old sealant, weeds, or debris with a broom, wire brush, or small chisel. If water has pooled in the joint, wait for it to dry completely. Moisture is the number one culprit that can prevent your sealant from adhering correctly and decrease its lifespan.
Next, it’s time to install a backer rod. A ¾-inch foam backer rod is perfect for most driveway-to-garage gaps. Push it into the gap so that it sits slightly below the surface, leaving room for about a ¼-inch layer of sealant on top. This depth-to-width ratio is crucial. Why? It allows the sealant to expand and contract naturally with temperature changes and vehicle traffic without cracking or tearing.
Don’t skip this step. Many DIYers make the mistake of applying sealant directly into deep gaps without a backer rod. Over time, this can lead to sealant failure, requiring you to redo the job sooner than expected. By taking the time to prep correctly, you’re setting yourself up for a durable, professional-looking finish that lasts for years.
Pro tip: Use a vacuum or compressed air to remove tiny dust particles after sweeping to ensure maximum adhesion.
Choosing and Applying the Right Sealant
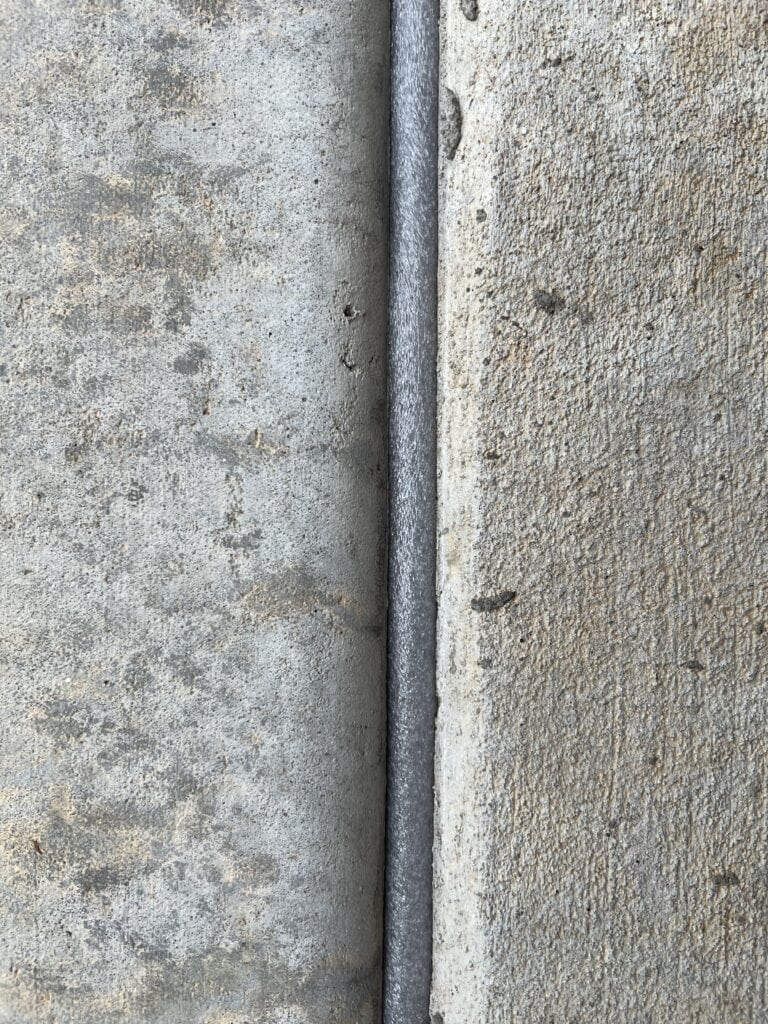
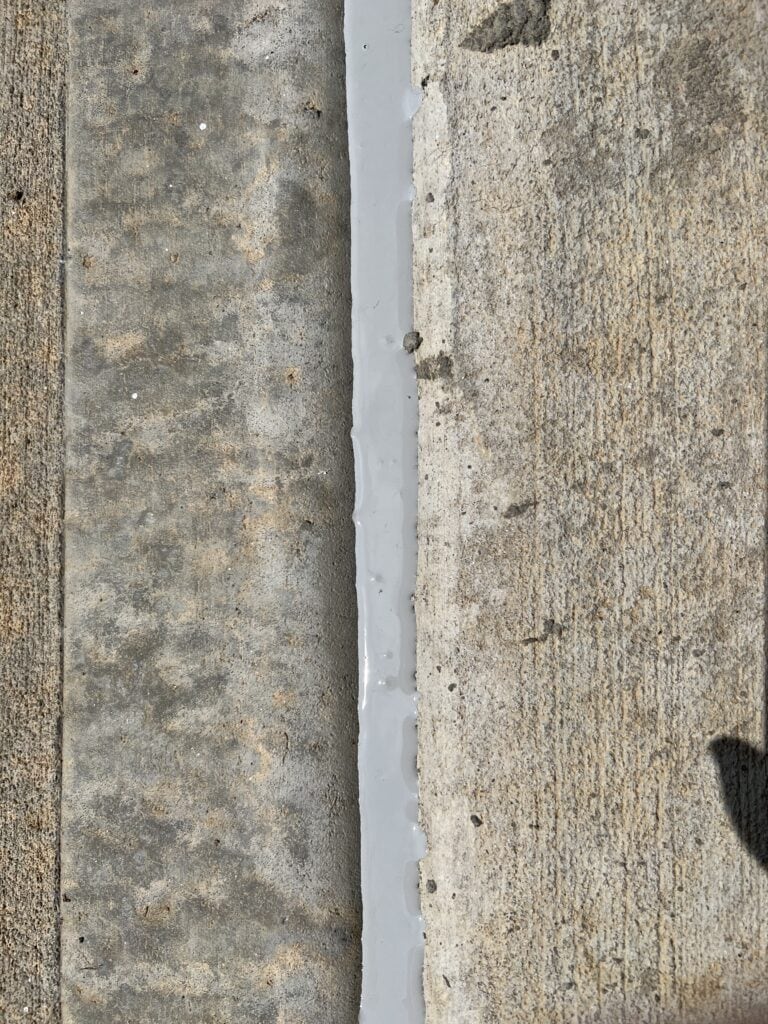
Once your gap is prepped, choosing the right sealant is key. For a driveway-to-garage joint, I recommend gray Sika self-leveling sealant. This sealant is specifically designed for horizontal concrete joints, offering flexibility, durability, and a natural gray color that blends with your driveway.
How to apply:
- Cut the tip of the sealant tube at a 45-degree angle to match the joint width.
- Load the tube into a standard caulk gun.
- Insert the nozzle at the bottom of the joint and squeeze steadily while pulling the gun along the gap. A slow, continuous motion ensures even coverage.
- The sealant is self-leveling, so it will naturally smooth itself out—no tooling needed.
For a standard two-car driveway with a 1/2-inch-wide joint, you’ll typically need two 10.1-oz cartridges. If your joint is deeper, you may need more, so it’s always smart to measure carefully before you start. The sealant will be tack-free in 1–2 hours and fully cured in 3–5 days.
Pro tips:
- Apply sealant when the temperature is between 65–75°F for best results.
- Avoid applying if rain is expected within 24 hours.
- Work in small sections to maintain a neat line.
Finishing and Blending the Sealant
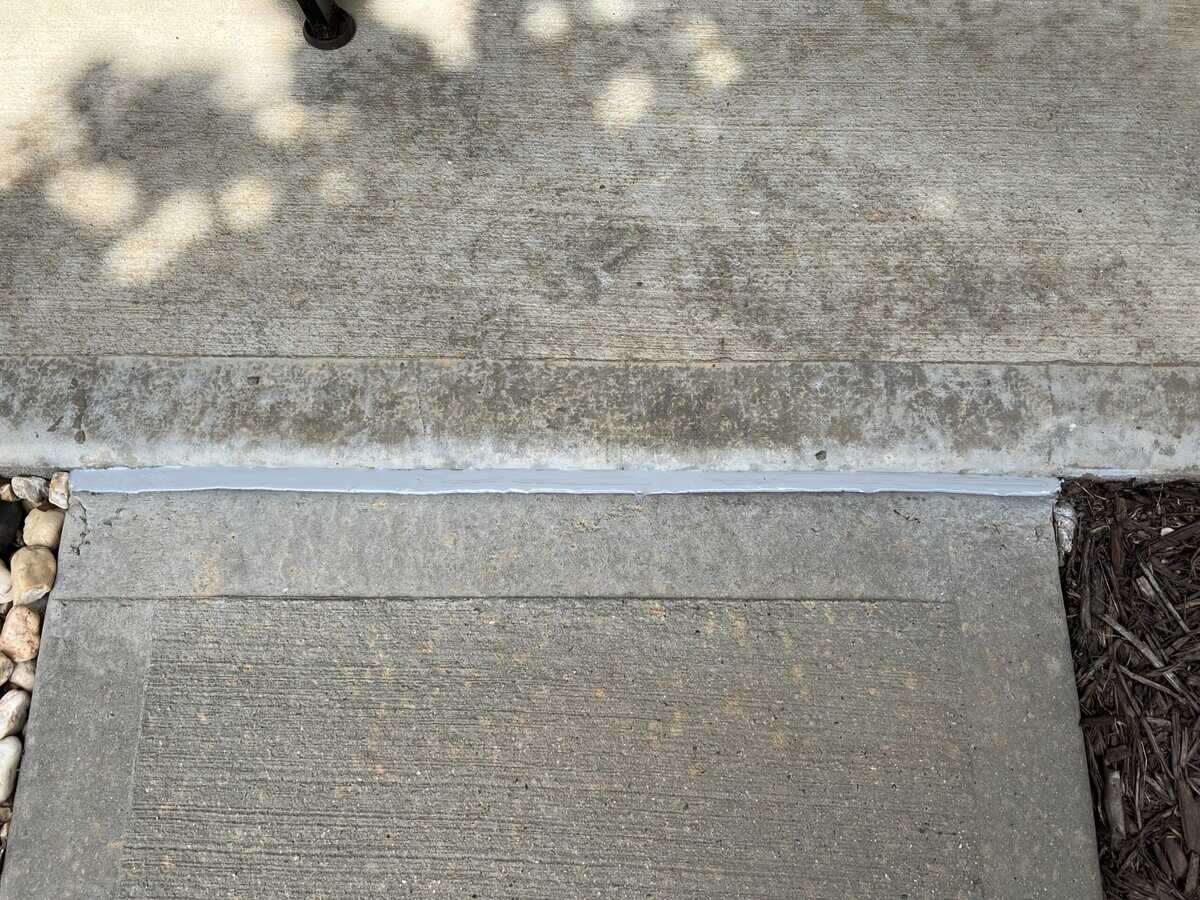
After applying the sealant, it might appear darker than your surrounding concrete. While sprinkling dry concrete powder might seem like a quick fix, it won’t stick to the flexible sealant and can create a messy, uneven appearance. Instead, try one of these professional-looking finishes:
- Sand Dusting: Sprinkle fine masonry or play sand lightly on the sealant while it’s still tacky. This will give it a more concrete-like appearance and reduce the contrast between the joint and the driveway.
- Paint or Stain: Once the sealant is fully cured, use a masonry paint or concrete stain to match your driveway perfectly. This creates a seamless, natural finish.
After finishing, allow the sealant to cure fully before driving on it. With proper preparation, application, and finishing, you’ll have a long-lasting, visually appealing repair that protects your driveway and garage from water, debris, and pests.
Extra tips:
- Avoid heavy foot or vehicle traffic until fully cured.
- Keep a small brush handy for minor touch-ups if needed.
- Regularly inspect joints each season to catch any wear early.

Before you go, here is what to do next…
Sealing the gap between your driveway and garage is a simple but high-impact DIY project. By cleaning the joint, installing a backer rod, applying a high-quality Sika self-leveling sealant, and finishing carefully, you can protect your home, enhance curb appeal, and enjoy a long-lasting, professional-looking repair.
This is a small project with big results. Not only does it protect your home from water damage and debris, but it also makes your property look polished and well-maintained. With these steps, even first-time DIYers can confidently tackle the repair and enjoy the satisfaction of a job well done.
Ready to fix your driveway gap? Grab your backer rod and gray Sika sealant, and get started today! For more helpful DIY tips and step-by-step guides, check out my posts on DIY concrete crack repair, garage organization projects, or follow me on Instagram for inspiration on fun, practical home projects.
And if you’re hungry for more DIY inspiration—from cozy crafts to yummy recipes and DIY Home Maintenance Projects—stick around and explore the blog. There’s always something new brewing.☕
If or when you do try the Concrete Driveway Gap Repair: Easy DIY Guide for Homeowners. I’d love for you to follow us and tag us on Instagram so I can see your DIY projects finished results! Happy DIYing
COZY HOME, COZY RECIPES:
Every cozy home deserves amazing recipes, and it’s even better when those recipes are both delicious and healthy. Our goal is to provide tasty meals that are easy to make, regardless of your skill level.
Fast, easy meals leave more time for fun activities, making your home a hub of joy and good food.
CONNECT WITH US:
As always, we love hearing about your experiences with our “DIY Coffee Roasting: Easy Beginner’s Guide to Roast at Home”. Reach out to us through our social channels. Any questions you have, we’re here to answer.
Stay updated by joining our newsletter, offering a monthly dose of new recipes and a first look at upcoming projects.
MORE COZY KITCHEN RECIPES:
If you’re hungry for more, explore our collection of Cozy Kitchen Recipes. Another healthy favorite is the “Sausage Potato Veggie Bake.” Find these recipes and more here.
DIY RESOURCES:
For additional resources, check out our DIY Tutorials, offering a wealth of information to enhance your home improvement skills.

