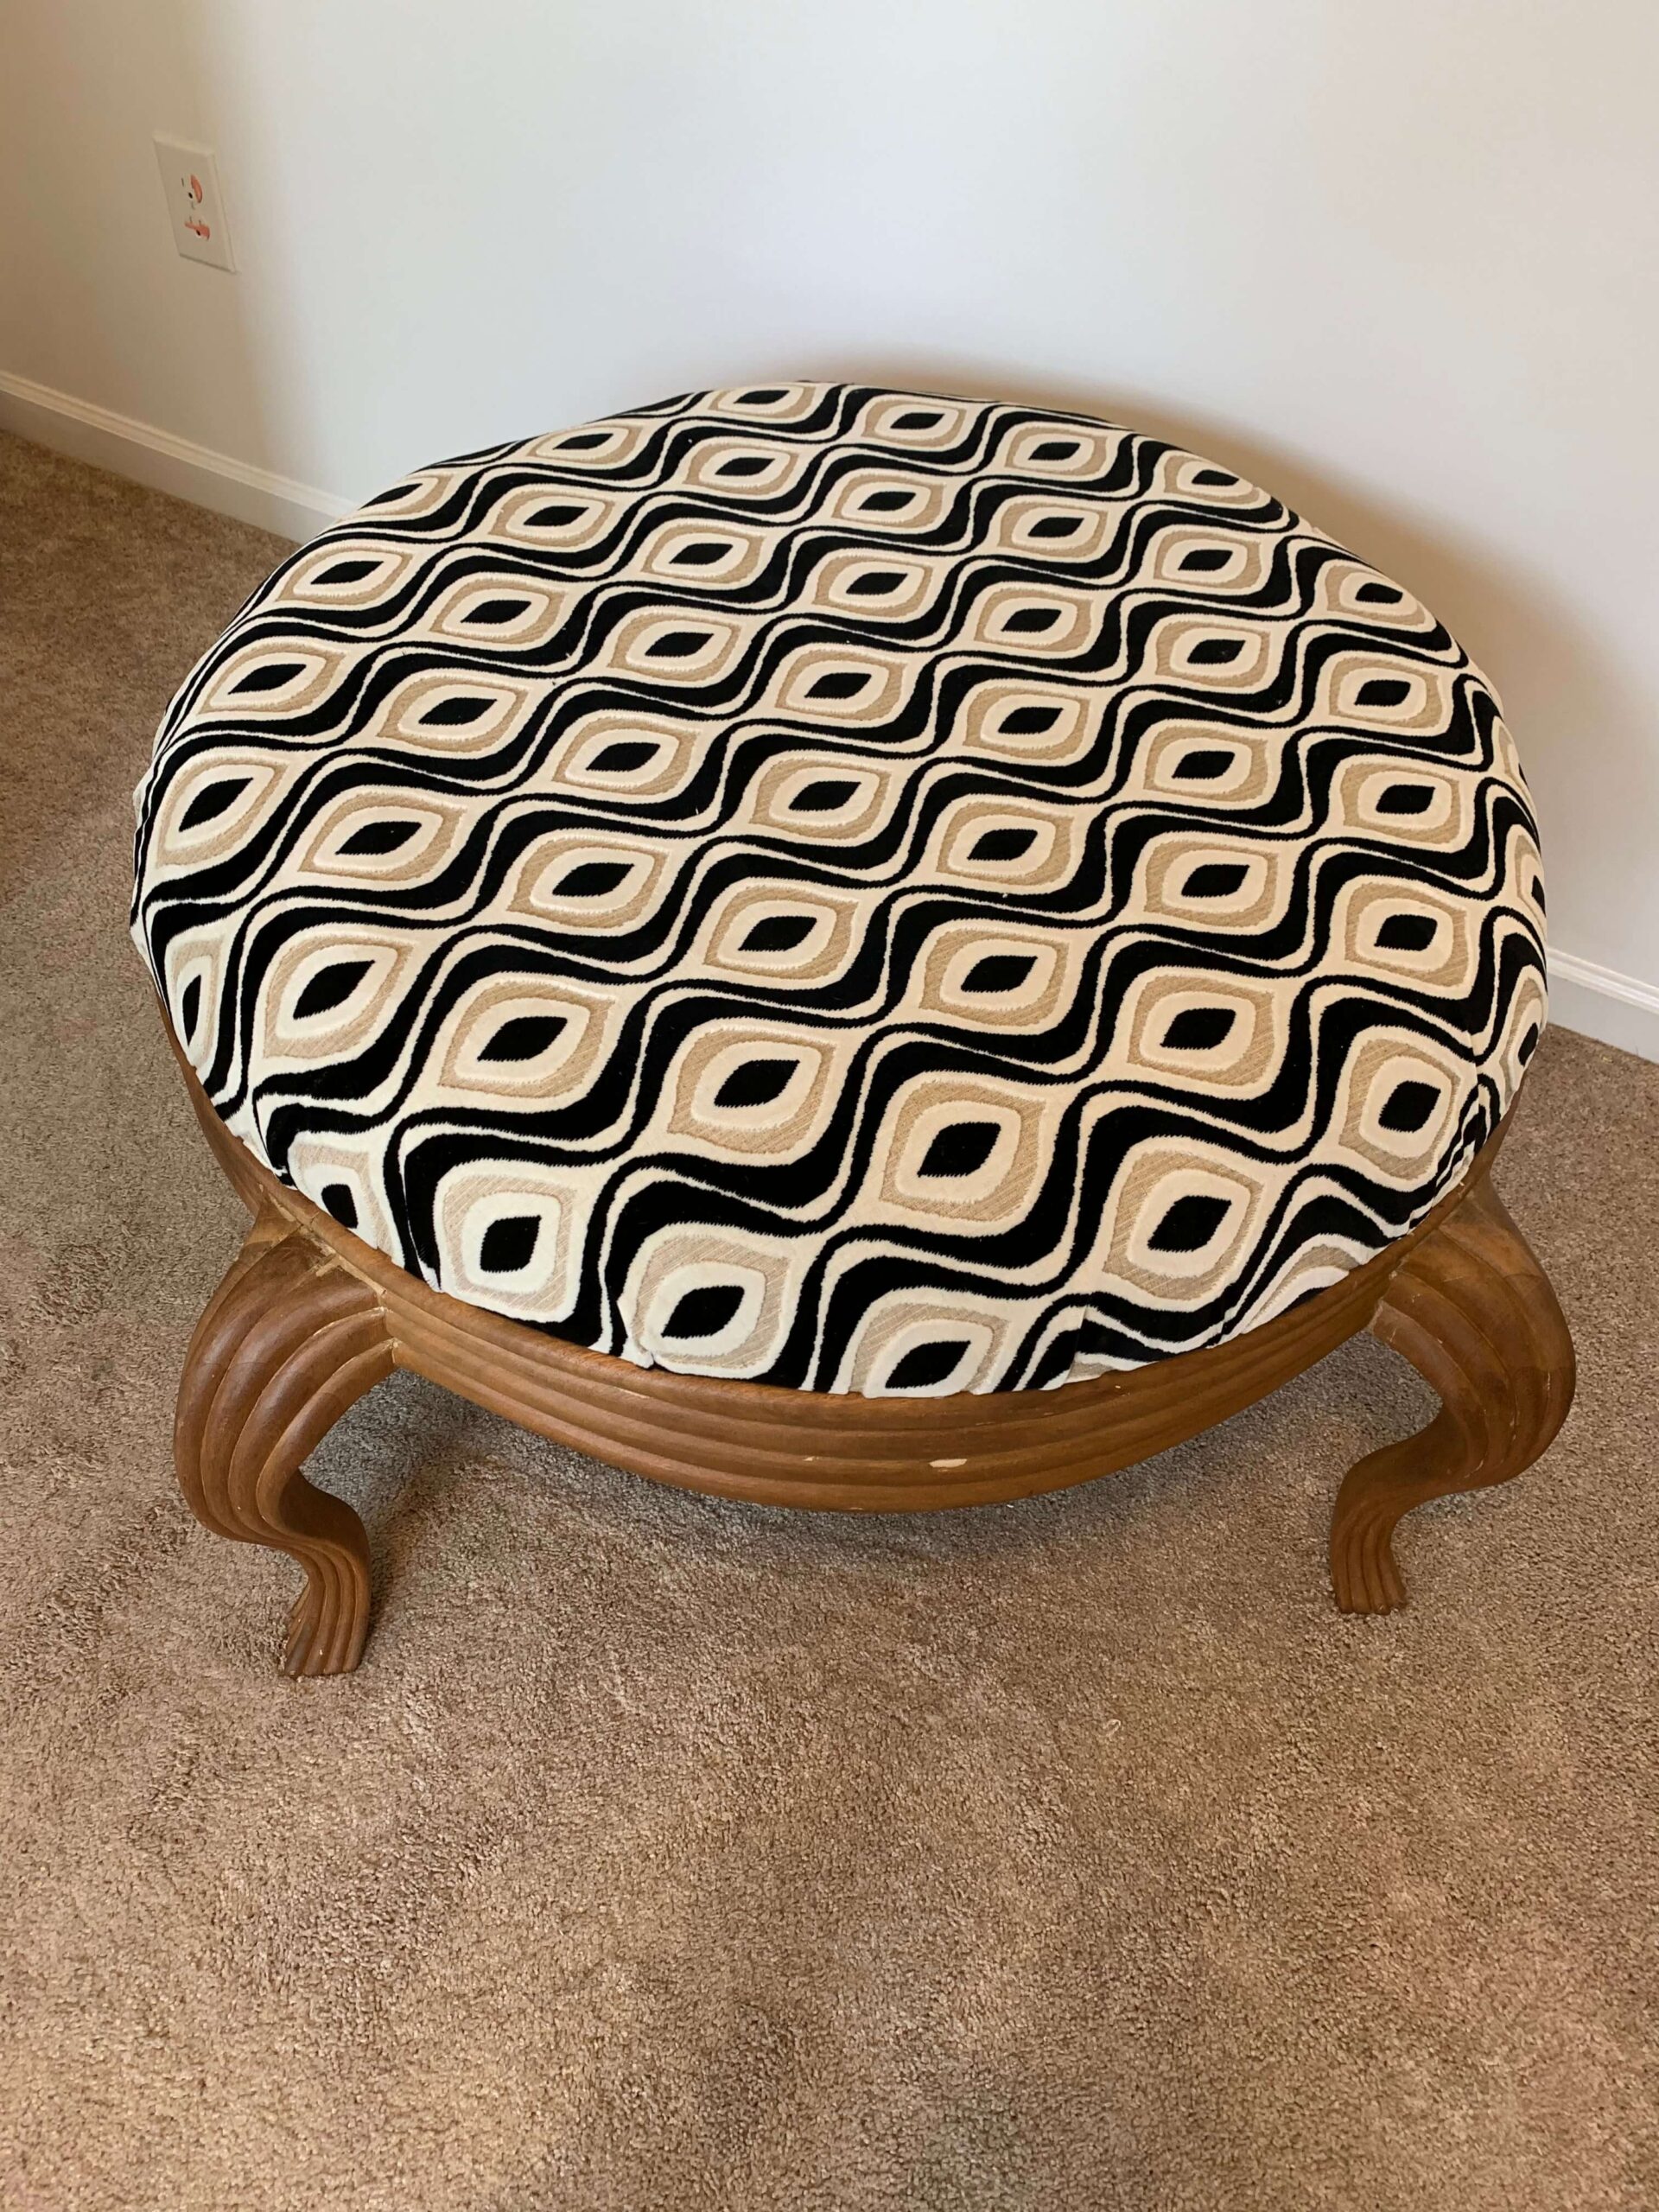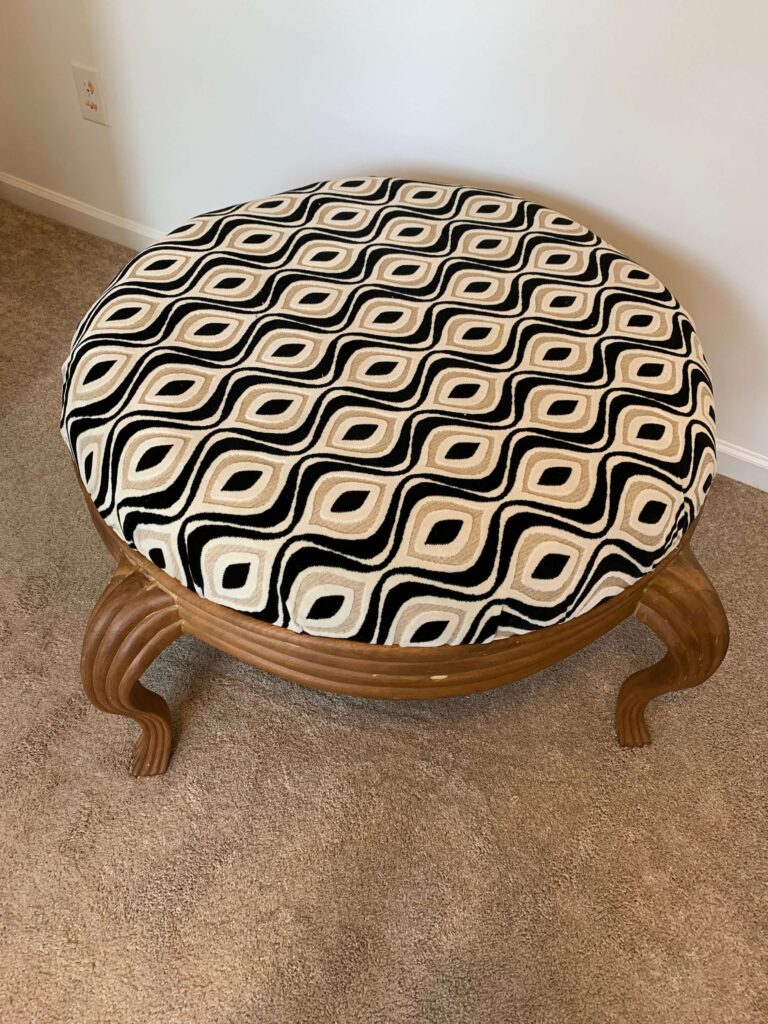
DIY Ottoman Coffee Table Transformation Tutorial
Are you looking to refresh your family room without breaking the bank? Instead of buying new furniture, why not try your hand at repurposing what you already own? A fantastic way to breathe new life into a room is by transforming an old coffee table into a beautiful ottoman. This project not only gives your table a second life but also adds comfort and style to your home.
If you’ve ever seen those fancy ottomans in stores and thought, “I wish I could make that,” you’re in luck! With just a few materials and a little bit of time, you can create a custom piece that reflects your style. Whether your décor leans toward modern, farmhouse, or vintage, this DIY ottoman coffee table transformation allows for endless personalization. And the best part? You don’t need a huge budget to upcycle an existing piece of furniture into a gorgeous finished product that adds more function to your home.
Does the idea of a DIY project feel intimidating? Don’t worry. This tutorial will guide you step-by-step, from preparing the coffee table base to upholstering the top of the ottoman, making it easy for even beginners.
By the end of this guide, you’ll not only have a chic new large ottoman but also the confidence to tackle more DIY furniture projects in the future. Ready to turn your coffee table into a cozy ottoman? Let’s get started!
STEP 1: PREPARE THE COFFEE TABLE BASE
Tools Needed:
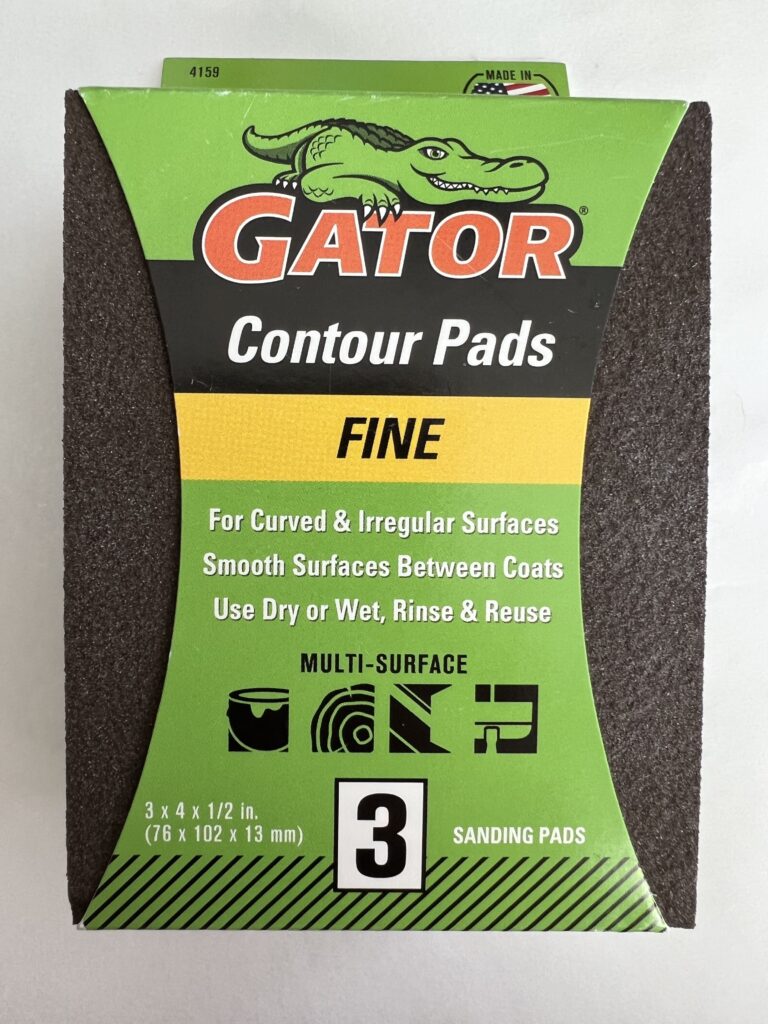
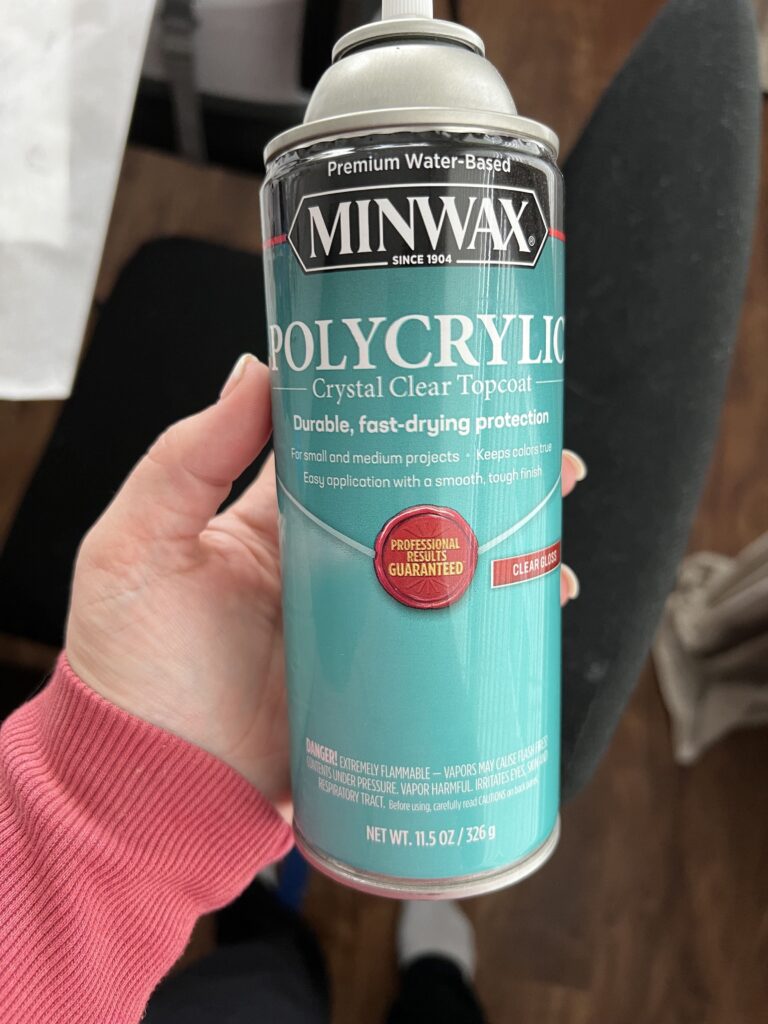
Before you begin the transformation, it’s important to prepare the coffee table base for its new life as an ottoman. Start by examining the base to ensure it’s sturdy enough to support the extra weight and wear of becoming an ottoman. If there are any loose joints or wobbly legs, this is the time to fix them. Tighten screws or add wood glue where necessary for stability. Sand down the surface lightly to remove any existing varnish or rough edges that could interfere with the upholstery.
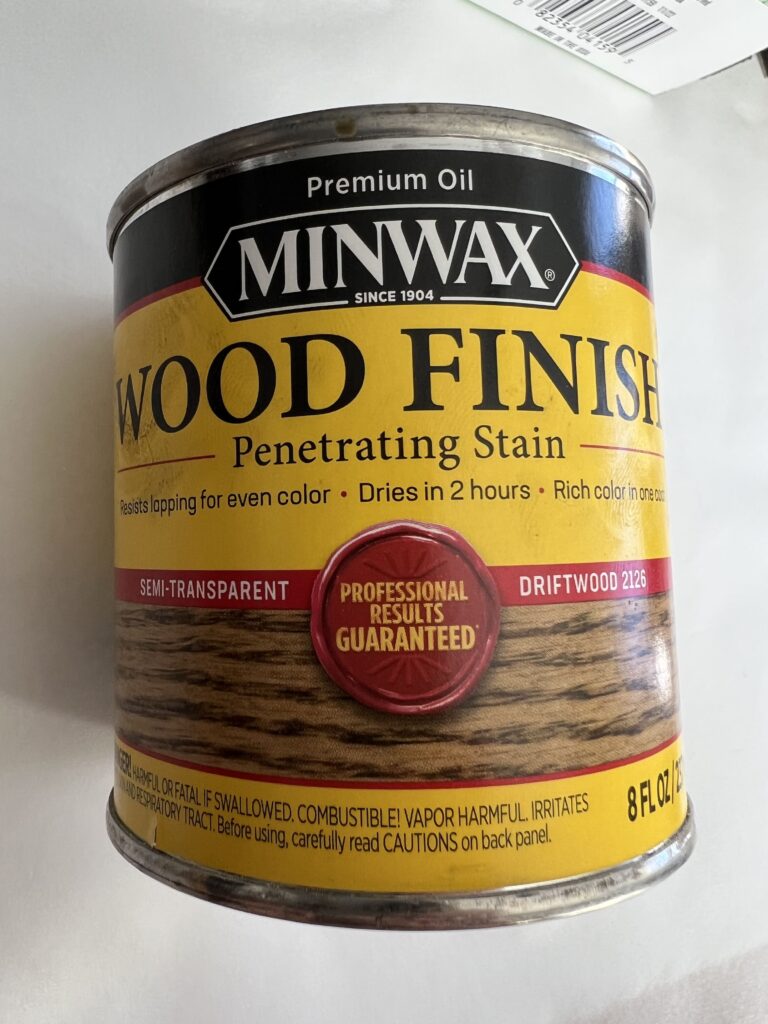
Additionally, if the table is made of wood, you may want to paint or stain it to match your existing décor. This is your chance to get creative with the color scheme! A fresh coat of paint or stain can totally transform the look of the base and give it new life before adding the cushioned top.
Pro Tip: If your table has a glass top or fragile surface, remove it and replace it with a piece of plywood cut to the correct size to create a smooth and sturdy base for the upholstery.
STEP 2: How to make DIY Ottoman Coffee Table
Materials Needed:
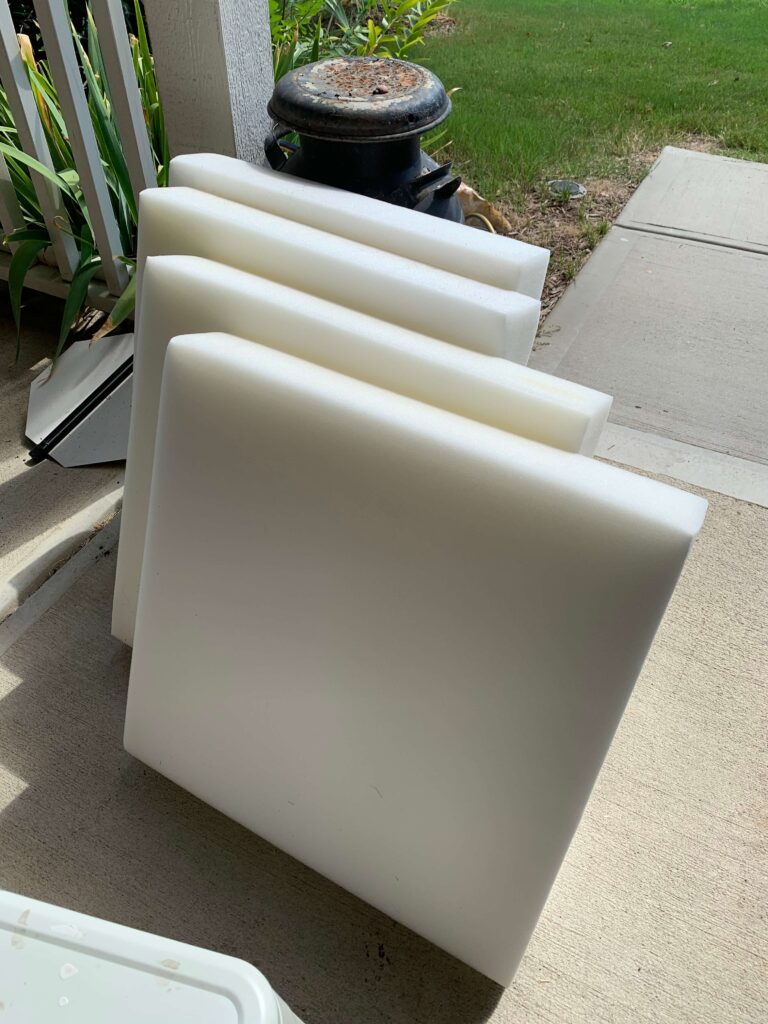
- Upholstery high density foam (2-4 inches thick, depending on your preference)
- Batting
- Upholstery fabric
- Scissors
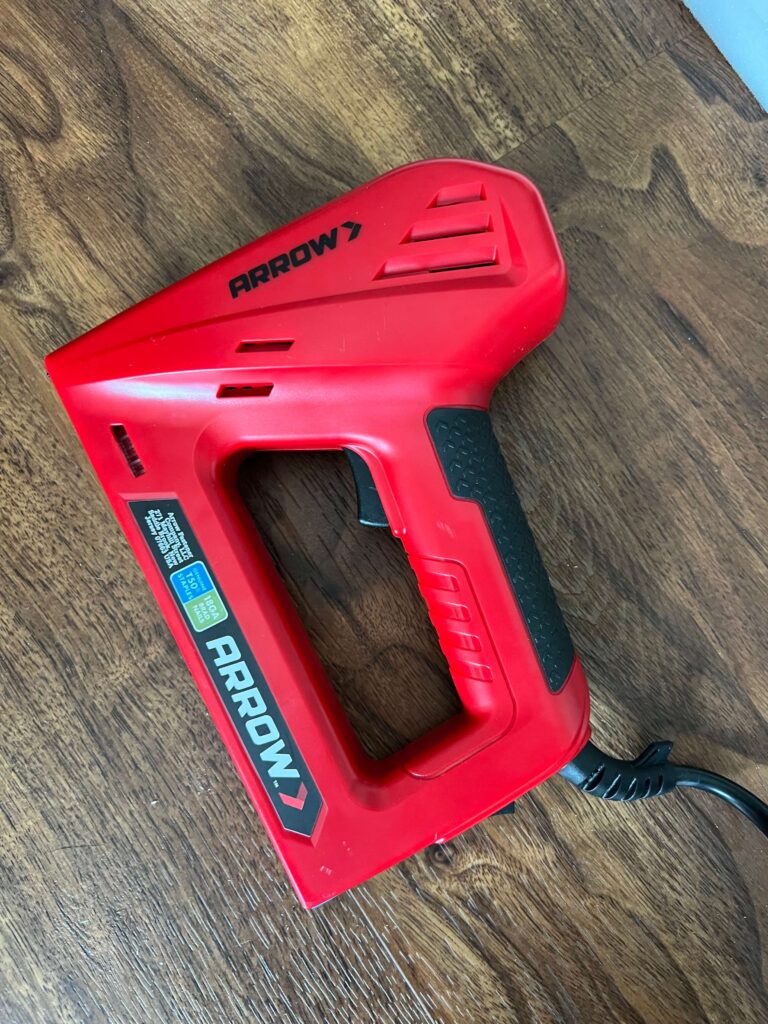
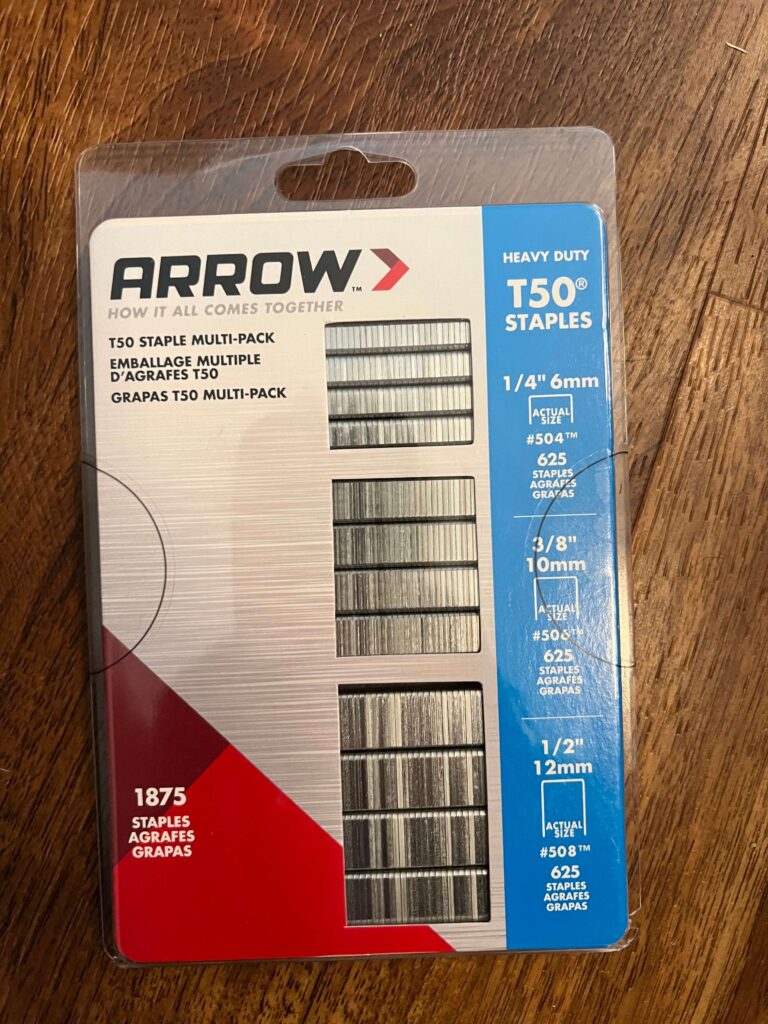
- Electric Staple gun and staples
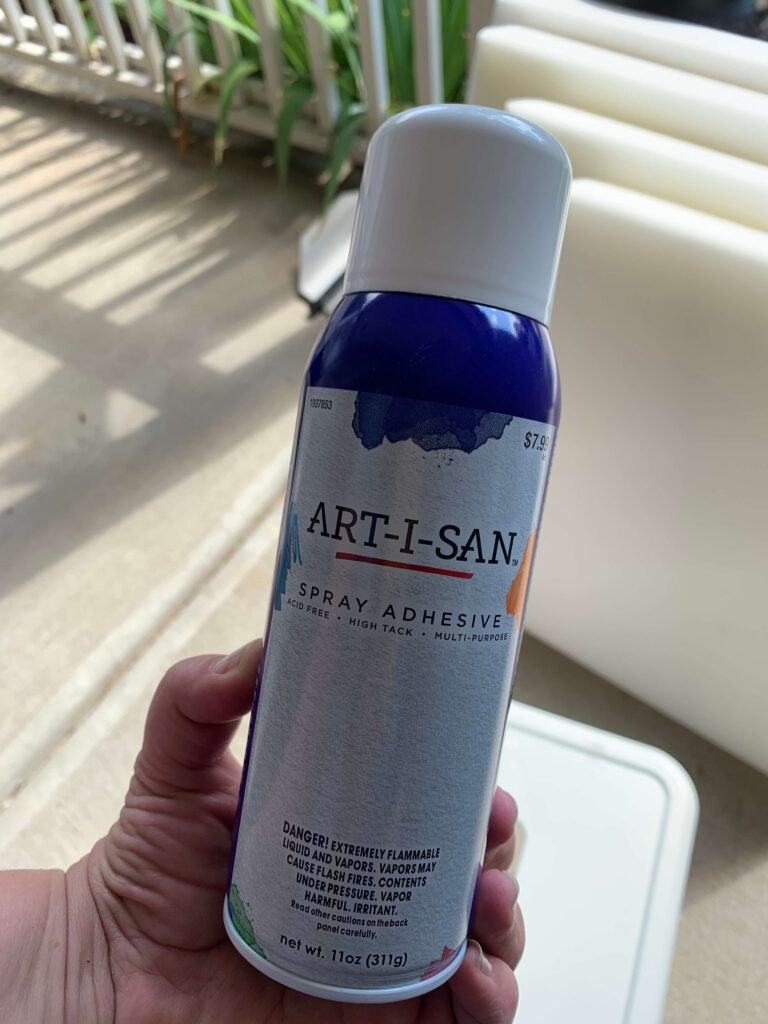
- Spray Adhesive
- Wood Screws
How to CREATE THE OTTOMAN CUSHION:
Measure the top of the coffee table
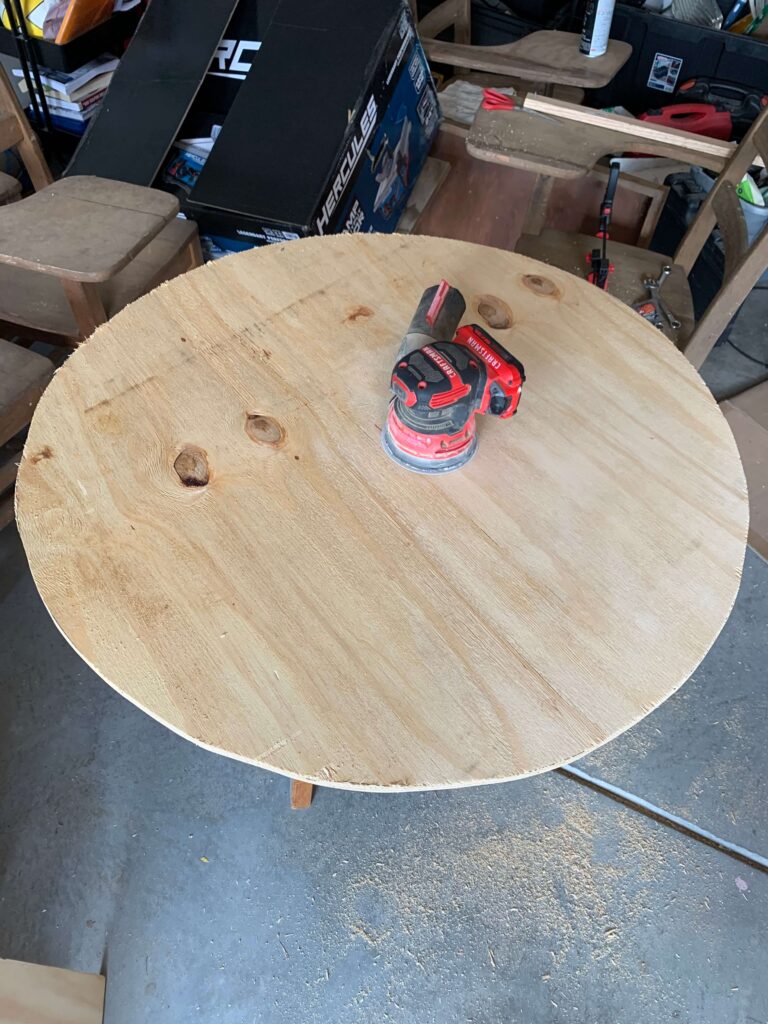
Now it’s time to make the ottoman cushion, which will be the centerpiece of your transformed coffee table. Start by measuring the top of the table base and cut a piece of plywood to fit. It’s a good idea to add about half an inch to your measurements to account for any imperfections in the table’s shape or slight overhang for added comfort.
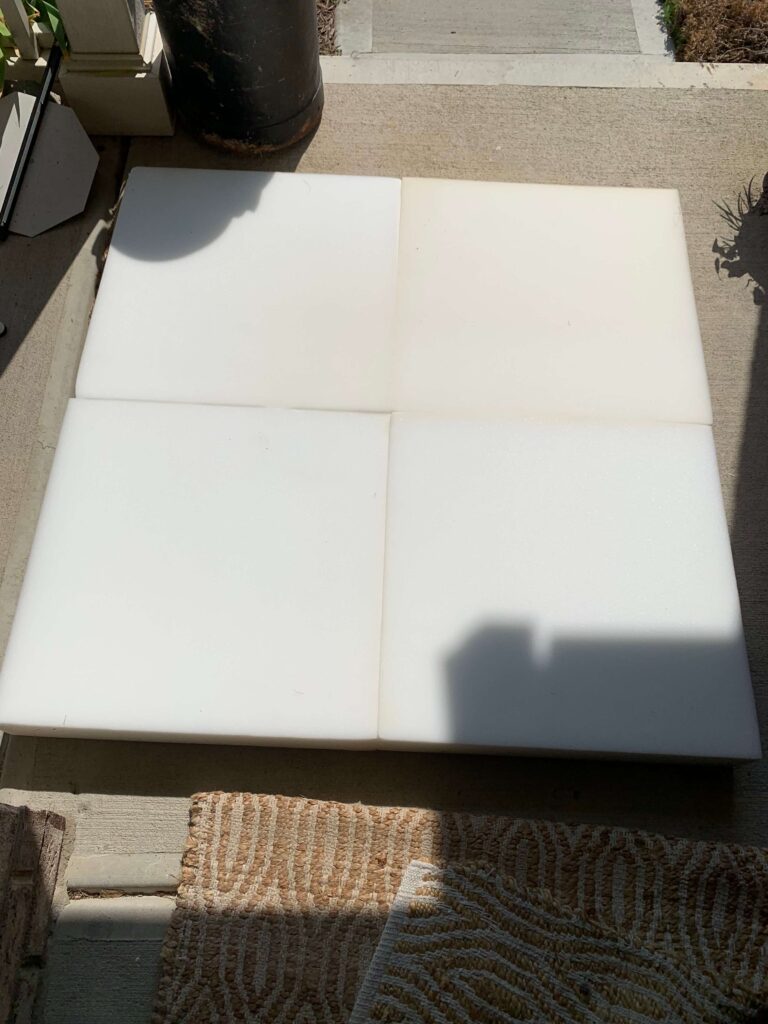
For a comfortable and long-lasting cushion, upholstery high density foam is the best choice. You can find this foam in various thicknesses at craft stores—typically ranging from 1 to 4 inch foam. The thicker the foam, the more luxurious the cushion will feel. If you want a plush, high-end look, go for at least 2 inch thick foam.
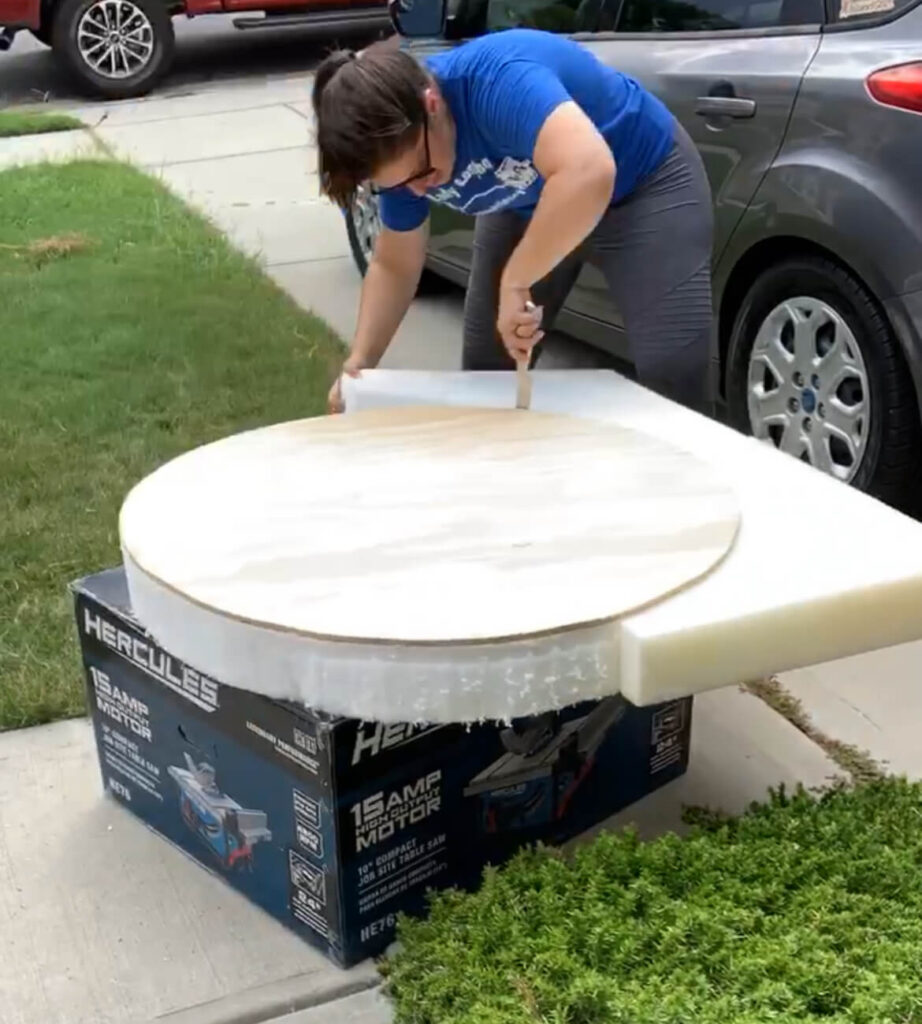
Apply your Spray Fam Adhesive to the plywood all over generously. Then add your foam pieces in place and allow them to dry. We had to do 4 pieces to fit the size of our table width. Depending the width of your table you can find foam wide enough to be one full piece overlayed.
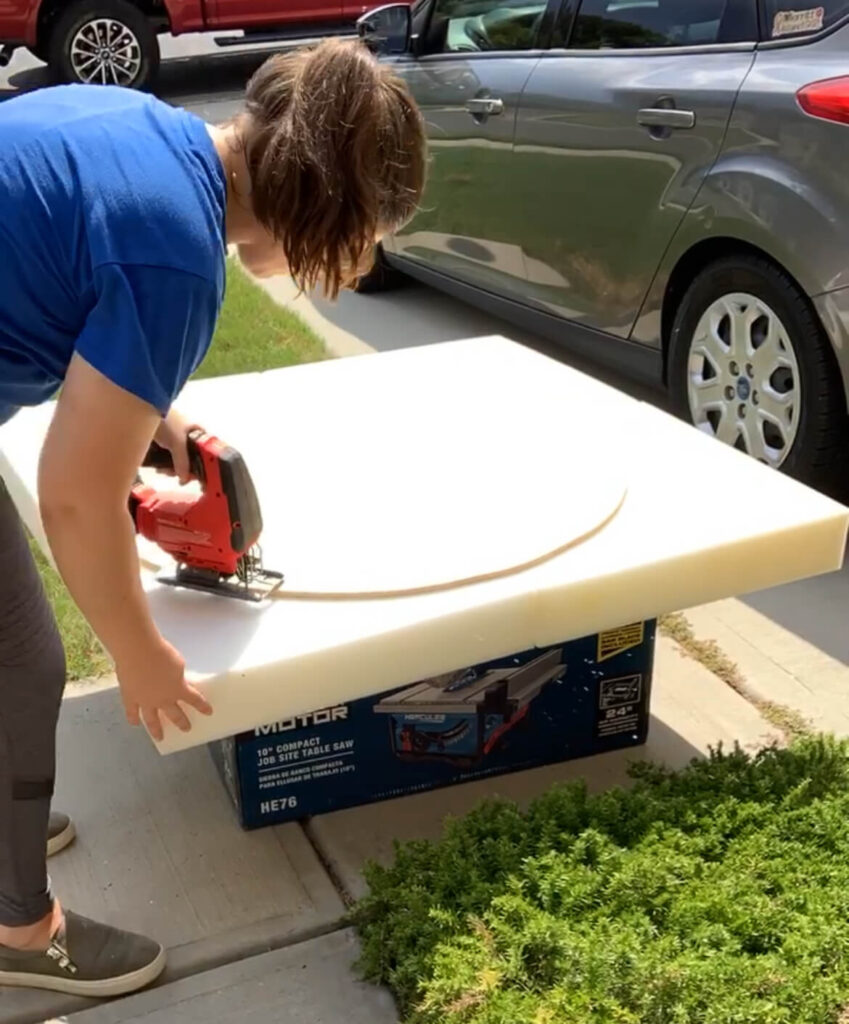
Cut the foam to fit the table top.
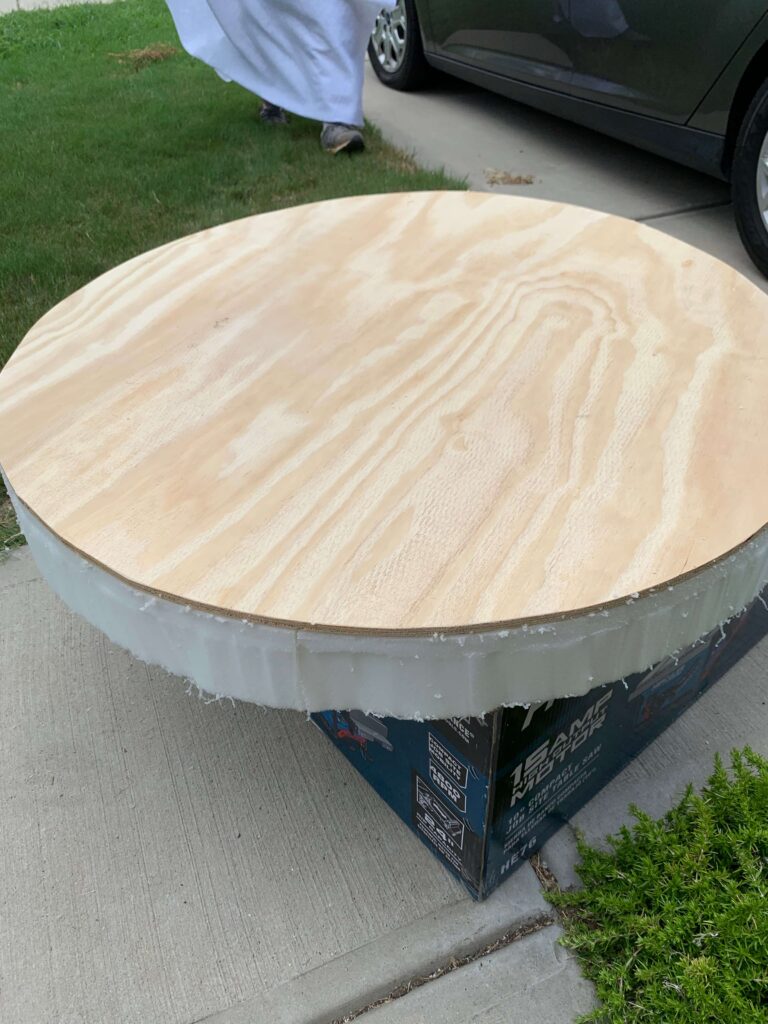
Once glued in place you can cut the foam using a serated knife. Follow the edge of your wood cut out and make sure your knife stays perpendicular to the plywood for a straight uniform edge. Take your time on this part and don’t rush the cutting.
Cover the foam with batting.
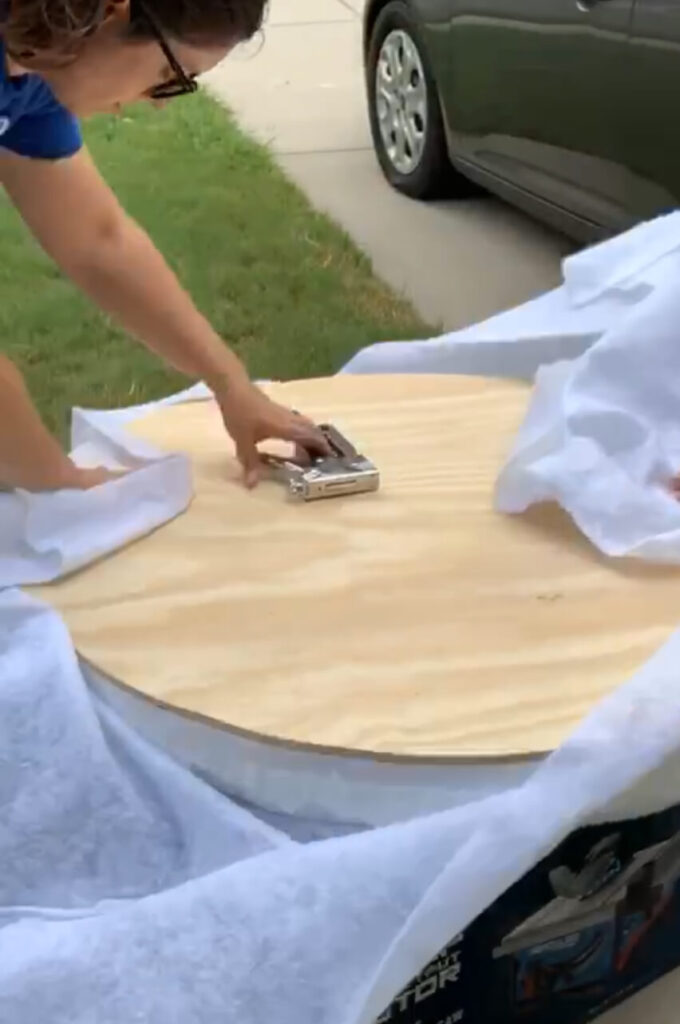
Next you will need your batting to wrap around the foam and plywood to soften the edges and make the surface appear fuller and more professional. Batting not only makes the cushion look polished but also provides an additional layer of comfort.
Roll out your batting and place it over the foam, making sure that it covers the entire thing. Making sure the foam is covered entirely with some excess batting around the sides. The batting should wrap around the edges of the foam and reach the underside of the table top. Secure the batting in place with your staple gun, stapling it to the underside of the table base to keep everything in place. This step ensures that the foam doesn’t shift when you start working with the fabric.
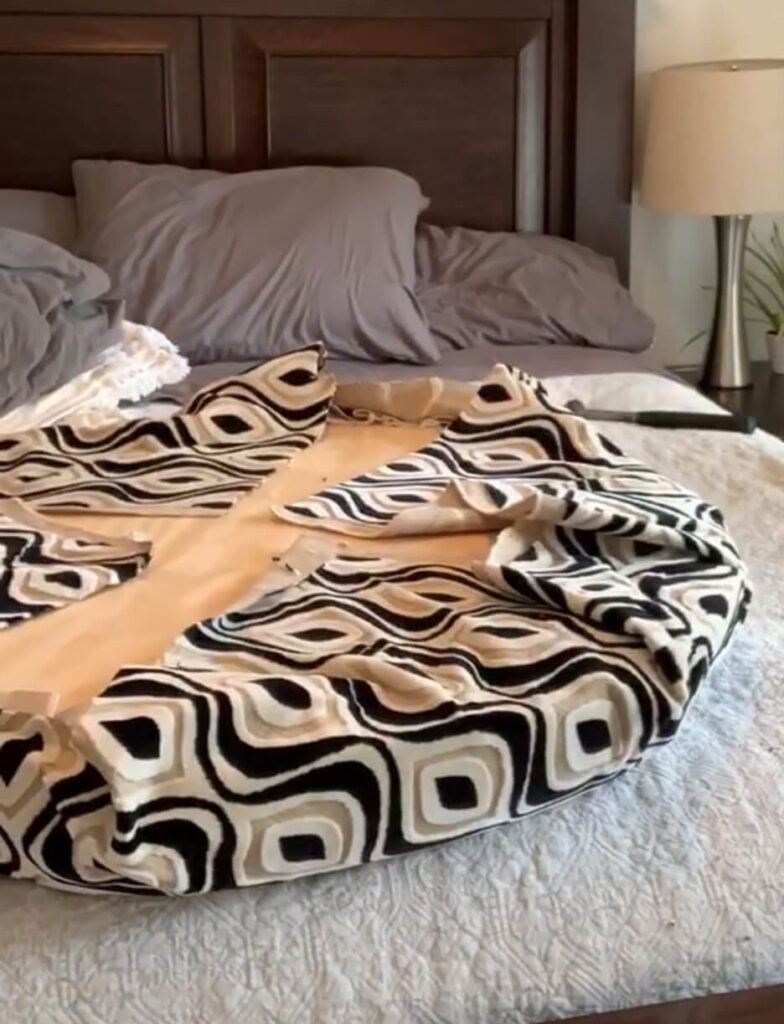
Time to cover with your fabric.
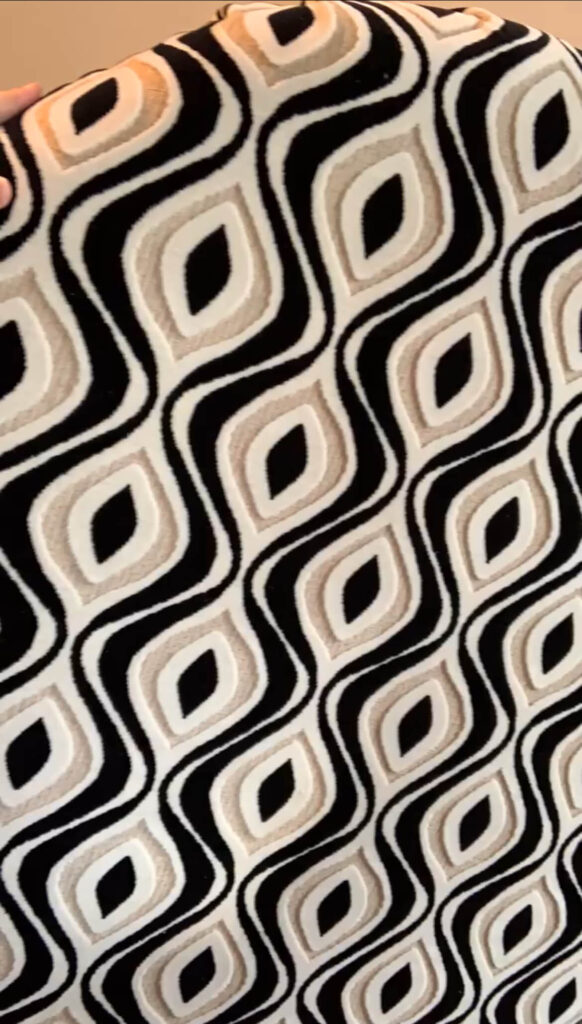
Now comes the fun part—choosing your fabric! Your fabric choice will greatly influence the final look of the ottoman, so think about your existing décor. For a sleek, modern look, try a faux leather or smooth velvet. If you want a cozy, traditional feel, opt for a textured fabric like linen or tweed. Whatever you choose, make sure it’s upholstery-grade fabric, as it needs to withstand daily use and be durable over time.
To attach the fabric, place it over the batting and foam, making sure it’s centered and aligned properly. Leave at least 4-6 inches of fabric on all sides to ensure you have enough to pull taut and secure under the table base.
Starting from one side, pull the fabric tightly over the foam and batting, and staple it to the underside of the table base. It’s important to work your way around the table evenly, alternating sides as you go (for example, staple one side, then staple the opposite side), to avoid uneven tension. Pull the fabric tightly to prevent wrinkles, and smooth out any creases as you go. When you reach the corners, fold the fabric neatly like wrapping a present to create clean, crisp edges, and secure them with additional staples.

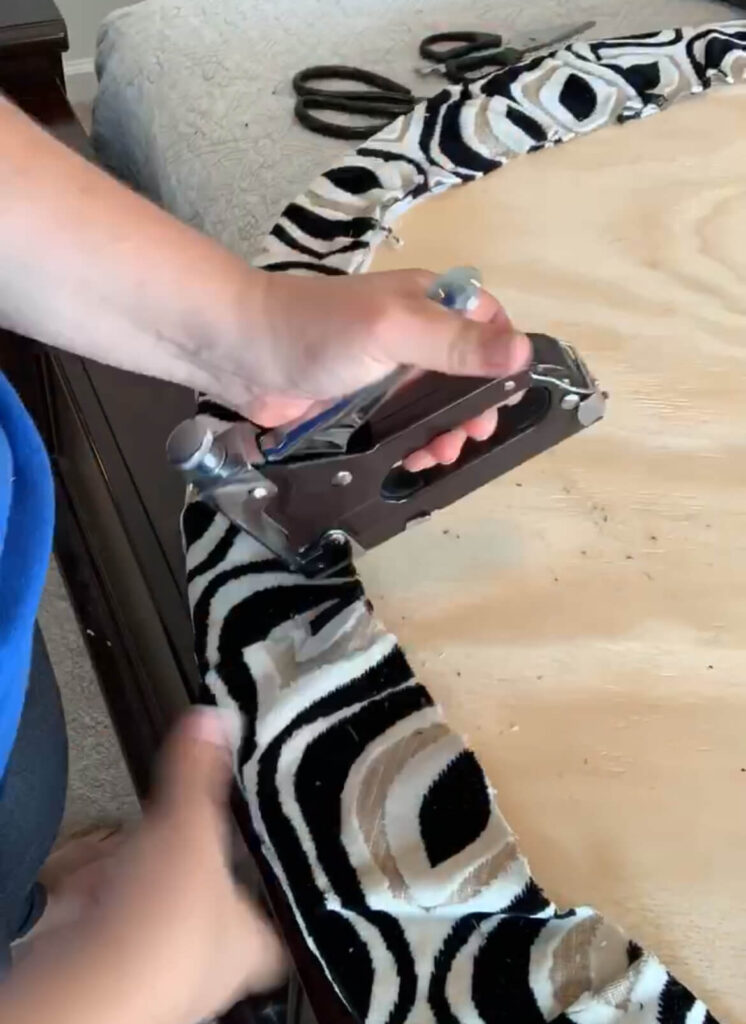
Trim any excess fabric and ensure all staples are securely in place.
Once you’ve stapled all the fabric securely in place, trim any excess fabric to keep the underside of the ottoman clean and clutter-free. If necessary, add a few extra staples around the edges to ensure everything stays firmly in place. Only one more step to making your ottoman a reality.
Attach your ottoman upholstered top to your table base.
Add your table base upside on top of your cushion top. Use wood screws the thickness of your plywood plus the table base thickness to securely attach your ottoman top to the base. Flip over and enjoy!!! We used 1.25″ screws since our plywood was 3/4″ thick and table base was 1/2″ thick.
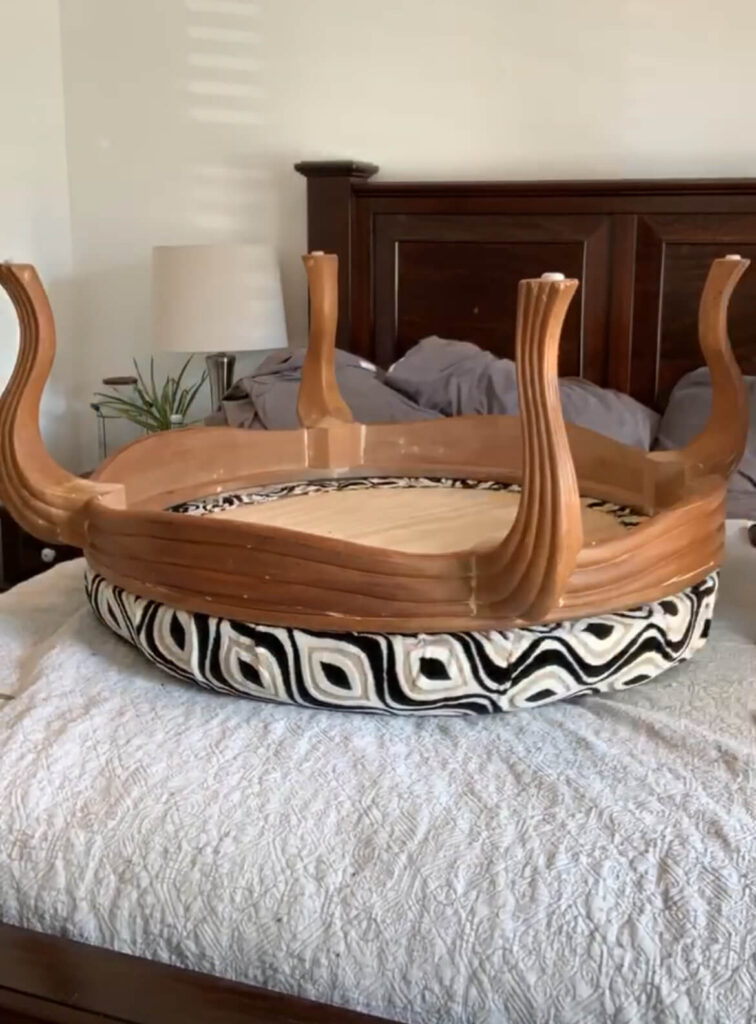
Pro Tip: When choosing fabric, keep in mind how the ottoman will be used. If it will be a high-traffic piece, opt for a durable, easy-to-clean fabric like performance velvet or microfiber. For a luxurious touch, consider adding button tufting or piping to the edges for a tailored look!
STEP 3: ADD FINISHING TOUCHES AND DETAILS (optional)
We went for a clean modern look and didn’t add any extra details for this project! But, you should absolutely customize and add detail if that is your vibe!
The final step in transforming your coffee table into an ottoman is all about the details! Depending on your style, you can add tufting to give the ottoman a more sophisticated look. To do this, mark where you want the tufting to go, and use a long upholstery needle to attach buttons through the fabric and foam. Secure the buttons tightly for a plush, tufted effect.
Additionally, consider adding decorative nailheads or trim around the edges of the fabric to give the ottoman a more polished and professional finish. This is also a great time to reattach any legs or structural elements of the table if they were removed during the process.
Materials Needed:
- Upholstery needle
- Buttons (optional)
- Decorative nailheads or trim
- Fabric glue (optional)
Pro Tip: Make sure all staples are securely fastened and hidden under the fabric for a clean, professional appearance.
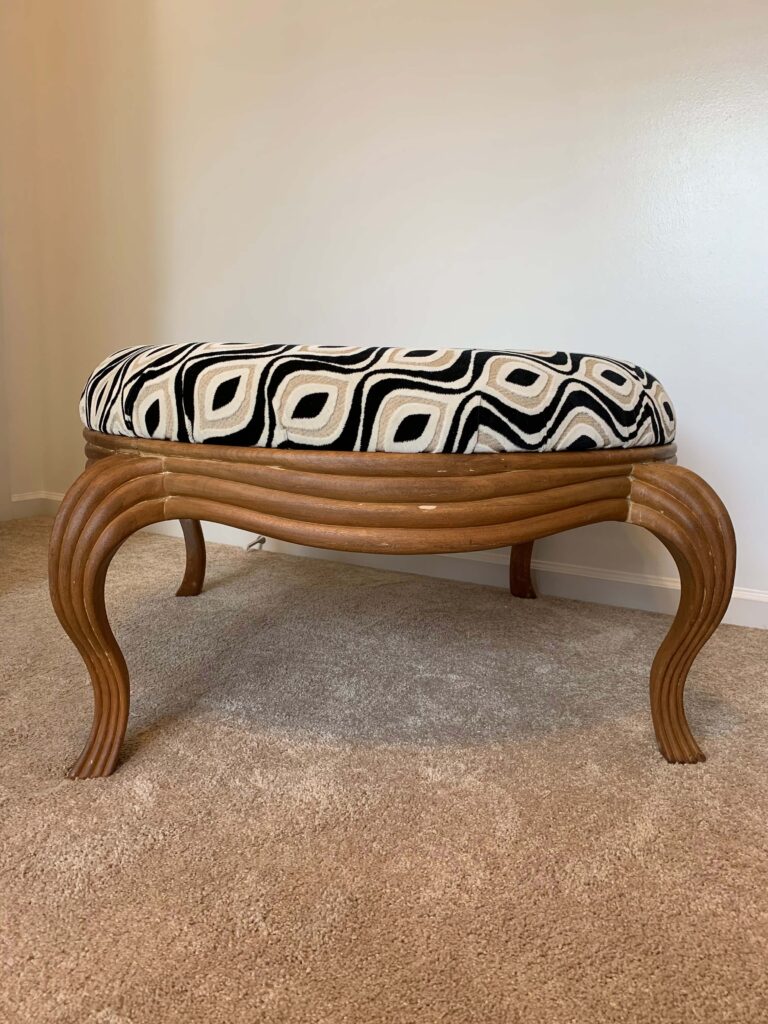
Before you go…
Congratulations! You’ve successfully turned an ordinary old table into a stunning, custom-made upholstered ottoman. This project not only gave your coffee table a new look but also allowed you to create something entirely unique and functional for your living room. By following the steps in this tutorial, you’ve learned the basics of upholstery, repurposing furniture, and adding finishing touches that make a big difference in the overall look.
PRO TIP: You may already have a piece in your home you can use. If you do not have a piece. You can buy one at a thrift store, on FB Marketplace or at Garage Sales. These places will also be a great way to find a unique well built piece for a steal.
The possibilities don’t stop here—this easy project is just the beginning of what you can do with upcycling and DIY furniture transformations. Imagine the satisfaction of creating even more custom pieces for your home that perfectly fit your space and style! From adding your own personal flair with fabric choices to experimenting with different table shapes, the options are endless.
If you enjoyed this DIY Ottoman Coffee Table tutorial and want to explore more DIY furniture transformations, check out our blog post on Easy Low Budget DIY Garage Makeover Ideas for more inspiration.
If or when you do make your own ottoman coffee table. I’d love for you to follow us and tag us on Instagram so I can see your really DIY projects finished results! Happy crafting!
COZY HOME, COZY RECIPES:
Every cozy home deserves amazing recipes, and it’s even better when those recipes are both delicious and healthy. Our goal is to provide tasty meals that are easy to make, regardless of your skill level.
Fast, easy meals leave more time for fun activities, making your home a hub of joy and good food.
CONNECT WITH US:
As always, we love hearing about your experiences with our “DIY Ottoman Coffee Table: Step-by-Step Easy Tutorial”. Reach out to us through our social channels. Any questions you have, we’re here to answer.
Stay updated by joining our newsletter, offering a monthly dose of new recipes and a first look at upcoming projects.
MORE COZY KITCHEN RECIPES:
If you’re hungry for more, explore our collection of Cozy Kitchen Recipes. Another healthy favorite is the “Sausage Potato Veggie Bake.” Find these recipes and more here.
DIY RESOURCES:
For additional resources, check out our DIY Tutorials, offering a wealth of information to enhance your home improvement skills.

